WHY WE BUILT IT
A little warmth, without a big demolition project
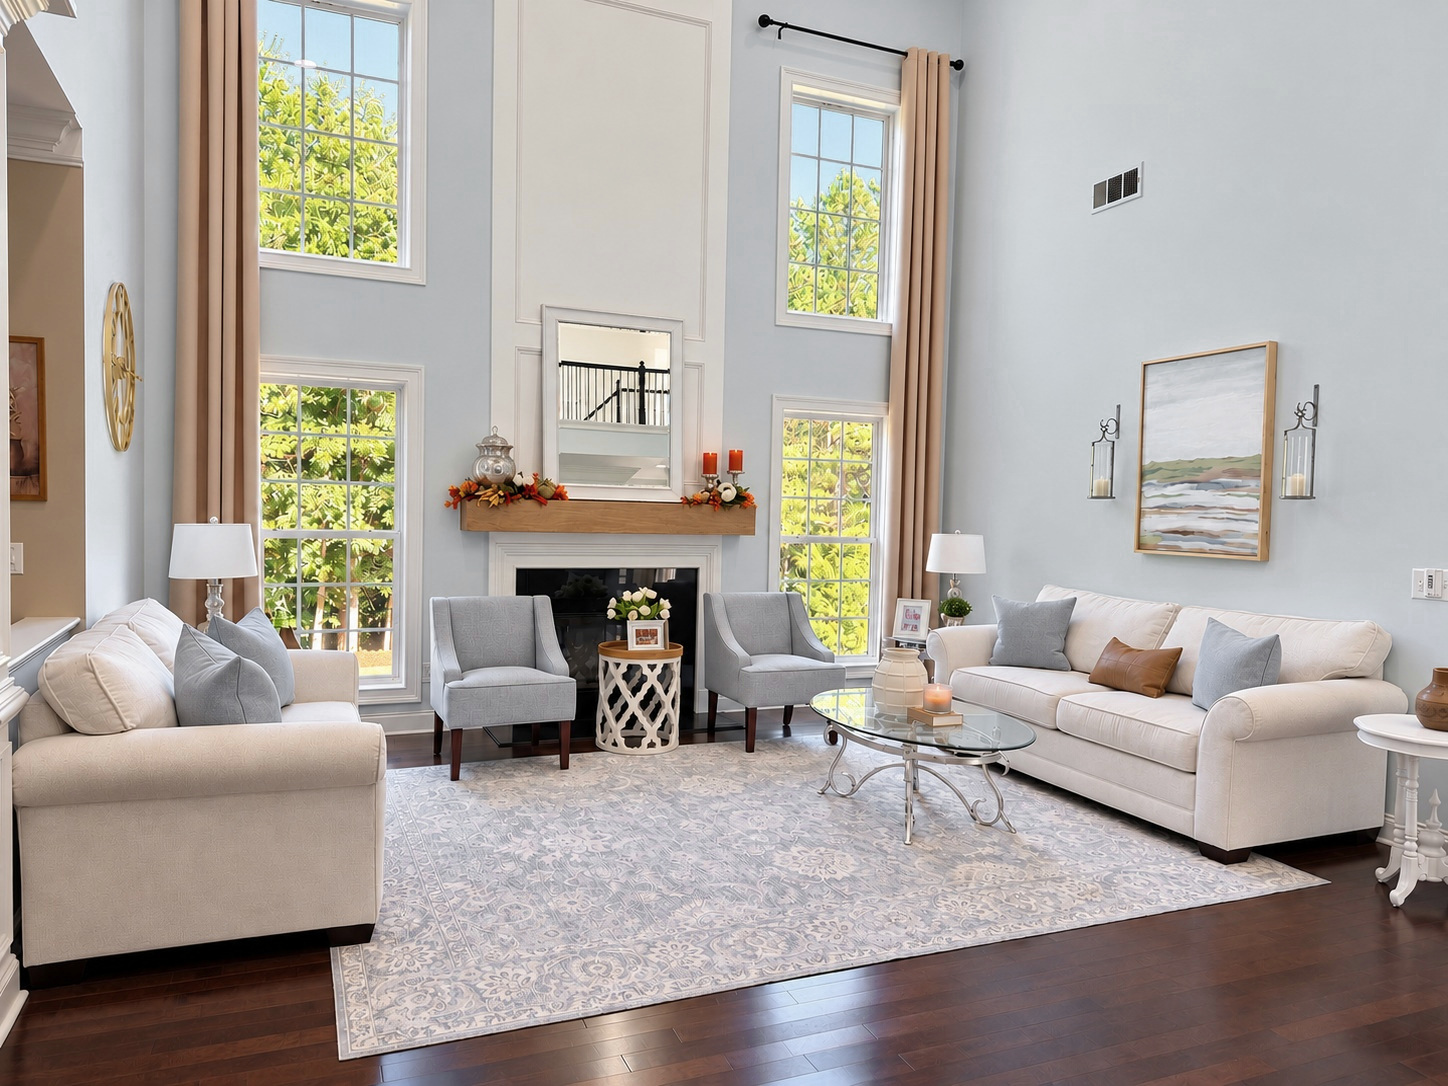
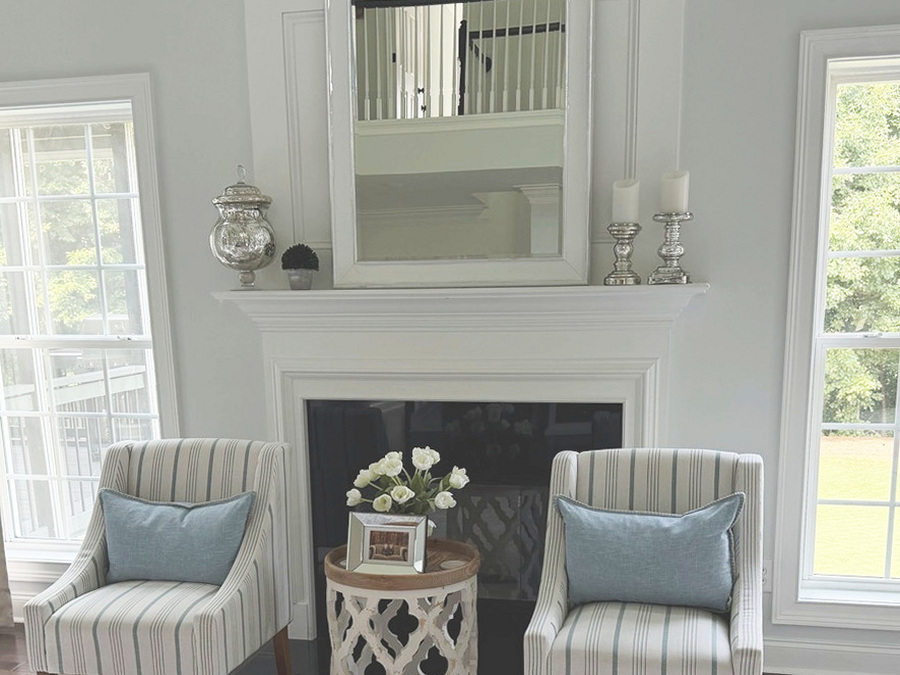
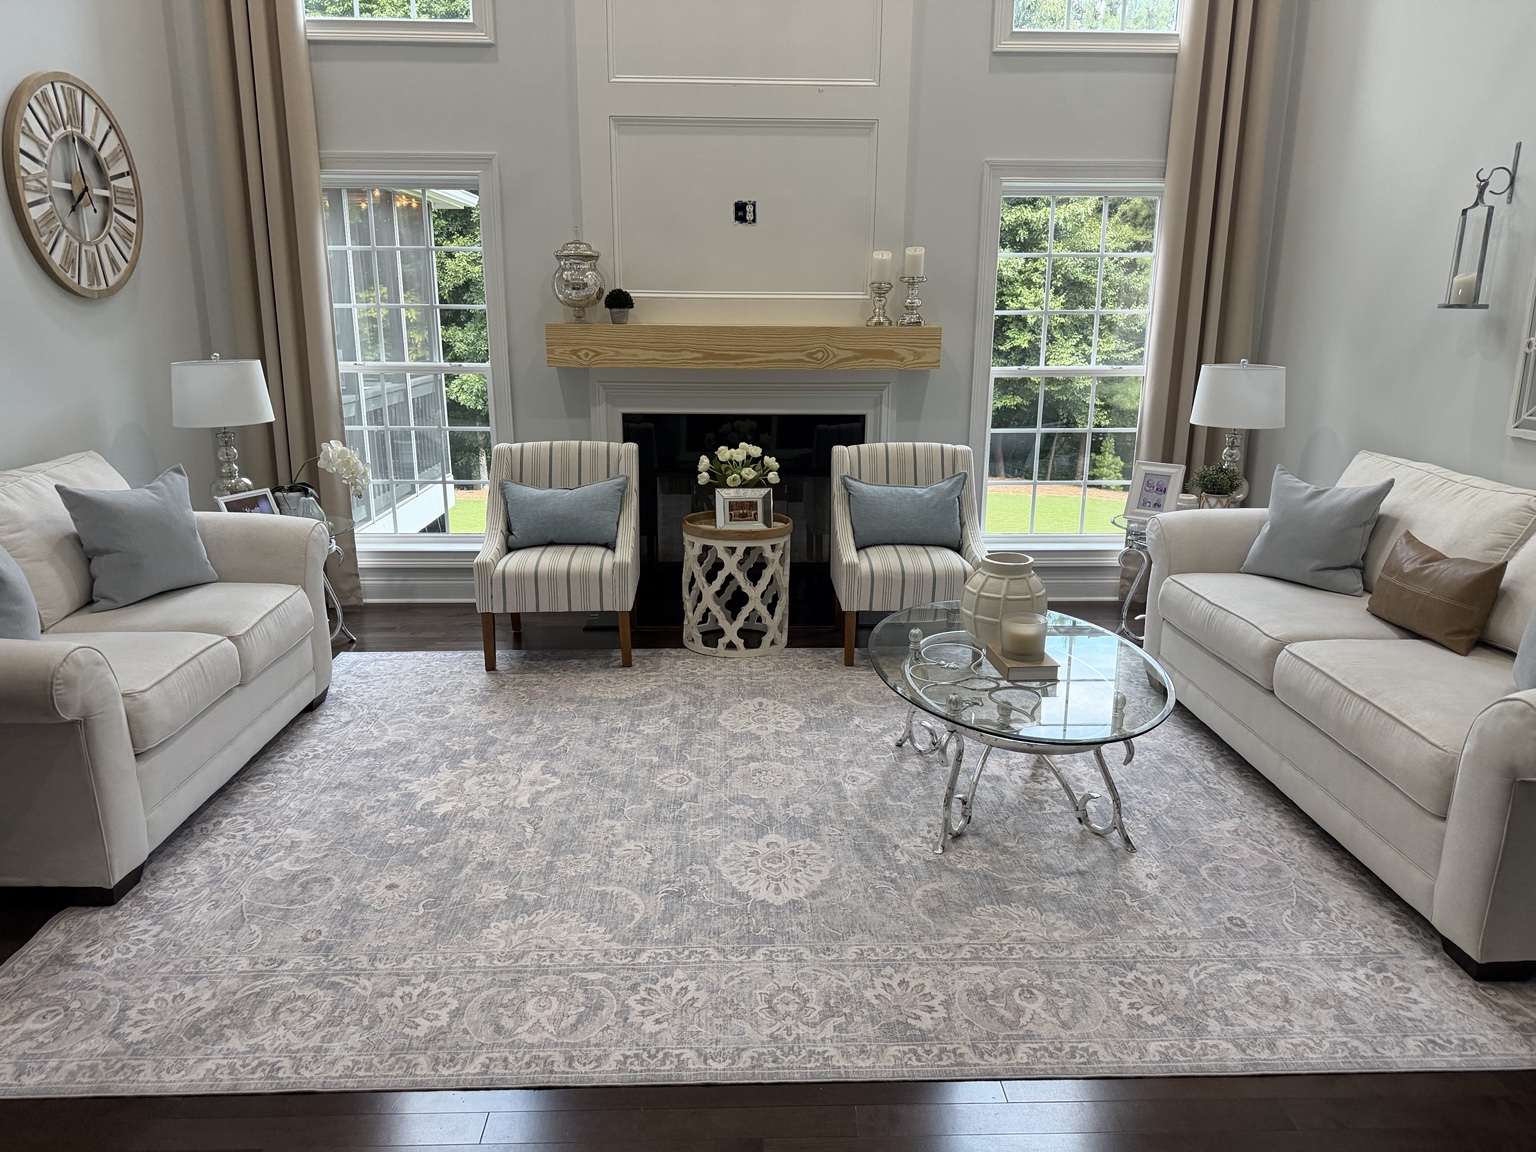
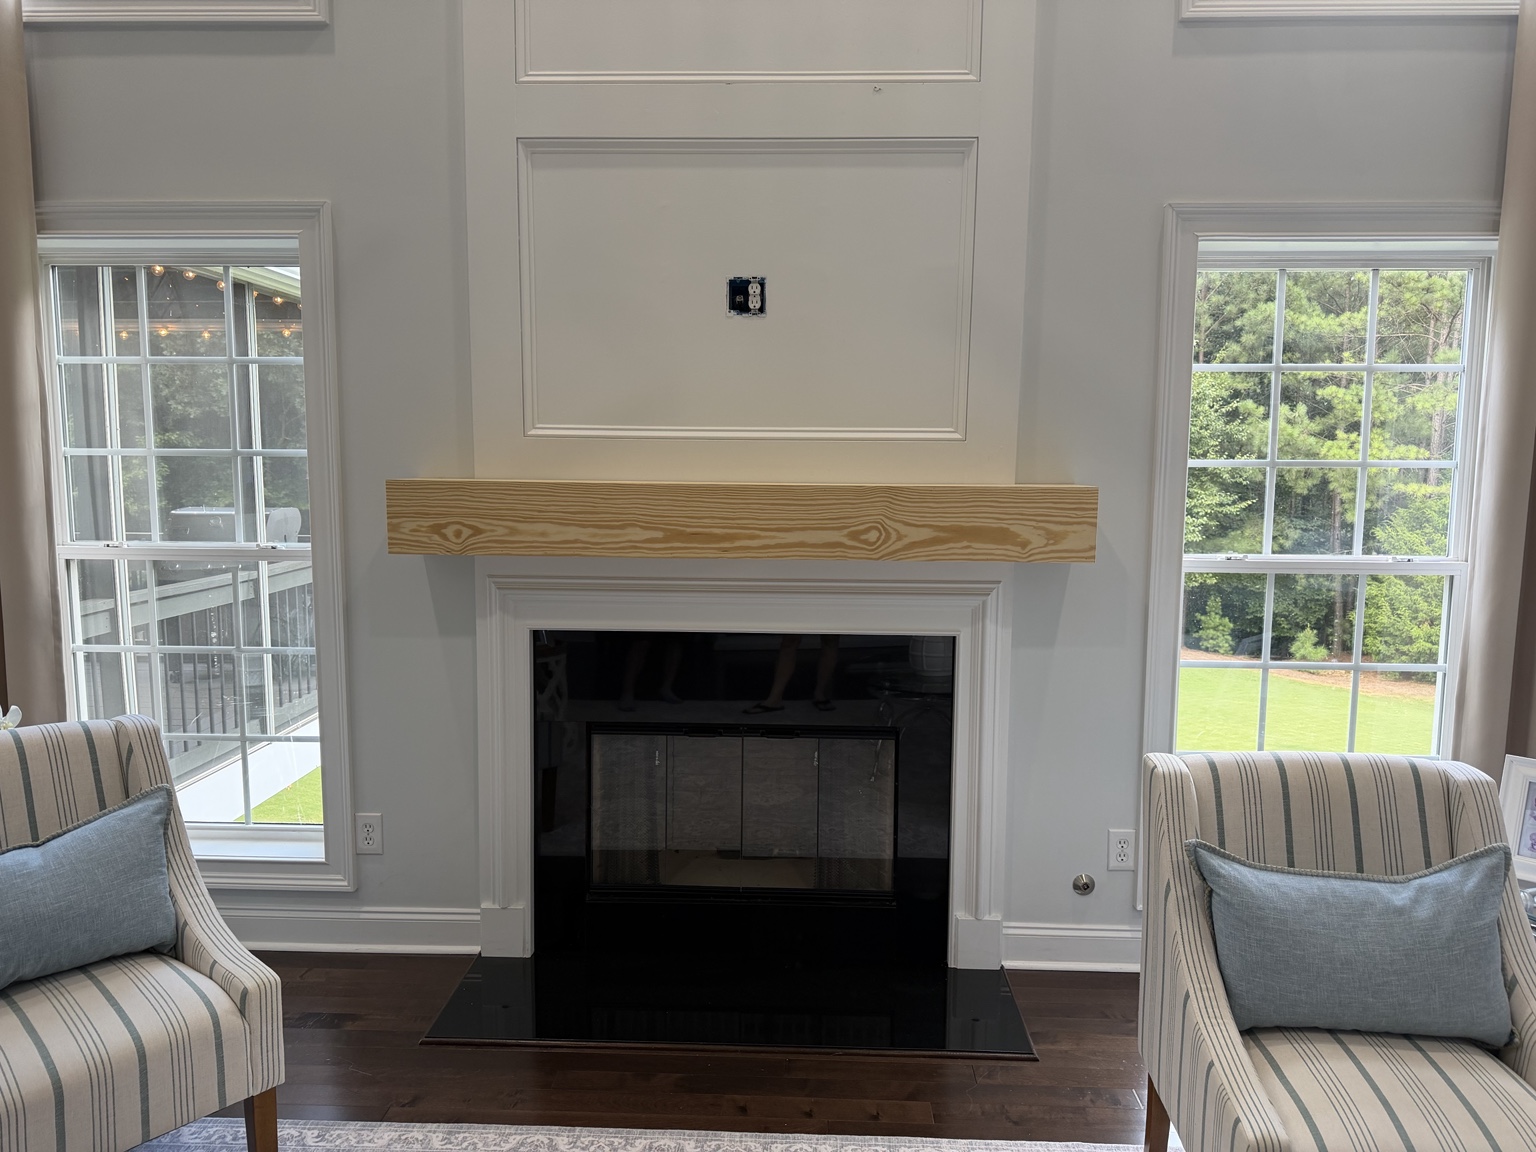
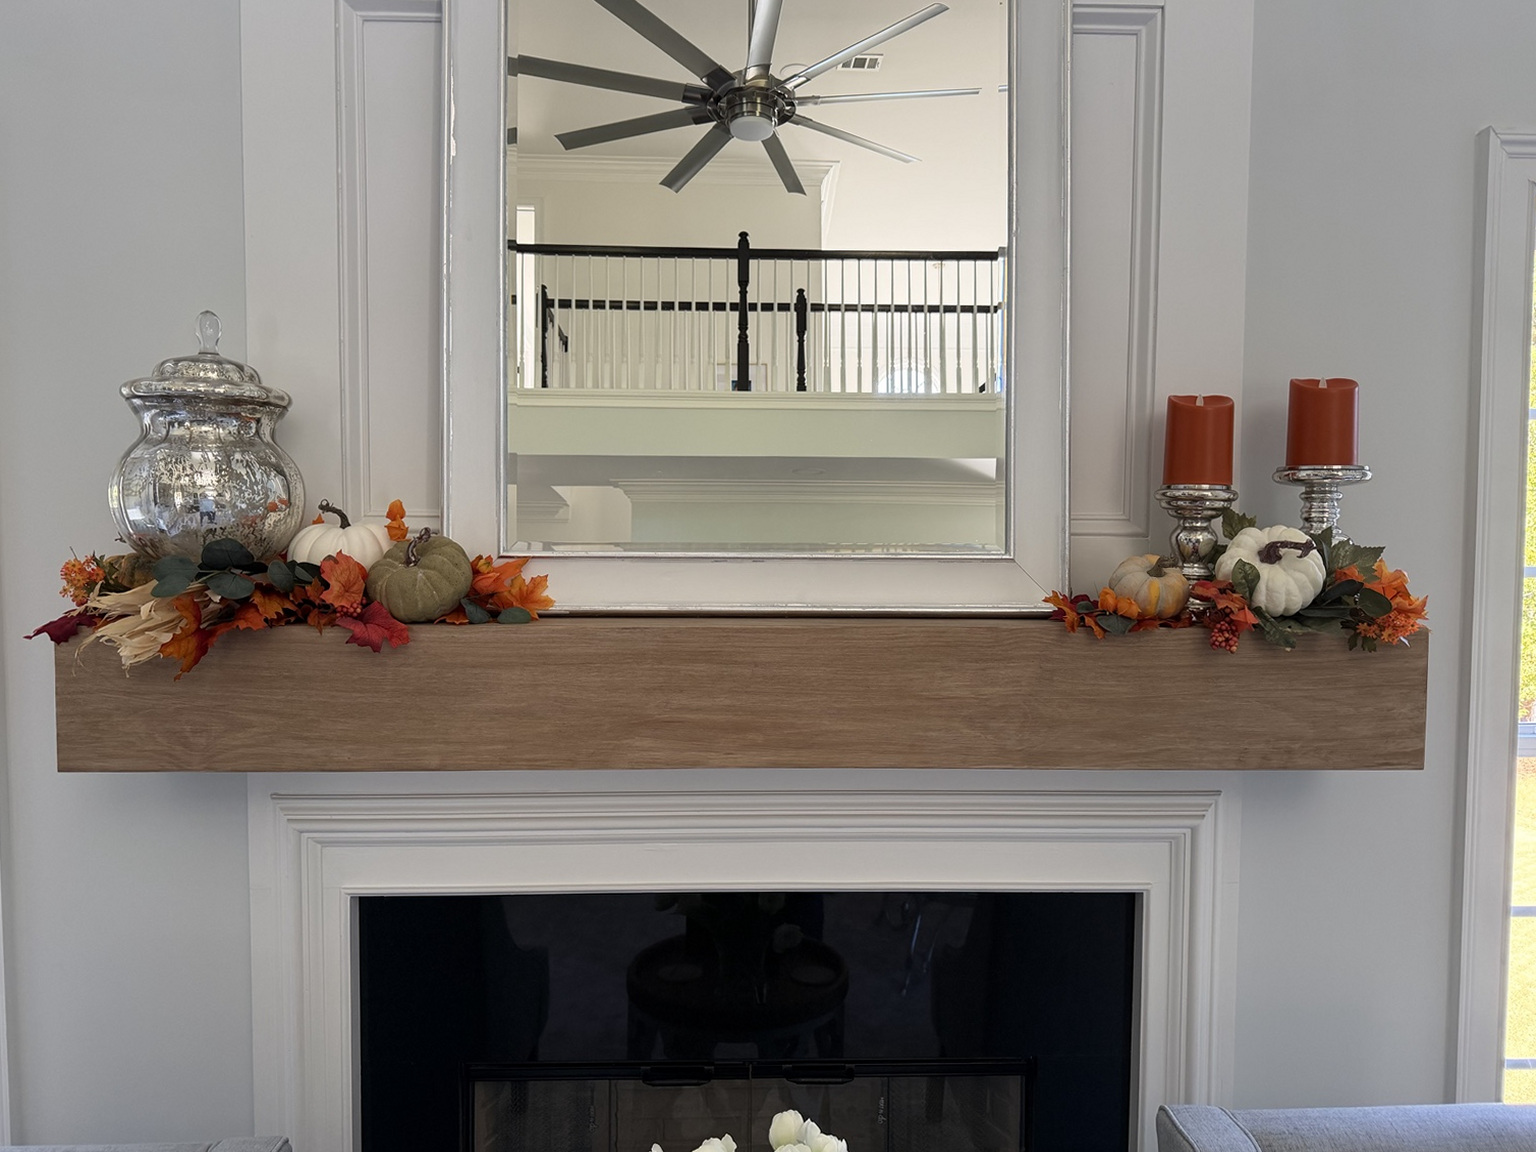
I wasn't looking to rip out our fireplace mantel. I actually liked it! I just wanted a warmer, more substantial wood look to balance the room. So my husband and I built a hollow pine cover that slips over the existing mantel.
We measured what was already there, then made a slightly larger pine box to fit over it. The new cover sits on the original mantel and is secured with two screws through the top. If I ever change my mind, the white mantel is still there. Apparently commitment is easier when you have options.
THE BUILD
How we made the mantel
Our actual process, including the parts that needed a second try.
STEP 01
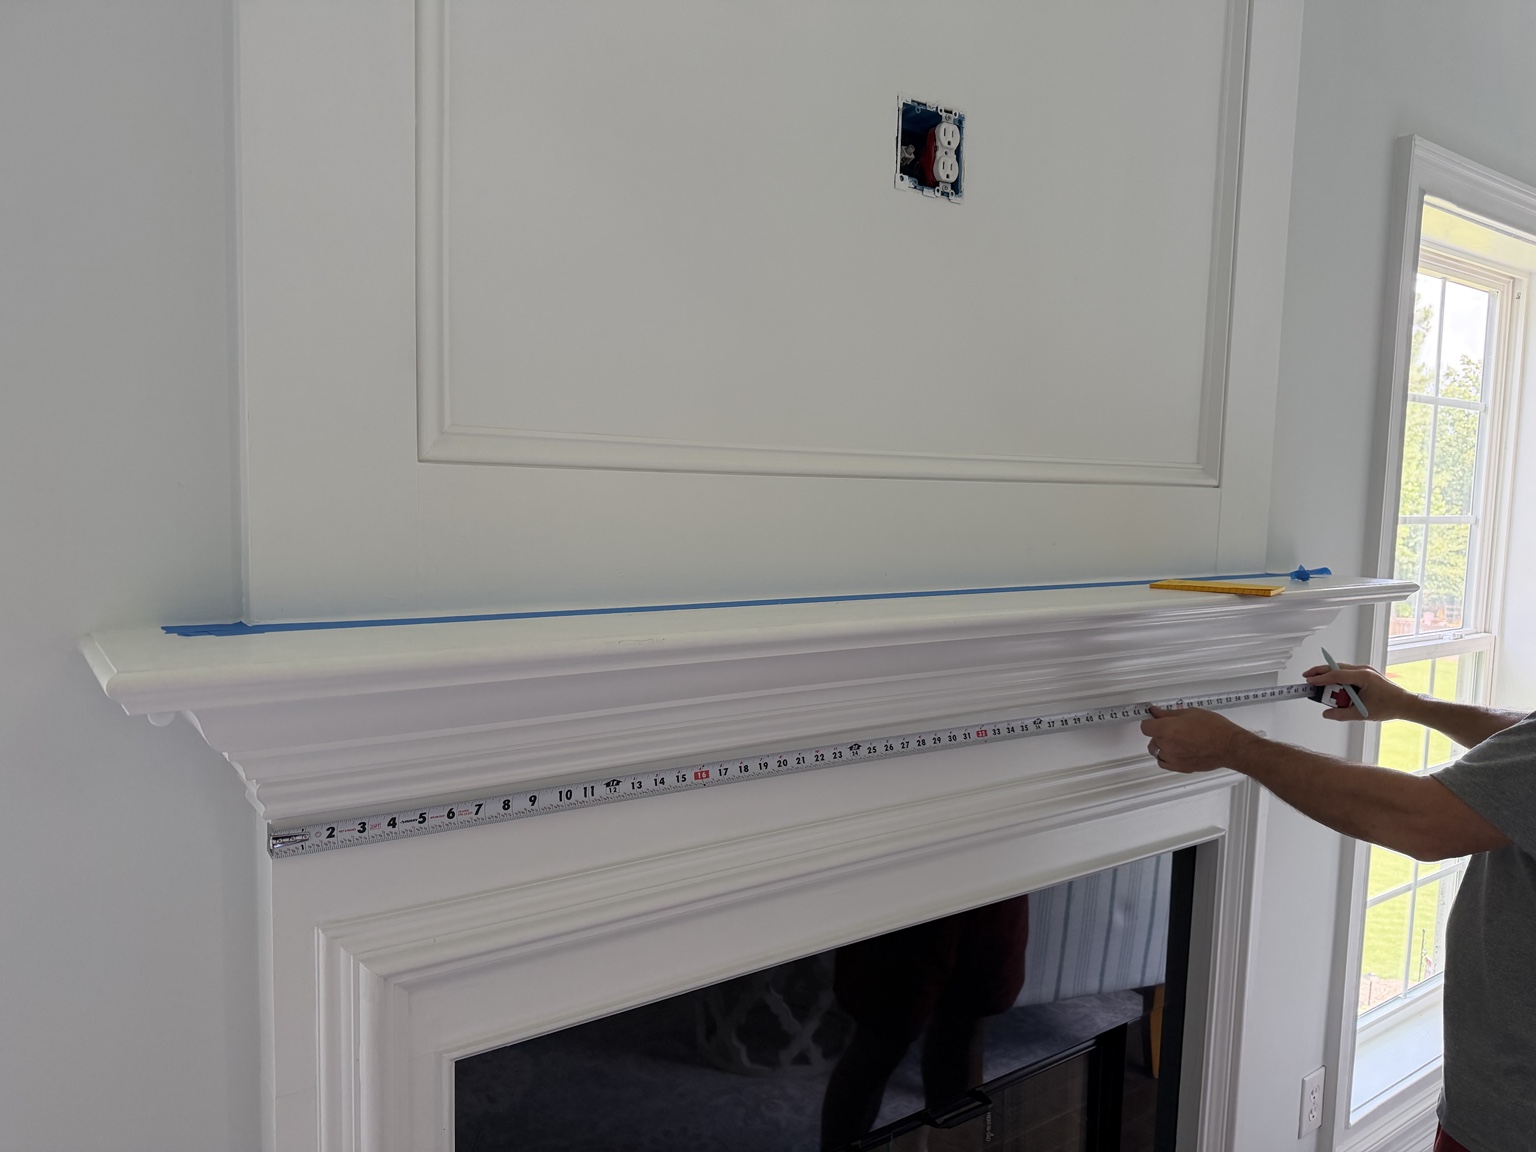
Measure the existing mantel
We measured the length, depth, and height of the existing white mantel and planned a slightly larger box to slide over it. Our finished cover measures 73½ inches long, 9½ inches deep, and 7⅝ inches high. Yours should be sized around what you already have.
Our fireplace wasn't perfectly square. The measurements were the starting point; the dry fits told us what actually worked.
STEP 02
Cut the pine for a hollow cover
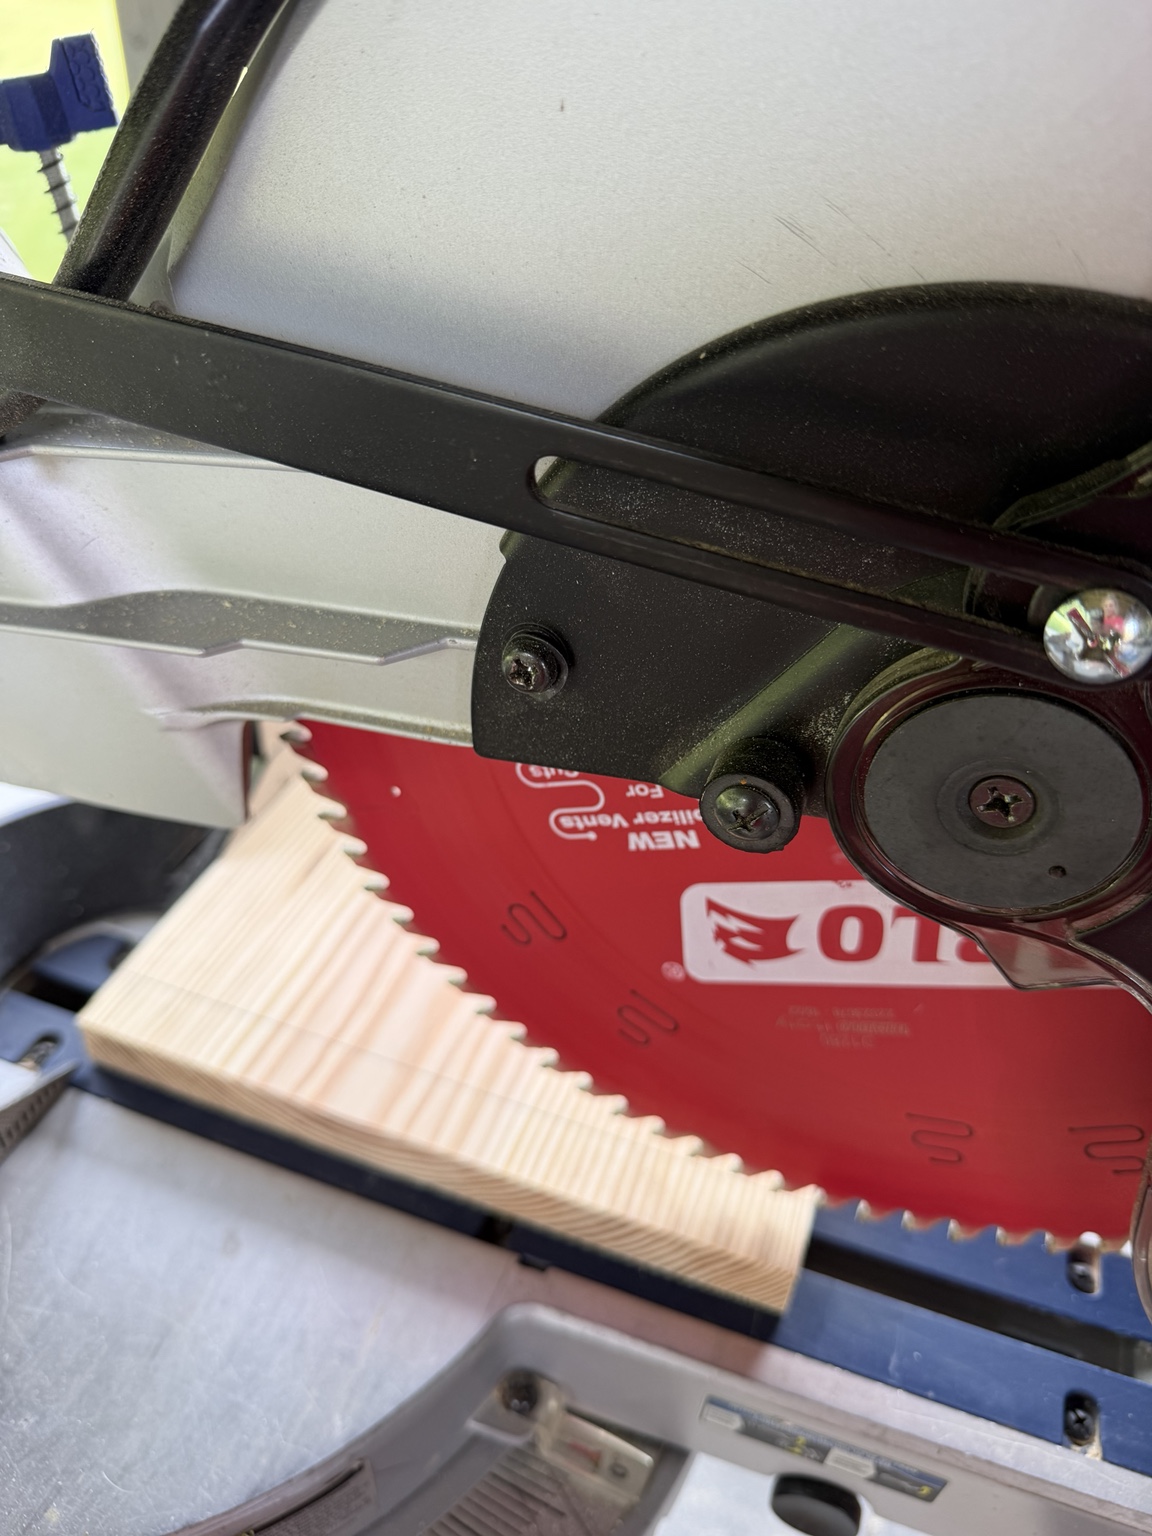
We purchased two 1×10×8 pine boards and one 1×8×8 pine board. We used a miter saw to cut the main boards to length for our existing mantel, then used offcuts for the ends. The hollow box gives the look of a substantial wood beam without buying a solid timber.
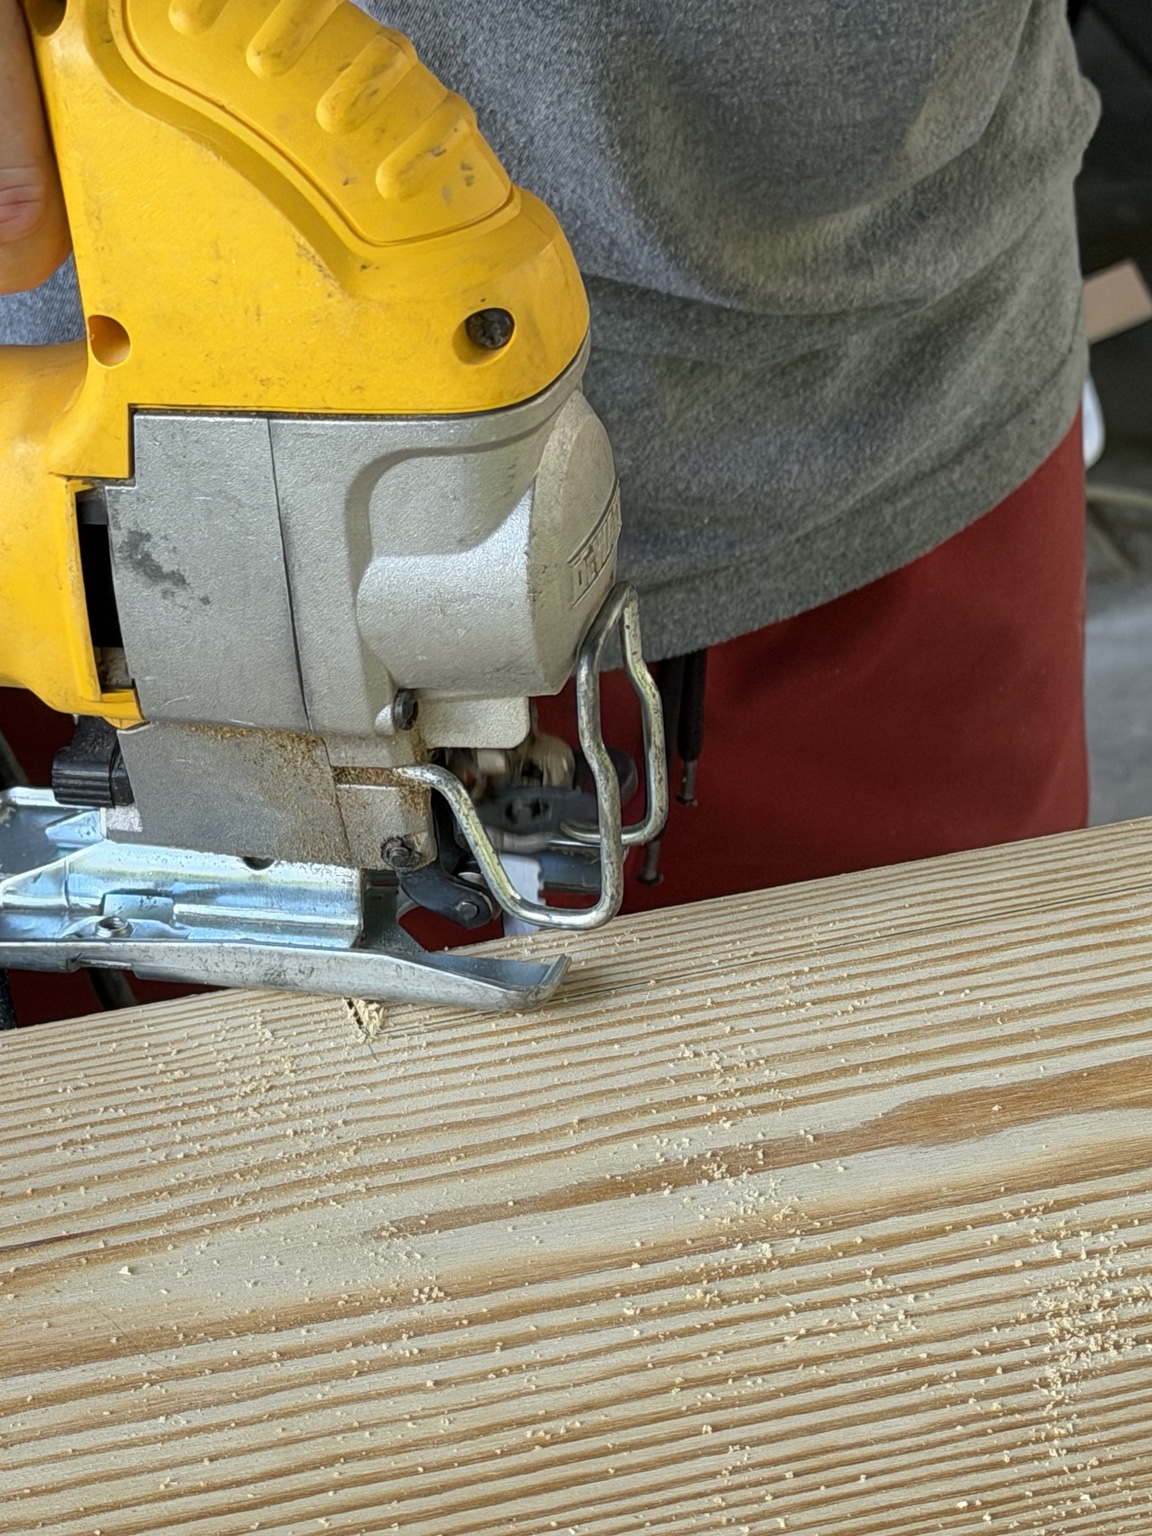
We used a jigsaw to cut clearance notches where the cover meets the wall, allowing it to fit over the existing molding.
STEP 03
Glue, nail, and smooth the box
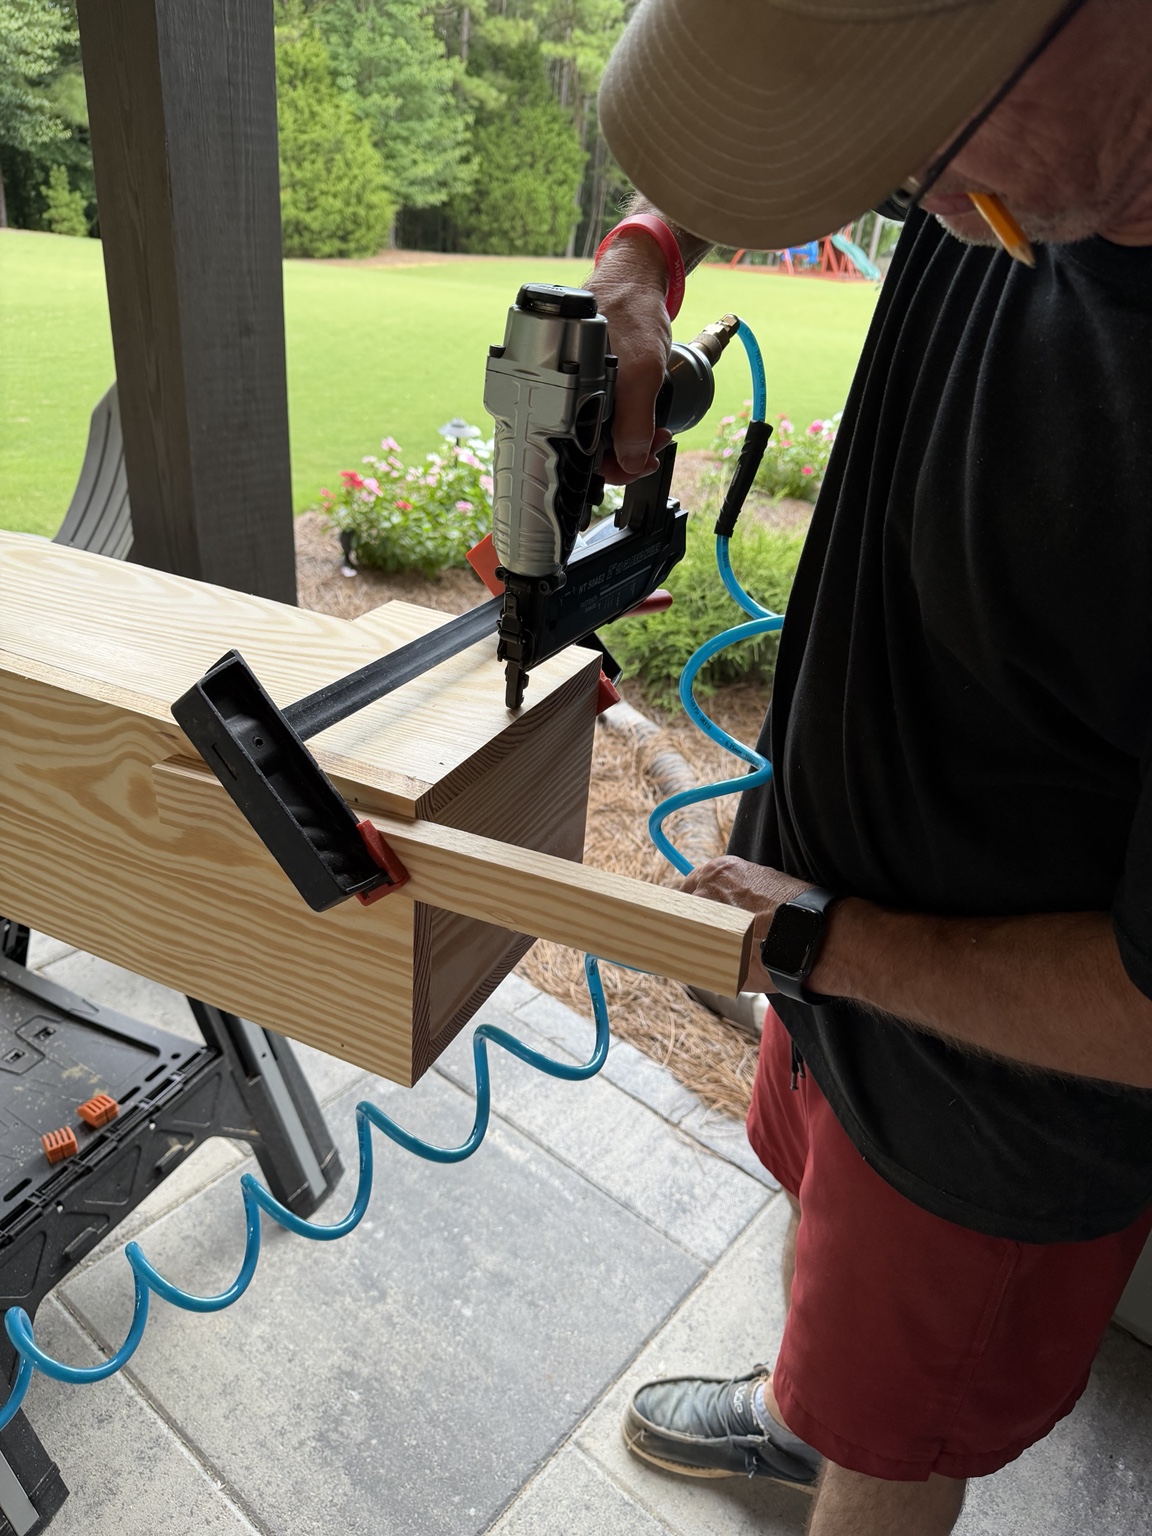
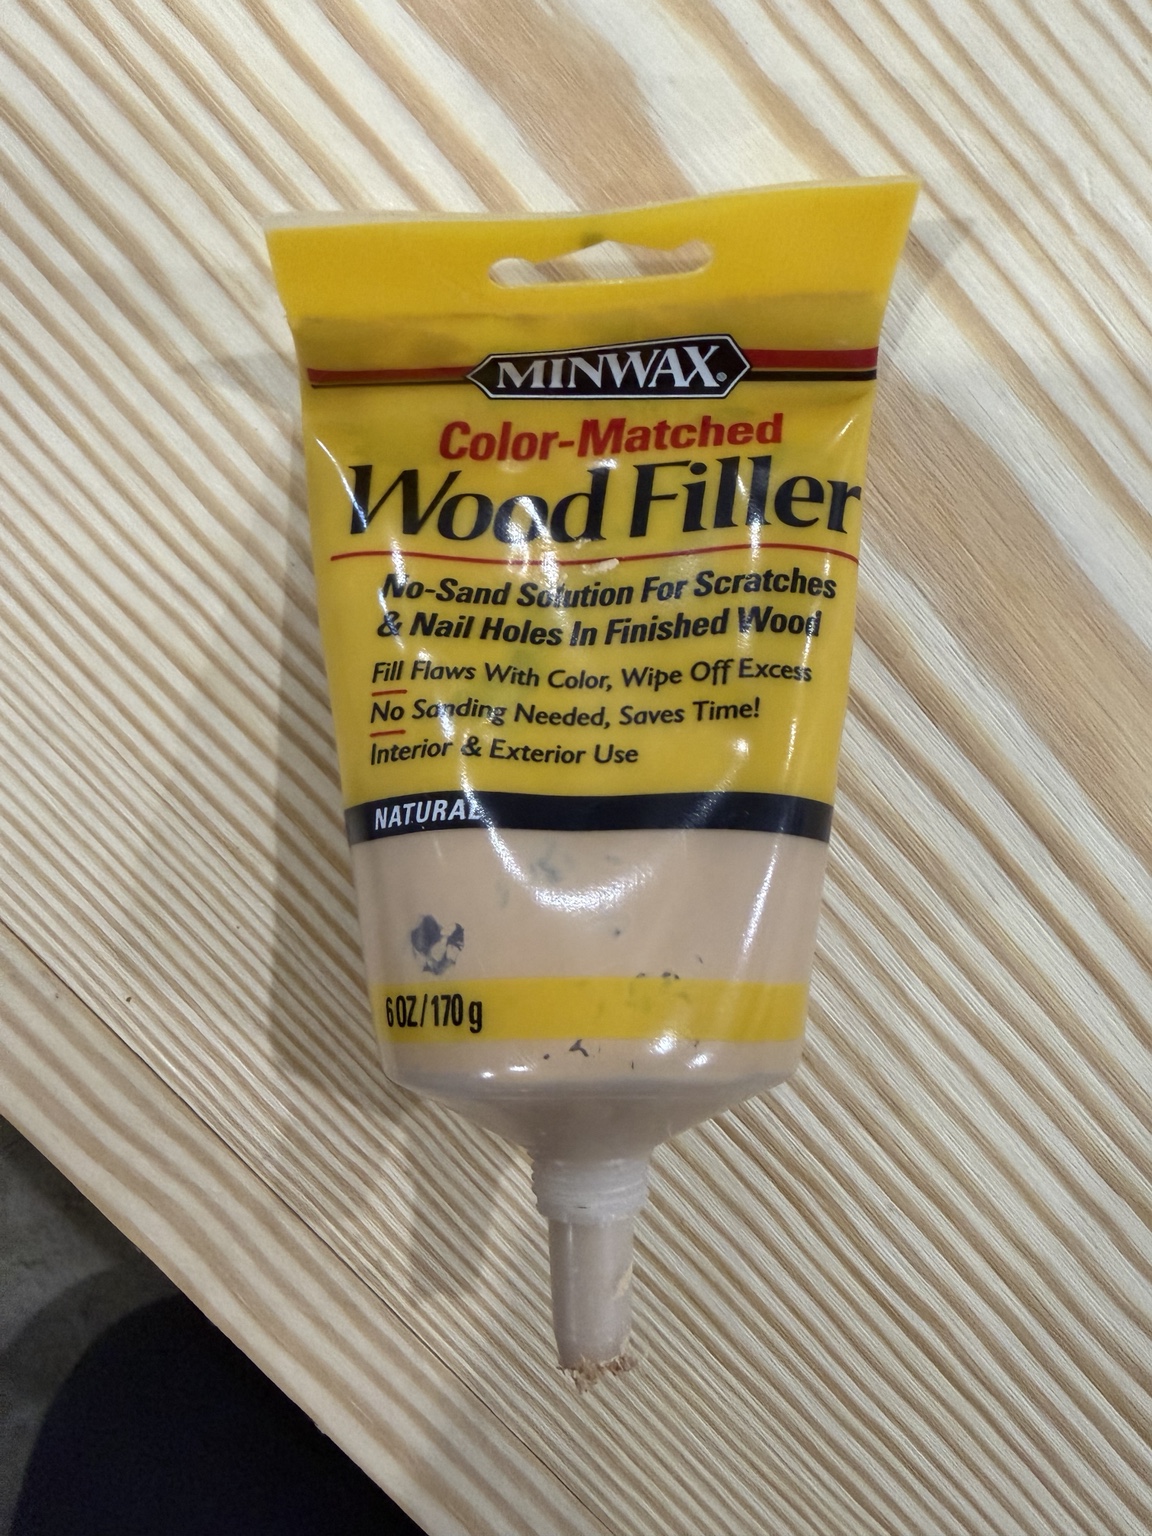
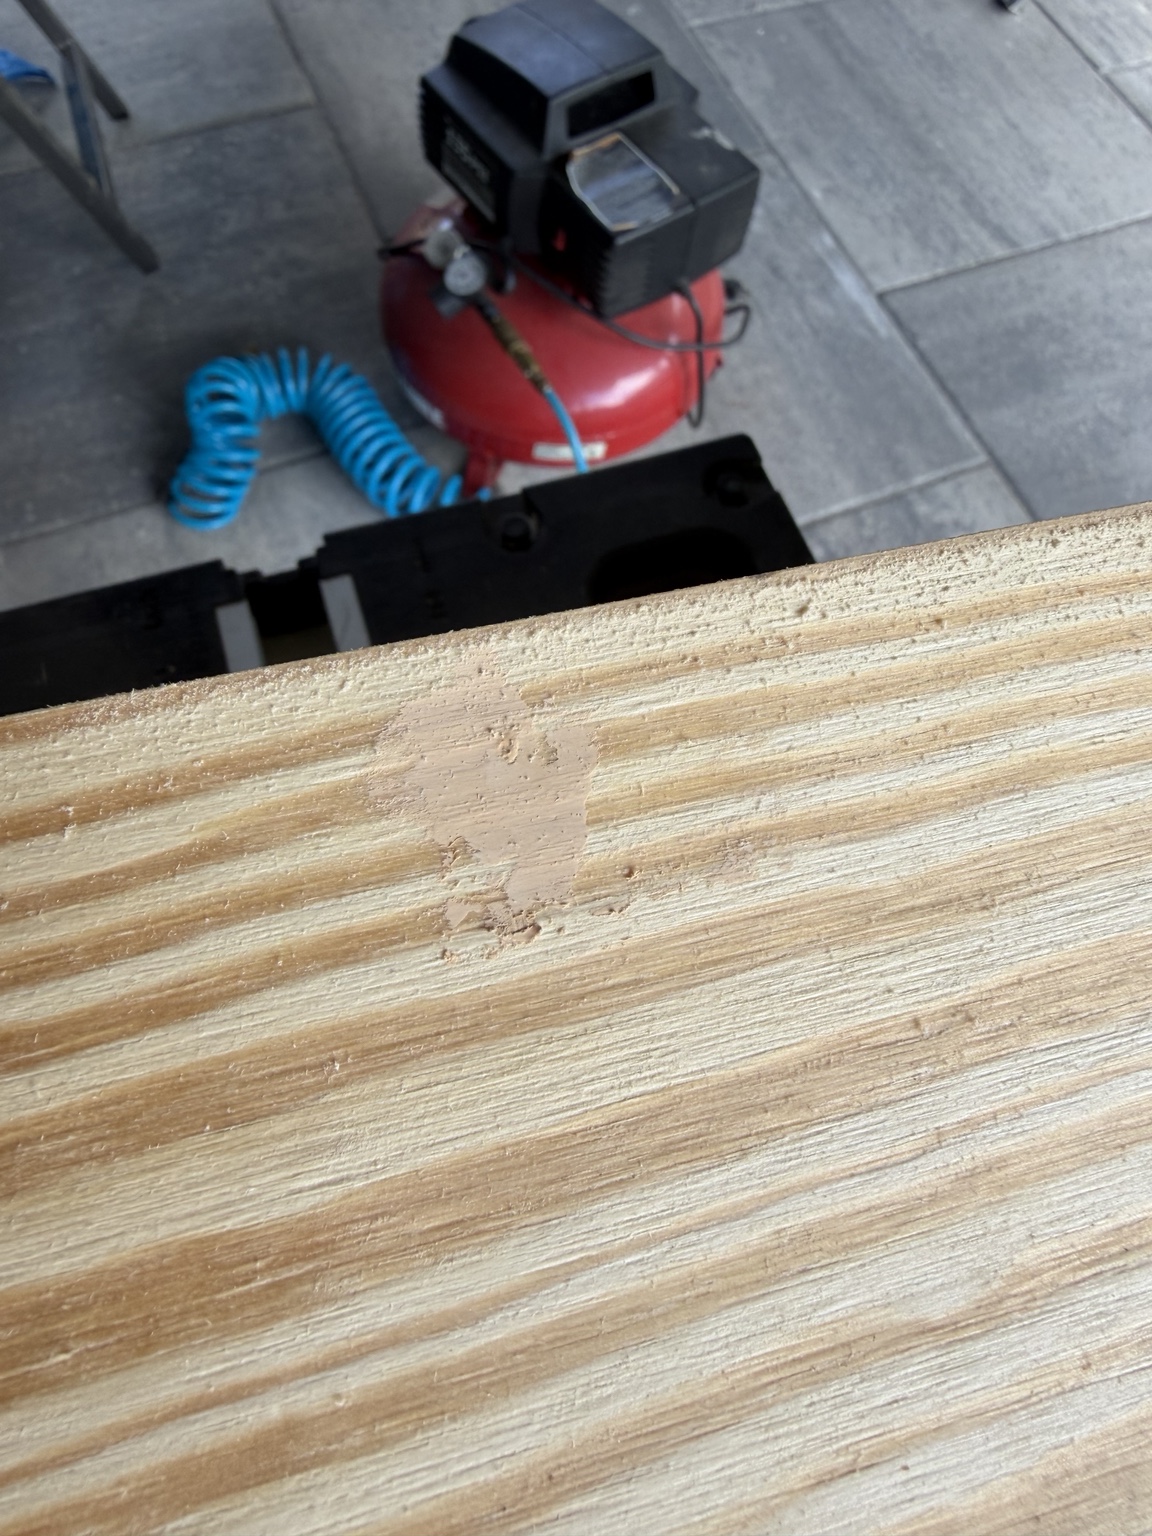
We used square butt joints and wood glue, held the boards with clamps, then secured the joints with a brad nailer powered by an air compressor. After filling the nail holes, we sanded the assembled box with an orbital sander and a sanding block, softening the edges just a touch.
Nothing overly ornate here. I wanted the wood grain and proportions to do the talking.
STEP 04
Dry-fit. Adjust. Dry-fit again.
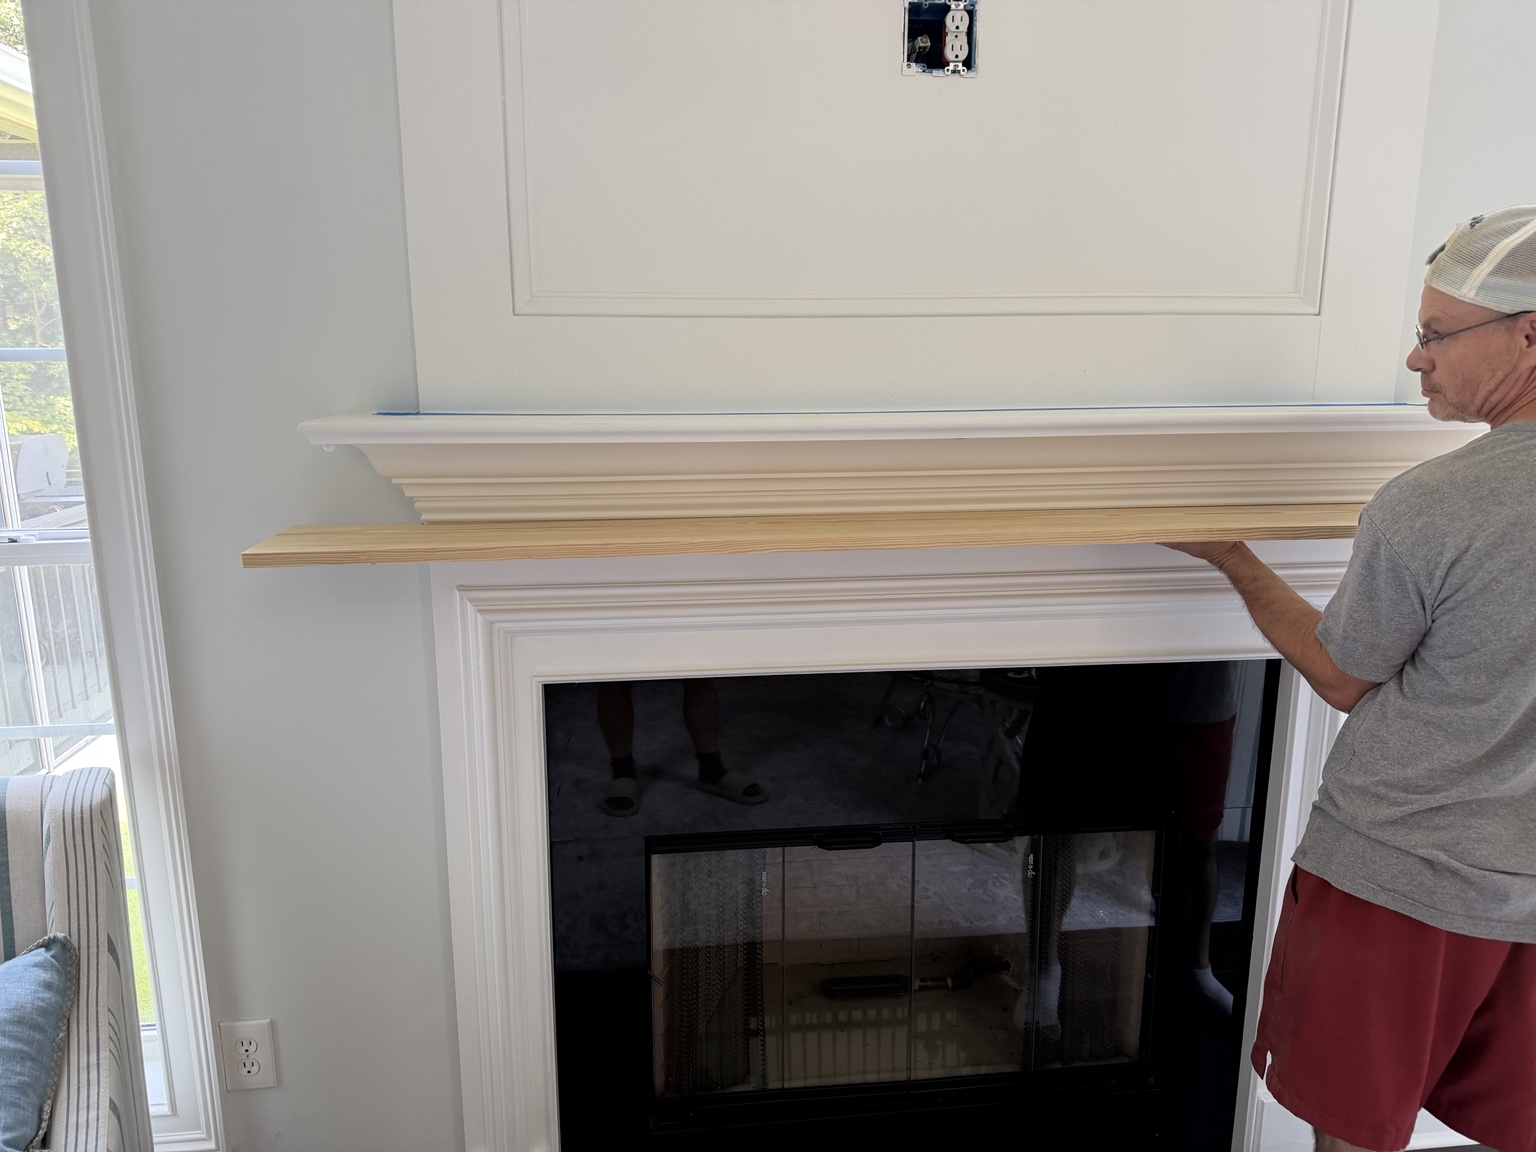
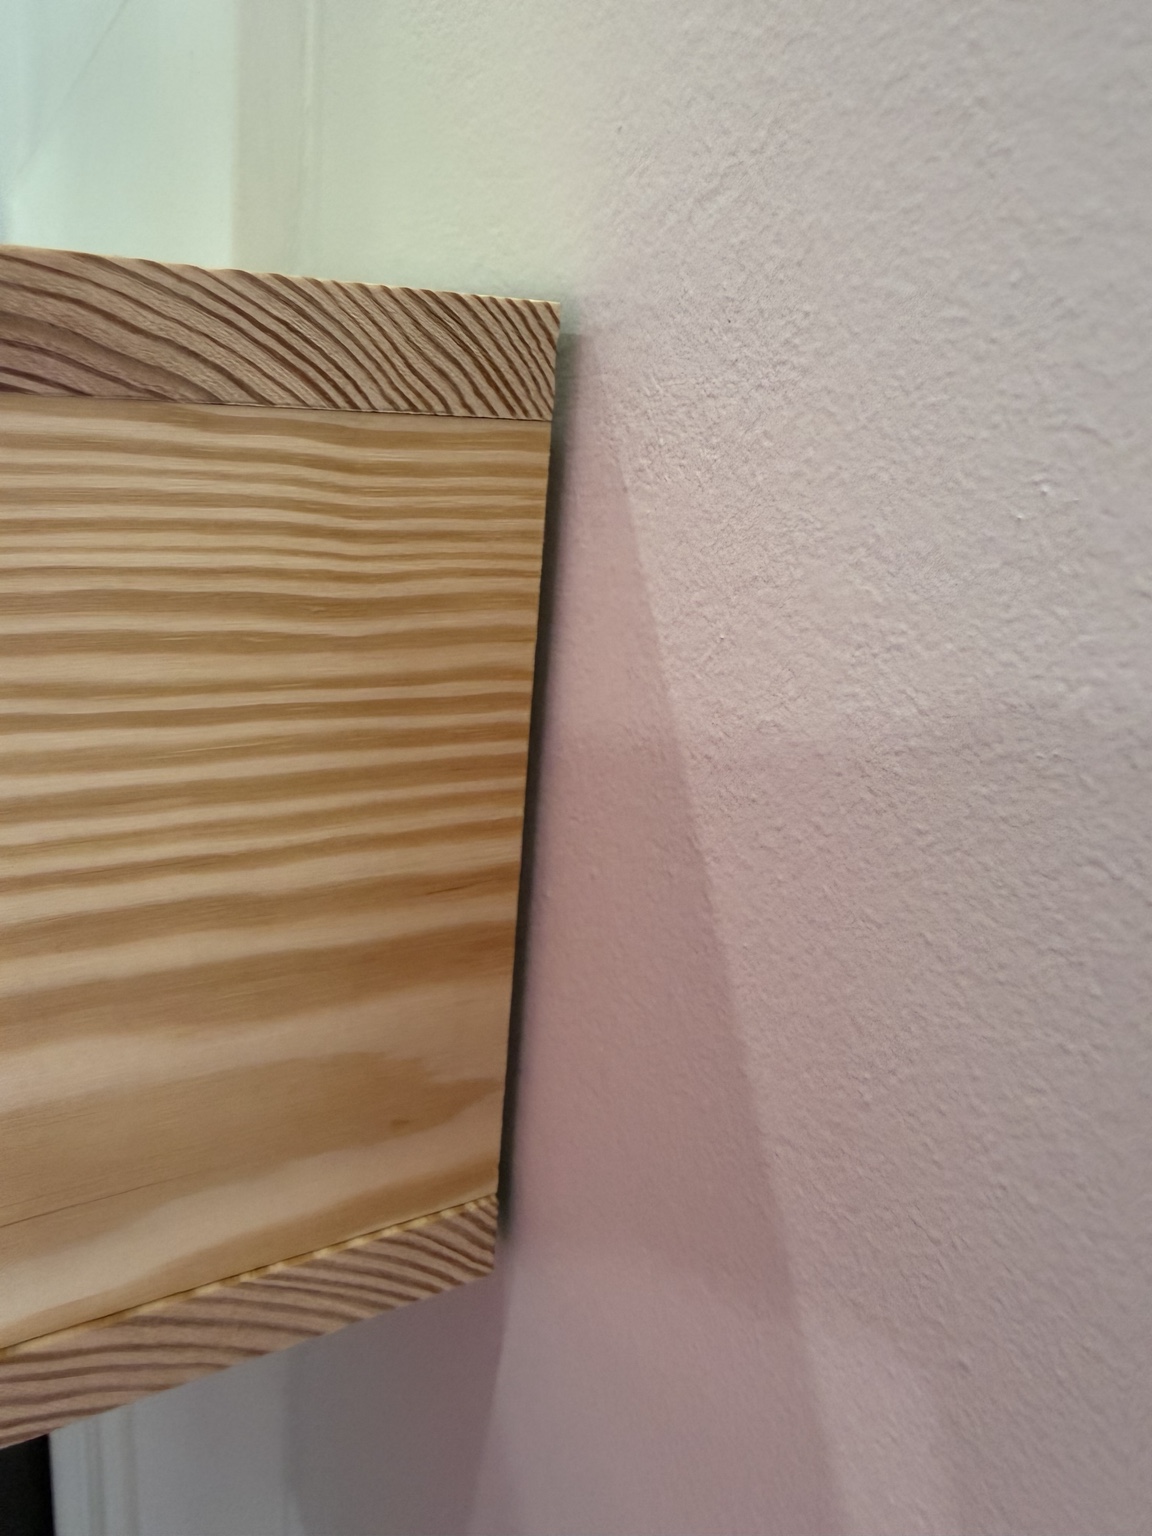
Our first fit sat at an angle because the existing trim wasn't perfectly square. Rather than forcing it, we adjusted the cutouts and tried again until the cover slipped on snugly.
This is the part where a few extra minutes with the jigsaw saved a lot of frustration later.
STEP 05
Test the finish before committing
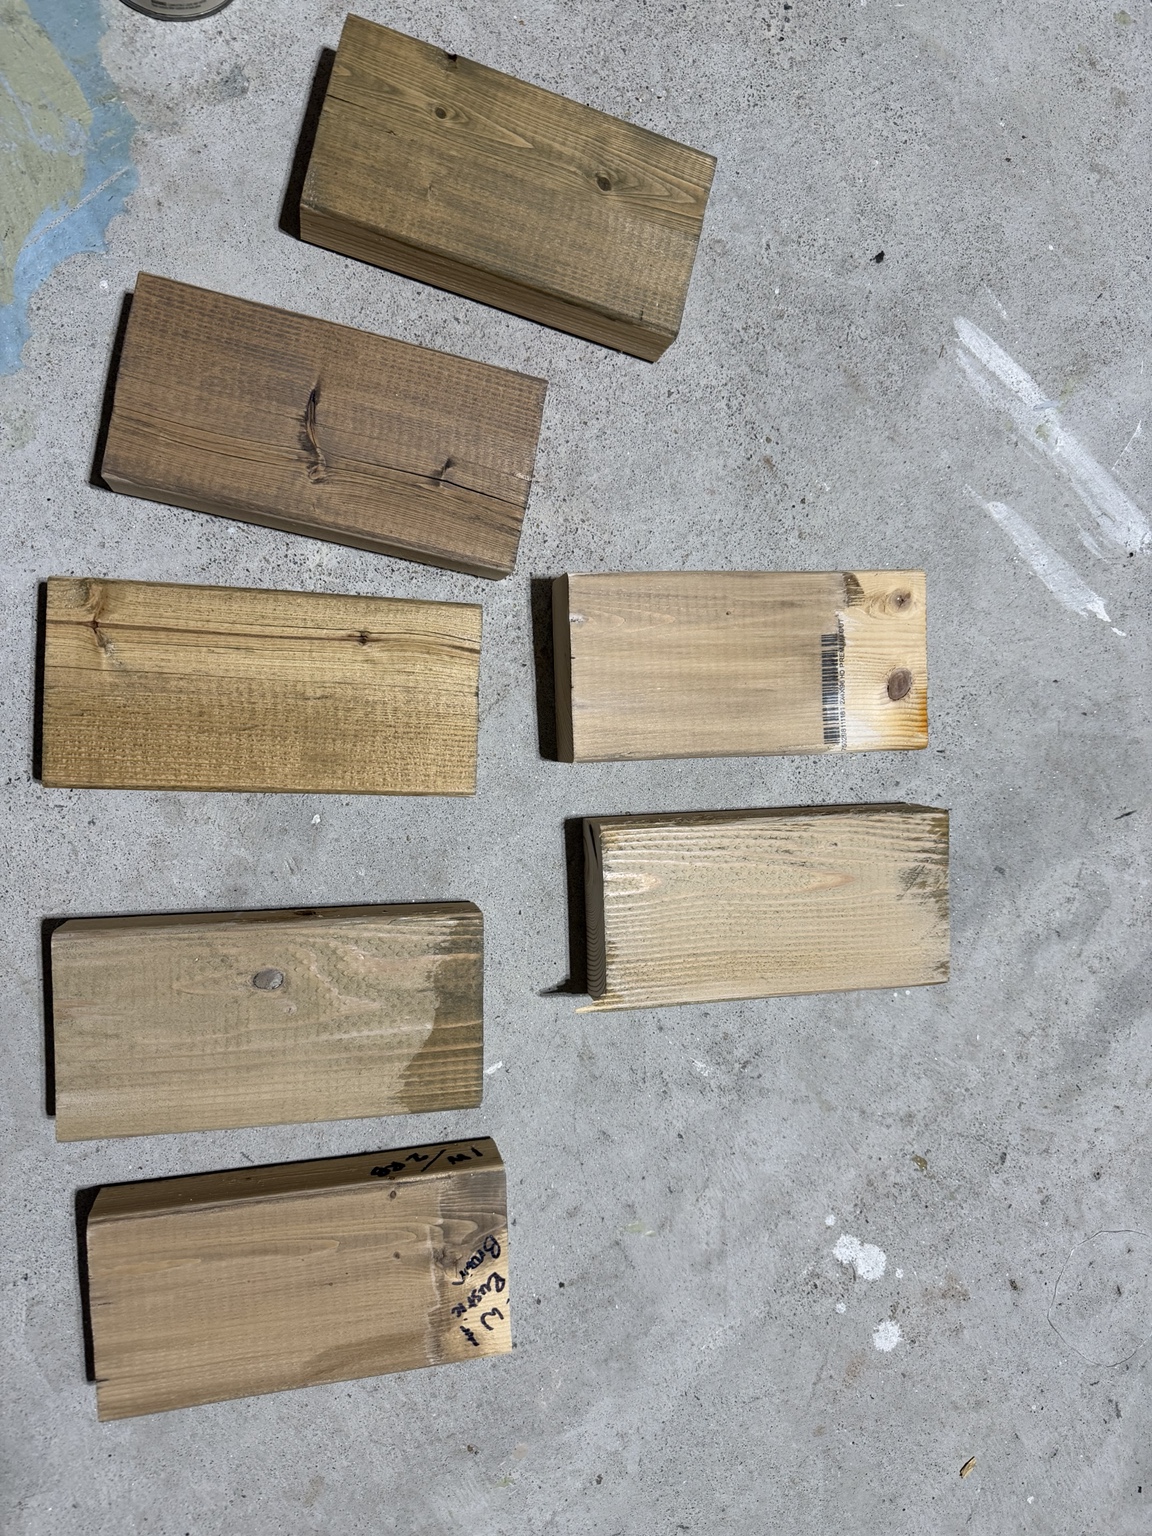
I tested stain combinations on scrap pine before touching the mantel. My goal was a soft, natural brown—not too orange, not too dark, and not too gray.
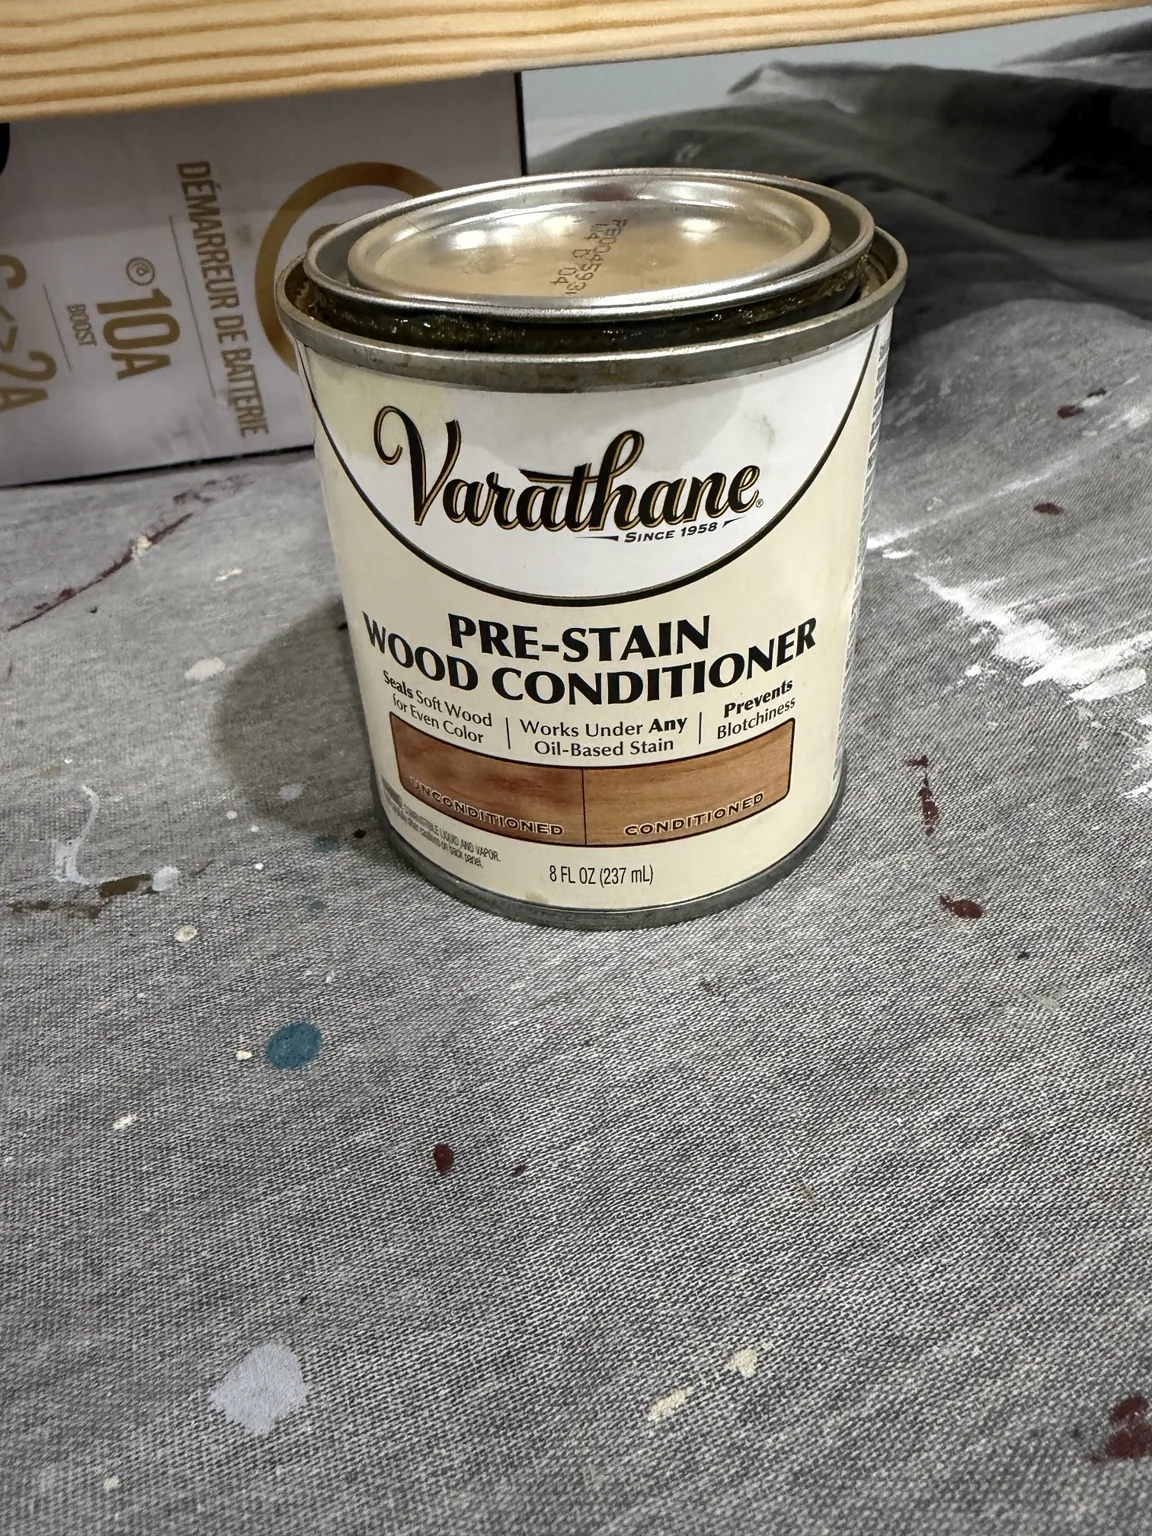
I tested combinations on scrap pine and let the samples dry before deciding. On the mantel itself, I sanded, removed dust with a dry cloth, applied the oil-based conditioner I already had with a foam brush, wiped off the excess, and left it overnight. Always follow the directions for the exact products you use—drying windows and compatibility vary.
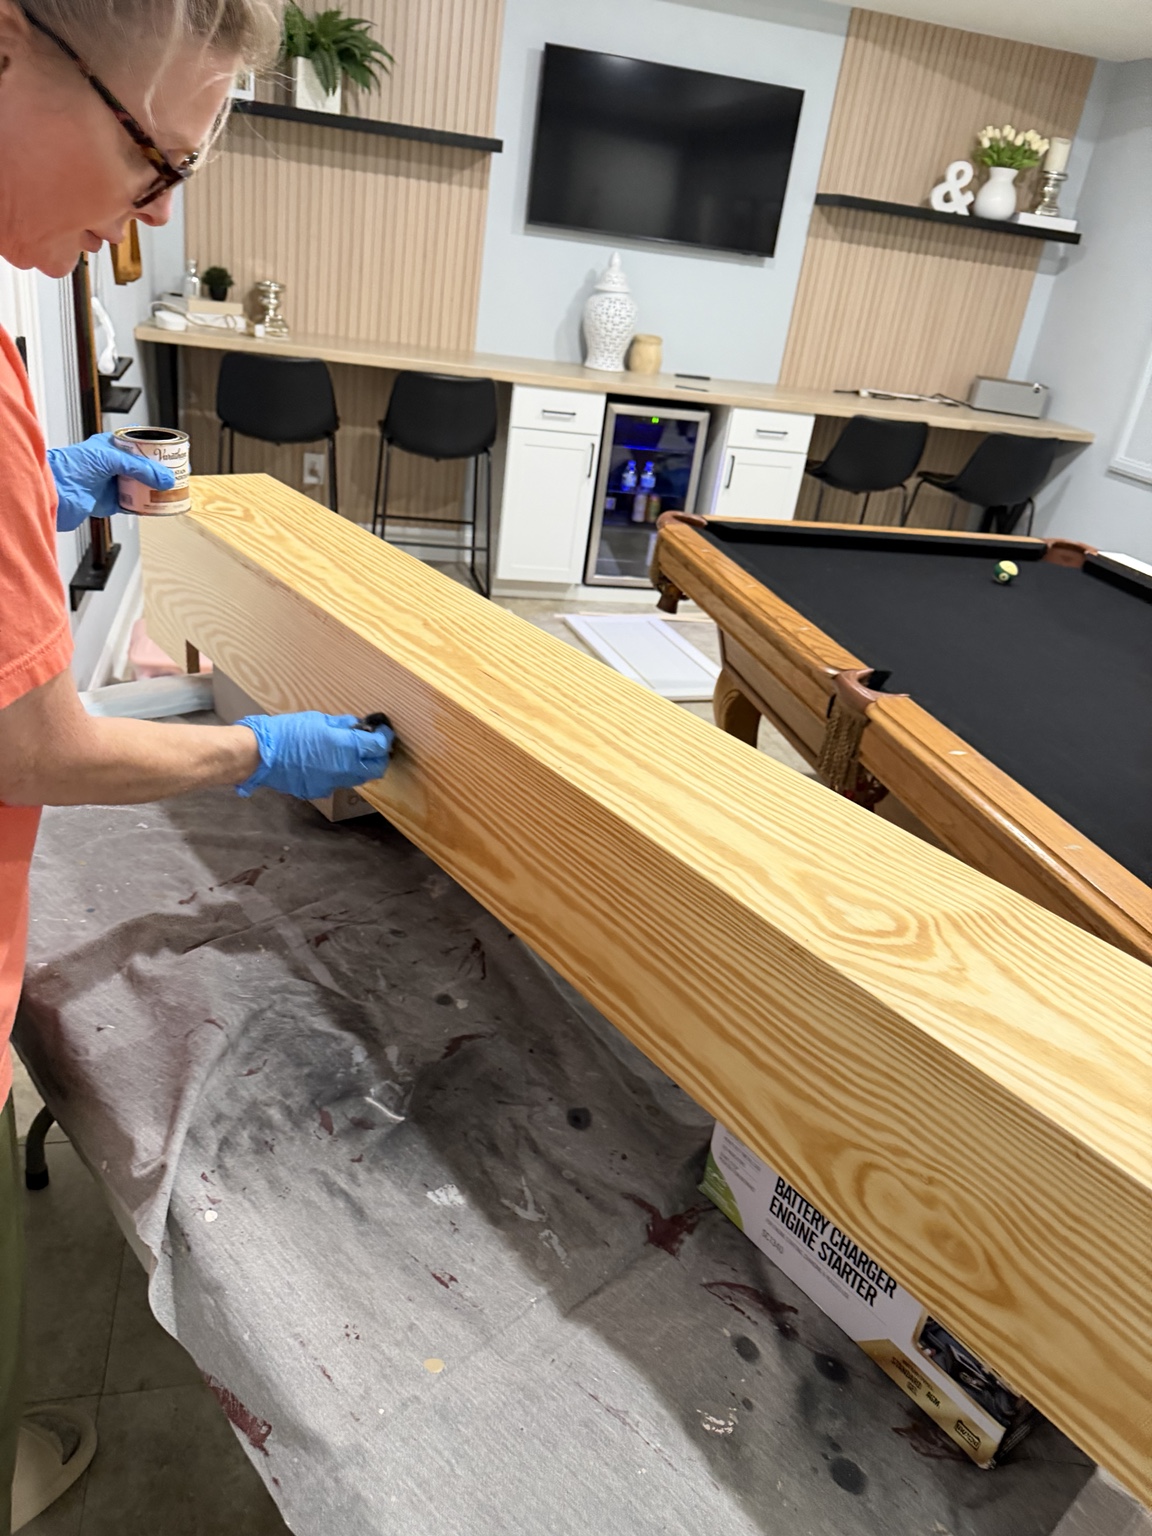
Both stains went on with foam brushes and came off with clean cotton rags, always working with the grain. I used separate tools for each color and kept a wet edge.
STEP 06
Stain the mantel—and know when to stop
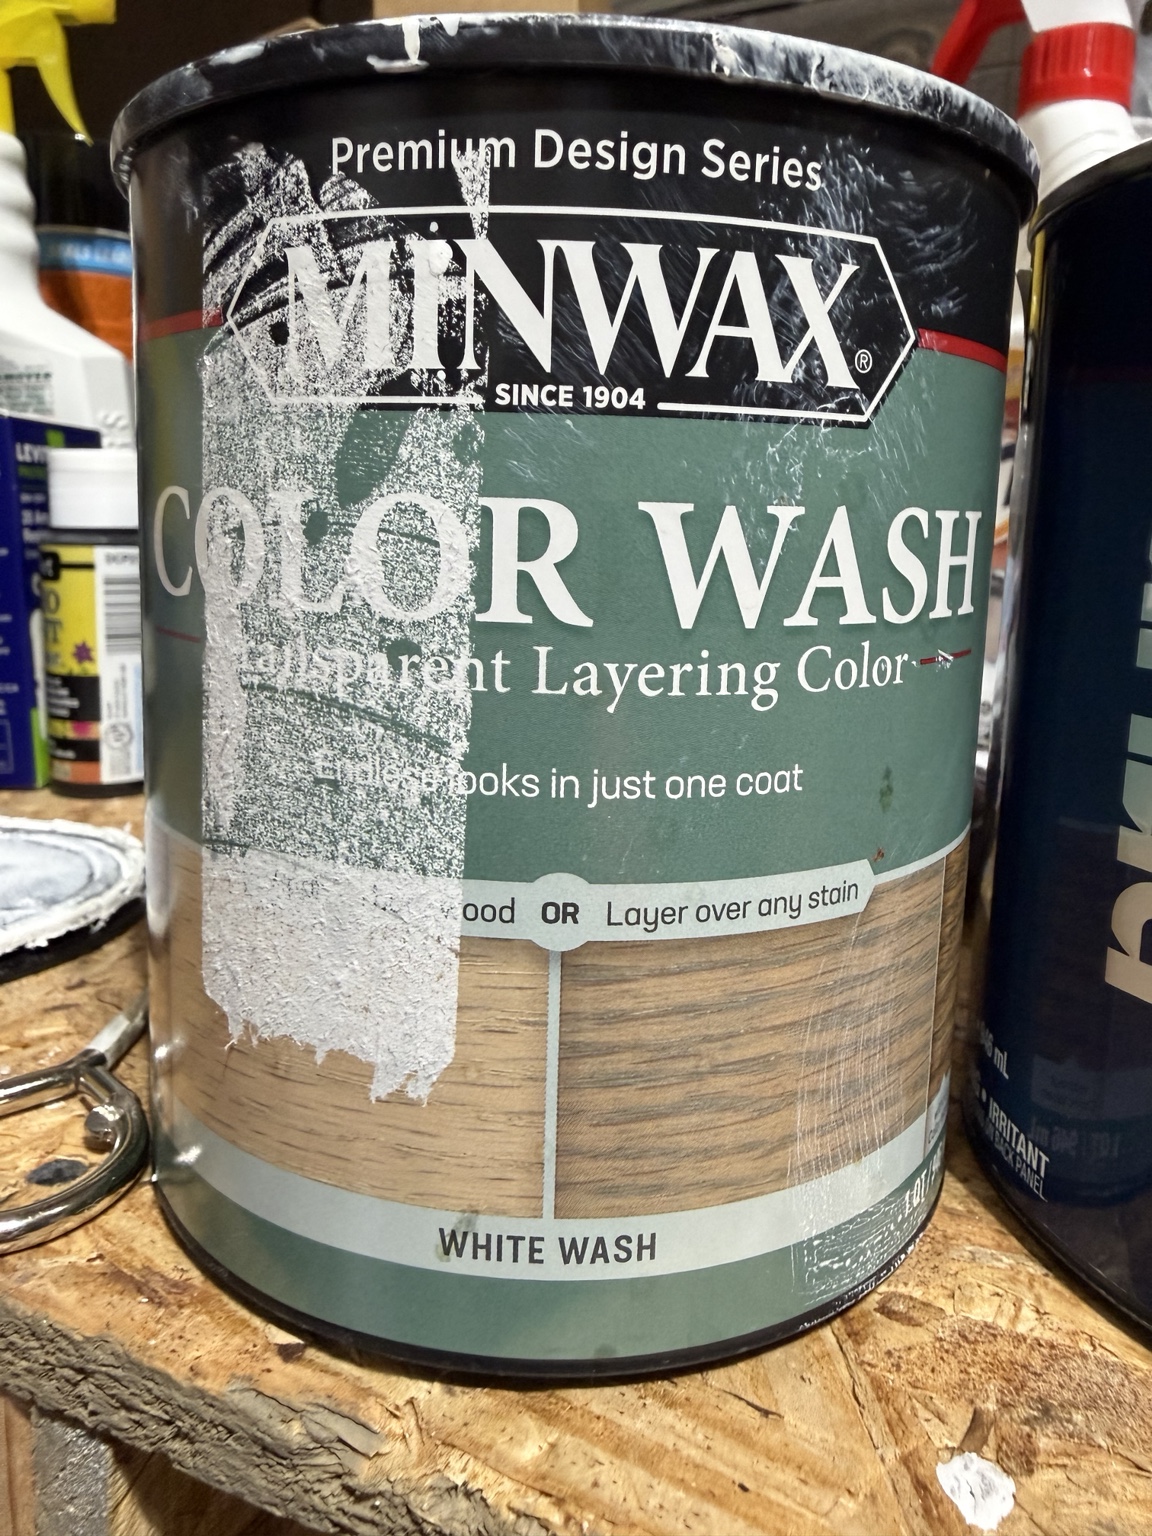
I brushed on one coat of Minwax Color Wash White Wash, wiped it back with a clean cotton rag in the direction of the grain, and waited about 30 minutes. Next came one coat of BEHR Rustic Brown, applied and wiped the same way. I worked bottom, front, top, then sides; kept a wet edge; and used fresh brushes and rags for each color.
I considered adding a second coat of Rustic Brown, but stopped after one. I loved the lighter result. No clear topcoat was applied on this project. We let the mantel dry overnight before installing it; check the finish maker’s directions for protective topcoats and full cure times.

STEP 07
Slip it on and secure it
Once the finish was dry, we slid the new mantel over the original. Two countersunk 2½-inch screws went through the top of the cover into the existing mantel, about six inches in from each end.
The screw holes are hidden behind the mirror, so we left them unfilled. The original mantel is still underneath, with just those two screw holes.

BEHIND THE SCENES
Yes, we filmed the messy parts too.
We documented cutting, assembly, dry-fitting, and sanding on video along the way. Those clips are being saved for a future The Ivey House Reel—because a project tutorial should show what actually happened, not just the pretty after.
WHAT I'D TELL A FRIEND
Lessons from the project
- Test the final finish patiently. The last thing you want after all that building is to sand everything off because you rushed the color.
- Use the same application tools on the sample boards. A different brush or rag can change how the stain looks.
- Let the sample dry before judging it. And test over the same prep and surface conditions you plan to use on the real piece.
- Lock the legs on your folding table. Ask me how I know. The mantel survived; my mood took a little longer. 😅
- Stop when you like it. A second coat isn't automatically better.
- Keep the finish system compatible. I used an oil-based conditioner because I had it, but the odor was intense indoors. I now prefer water-based products when possible. Oil and water-based finishes can sometimes be layered, but only when the manufacturers allow it and the drying requirements are met.
- Check your fireplace clearances. Wood is combustible; check the appliance and local requirements before making or installing a mantel cover.
THE PAYOFF
The warmth I wanted, with the fireplace I already had
This project changed the feel of the room without changing the bones of the fireplace. And because the new mantel slips over the original, we kept our options open.
Sometimes the smartest makeover isn't a replacement. It's a really good cover-up.
One thoughtful project at a time. Even the ones that take a couple of extra dry fits.