THE STORY BEHIND THE MAKEOVER
Why I refreshed instead of replaced
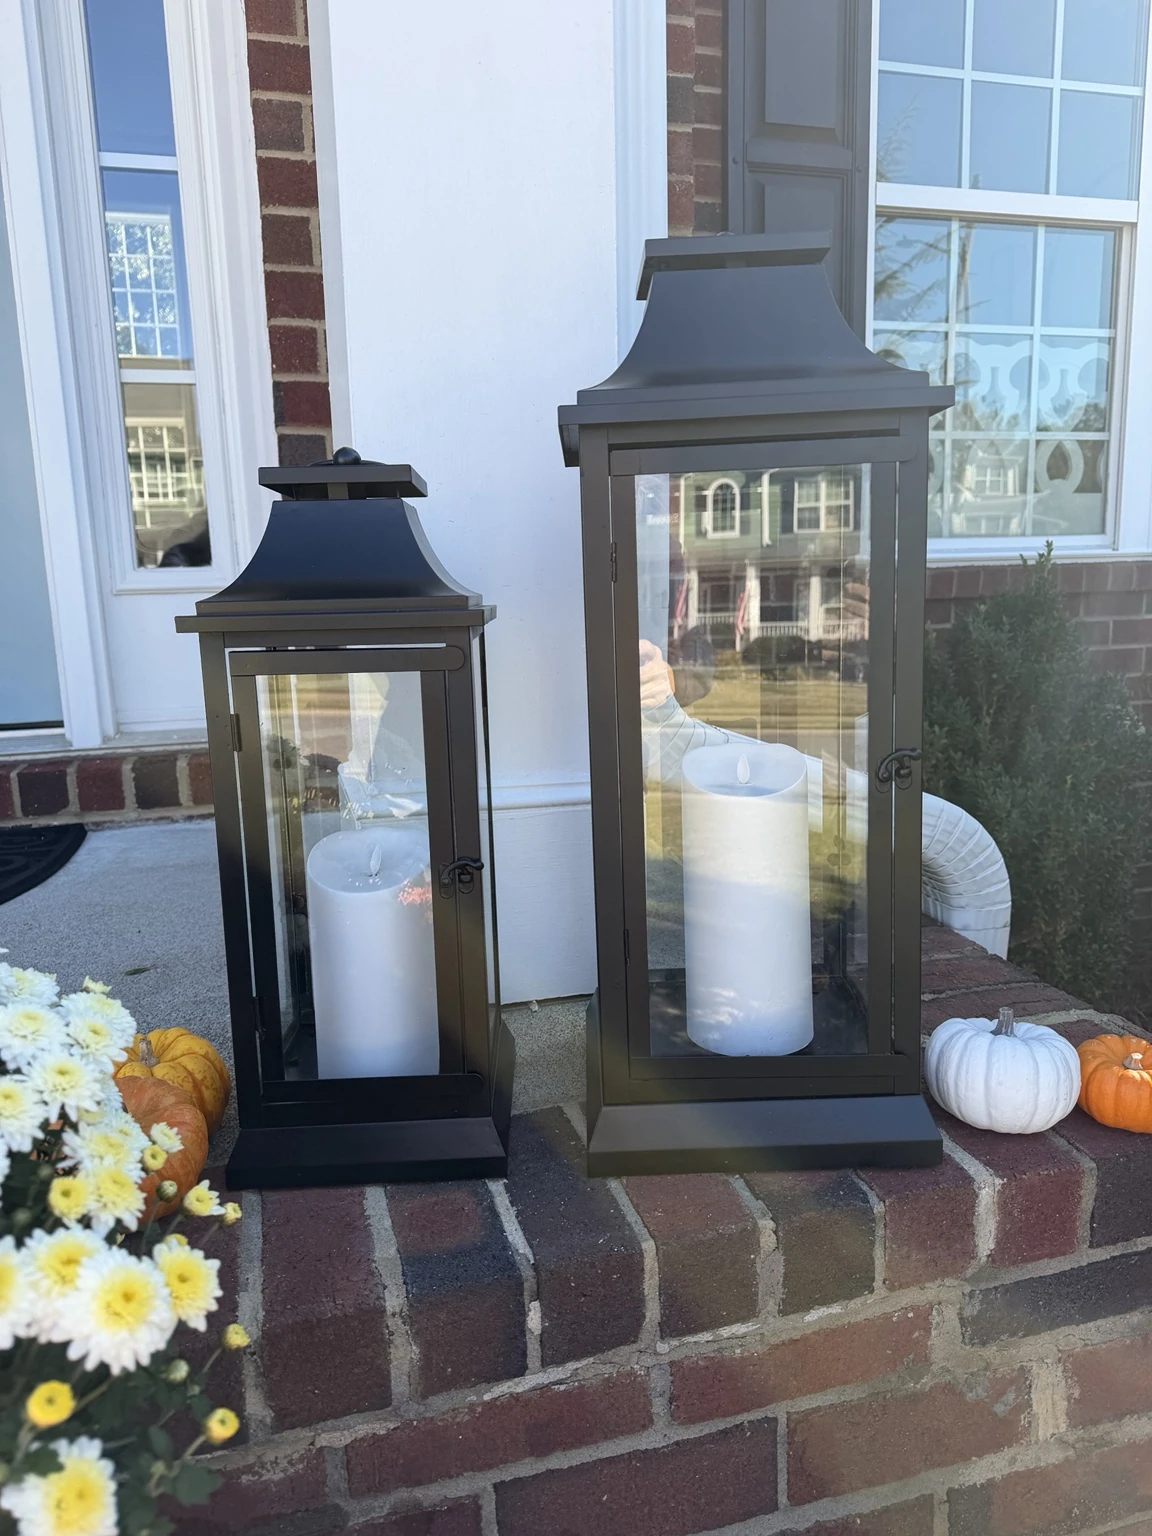
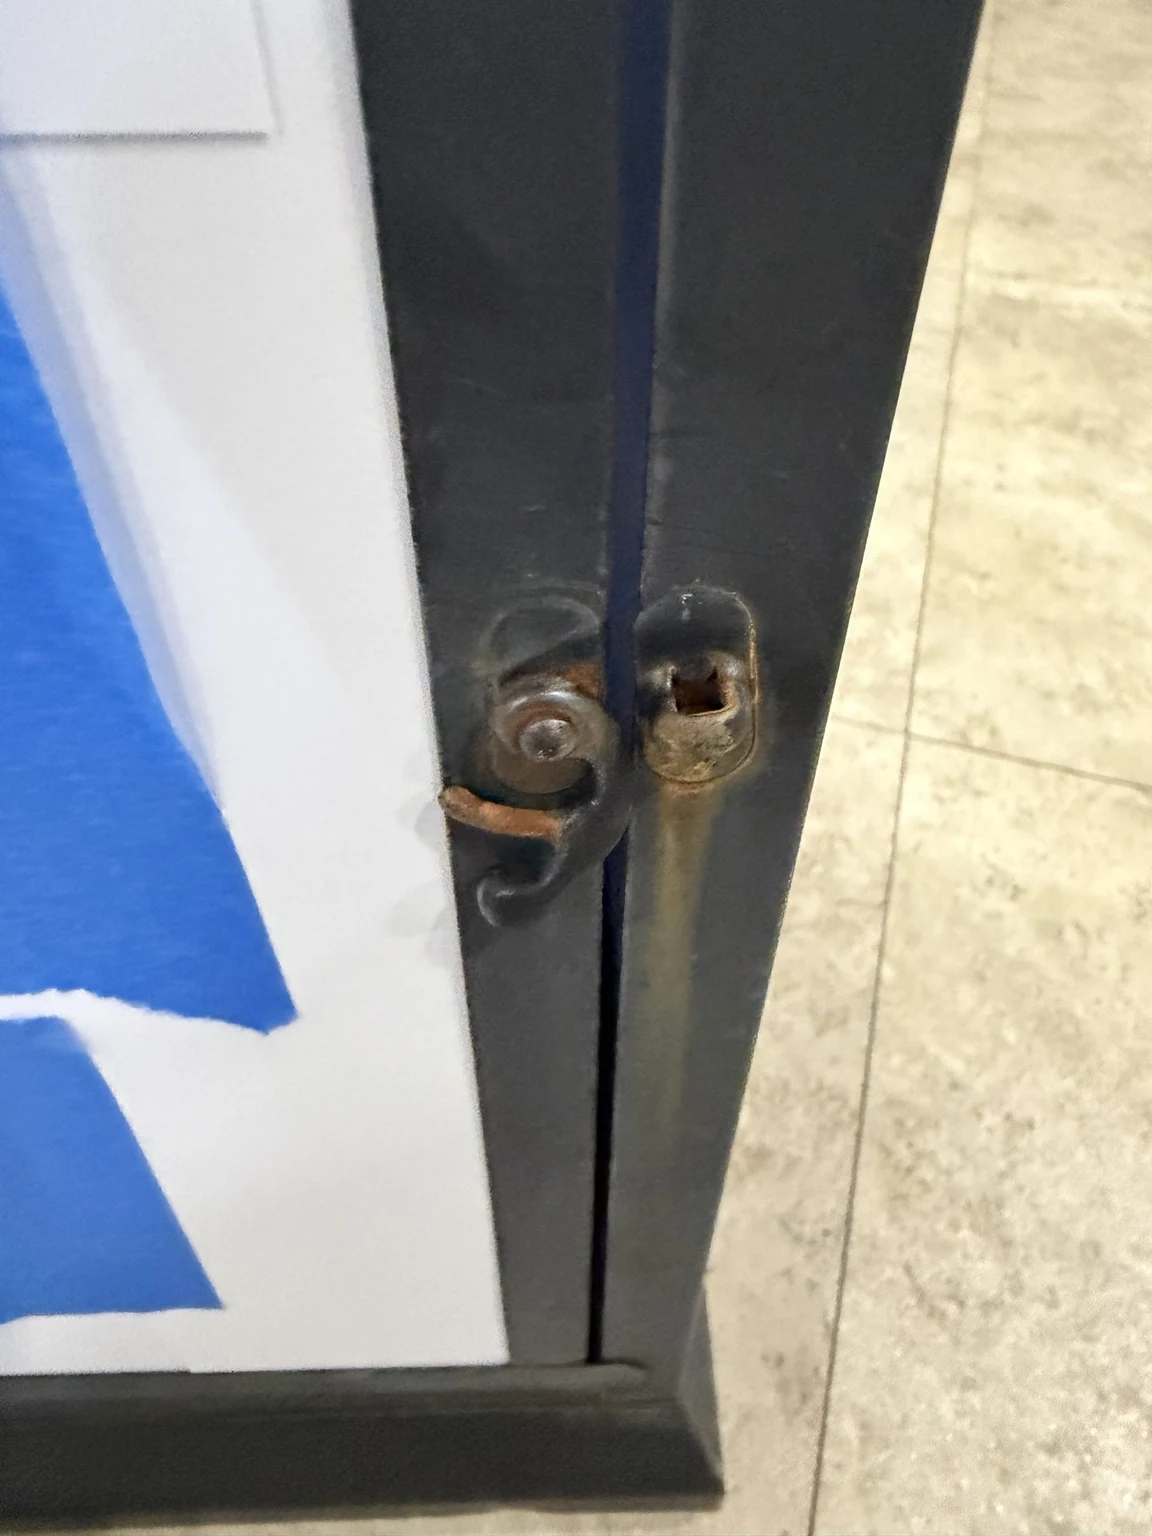
I've had these Luminara lanterns and flameless candles for years. Luminara pieces can be pricey, but I've always appreciated their quality—and I genuinely loved the size, shape, and beautiful glass panels of mine. The lanterns and candles originally cost me a little over $200. What I didn't love anymore? The dull finish, rust around the hardware, and candles that had seen better days.
The lanterns were still sturdy, and the candles still worked. Finding replacements with the same proportions wasn't easy, either. Between the original investment, the quality, and the fact that I still loved them, refinishing made much more sense to me than starting over.
THE PROCESS
How I gave them a fresh glow
Nothing complicated—just thoughtful preparation, a few practical tricks, and the right finishes.
STEP 01
Start with a good cleaning
I cleaned the lanterns with cleaning spray and a rag, rinsed them with the garden hose, and let them dry thoroughly in the sun.
I didn't sand or treat the rust during this particular refresh. For peeling paint or significant corrosion, follow the paint manufacturer's surface-preparation instructions rather than assuming my approach will be enough.
STEP 02
Mask the glass—leave it in place
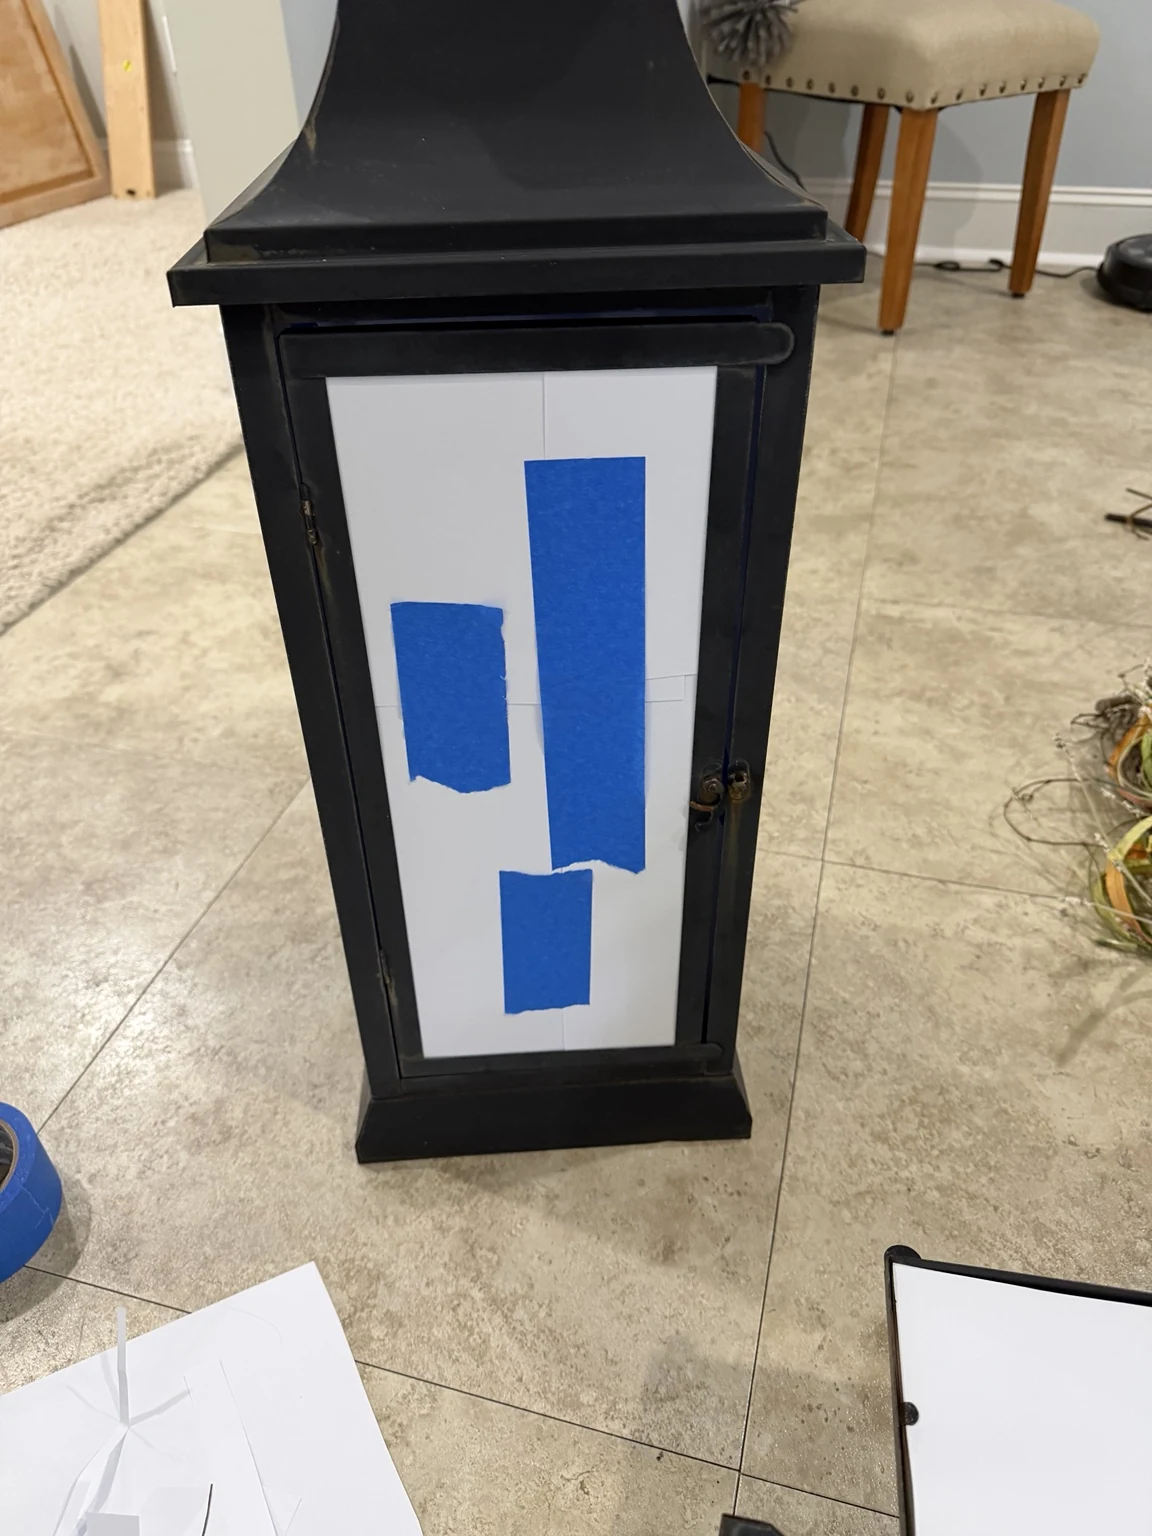
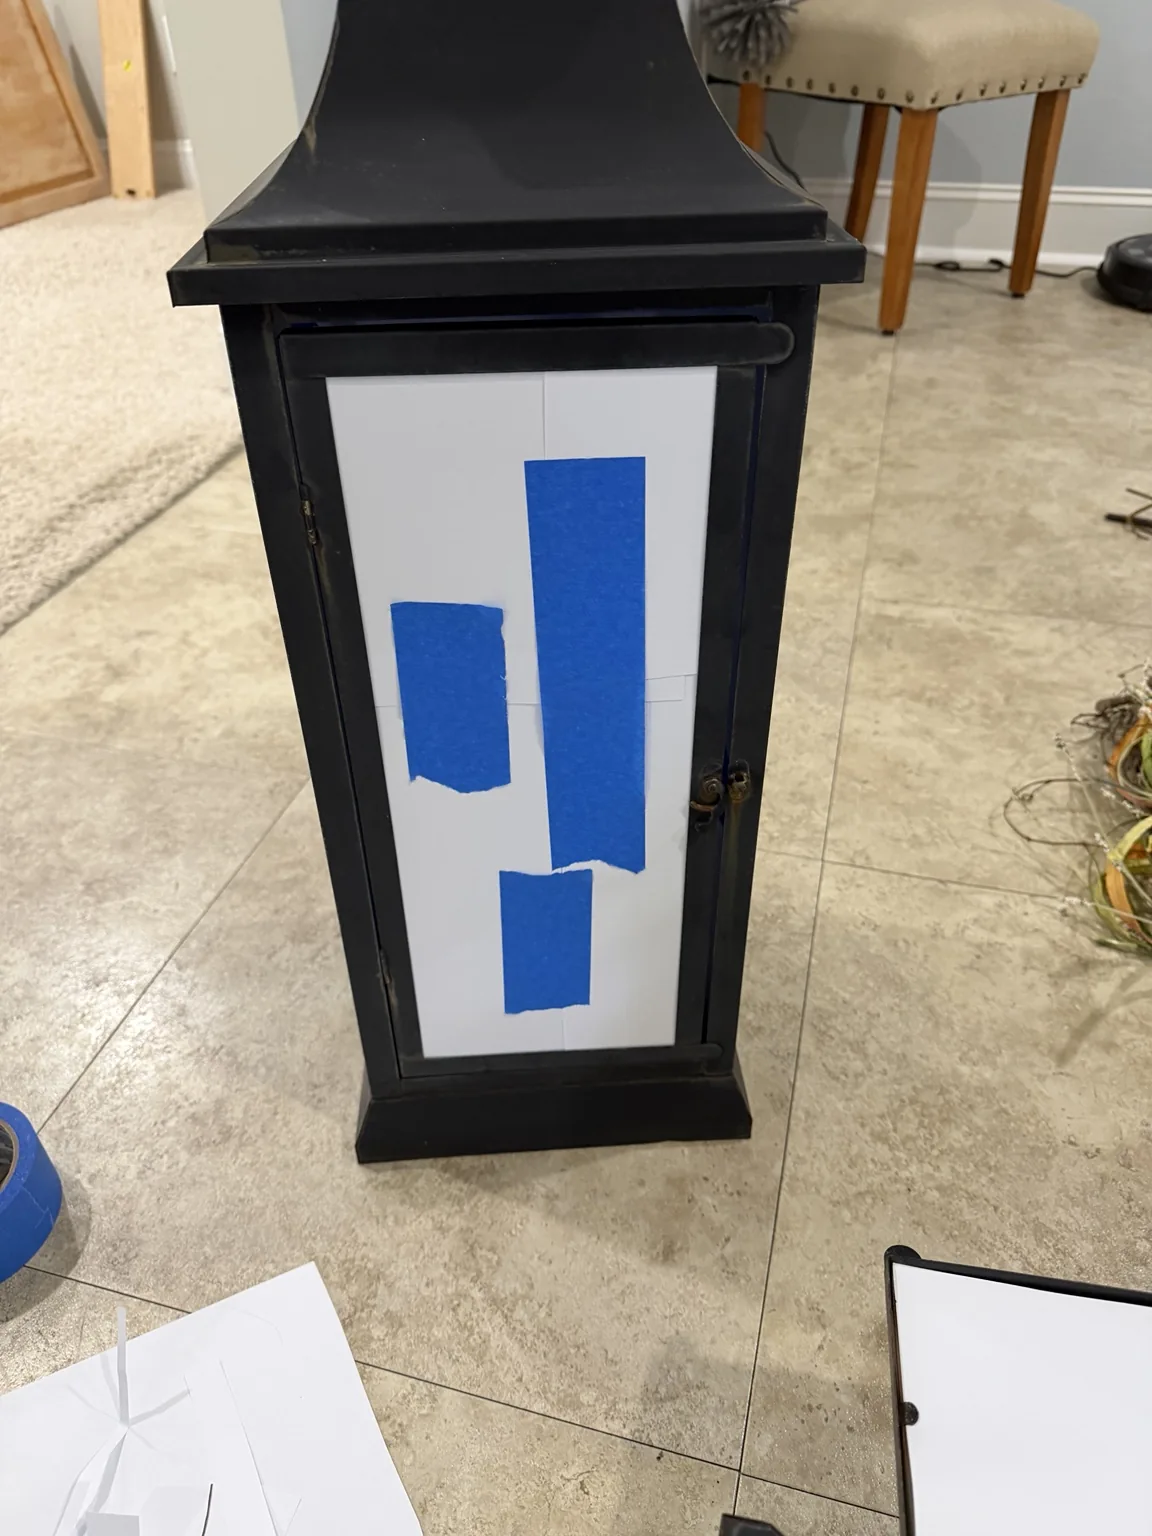
Ordinary printer paper and painter's tape made this part surprisingly simple. I tucked the paper beneath the edges of the metal frame wherever I could and secured it with tape.
There was no need to remove the glass.
STEP 03
Make the painting setup work for you
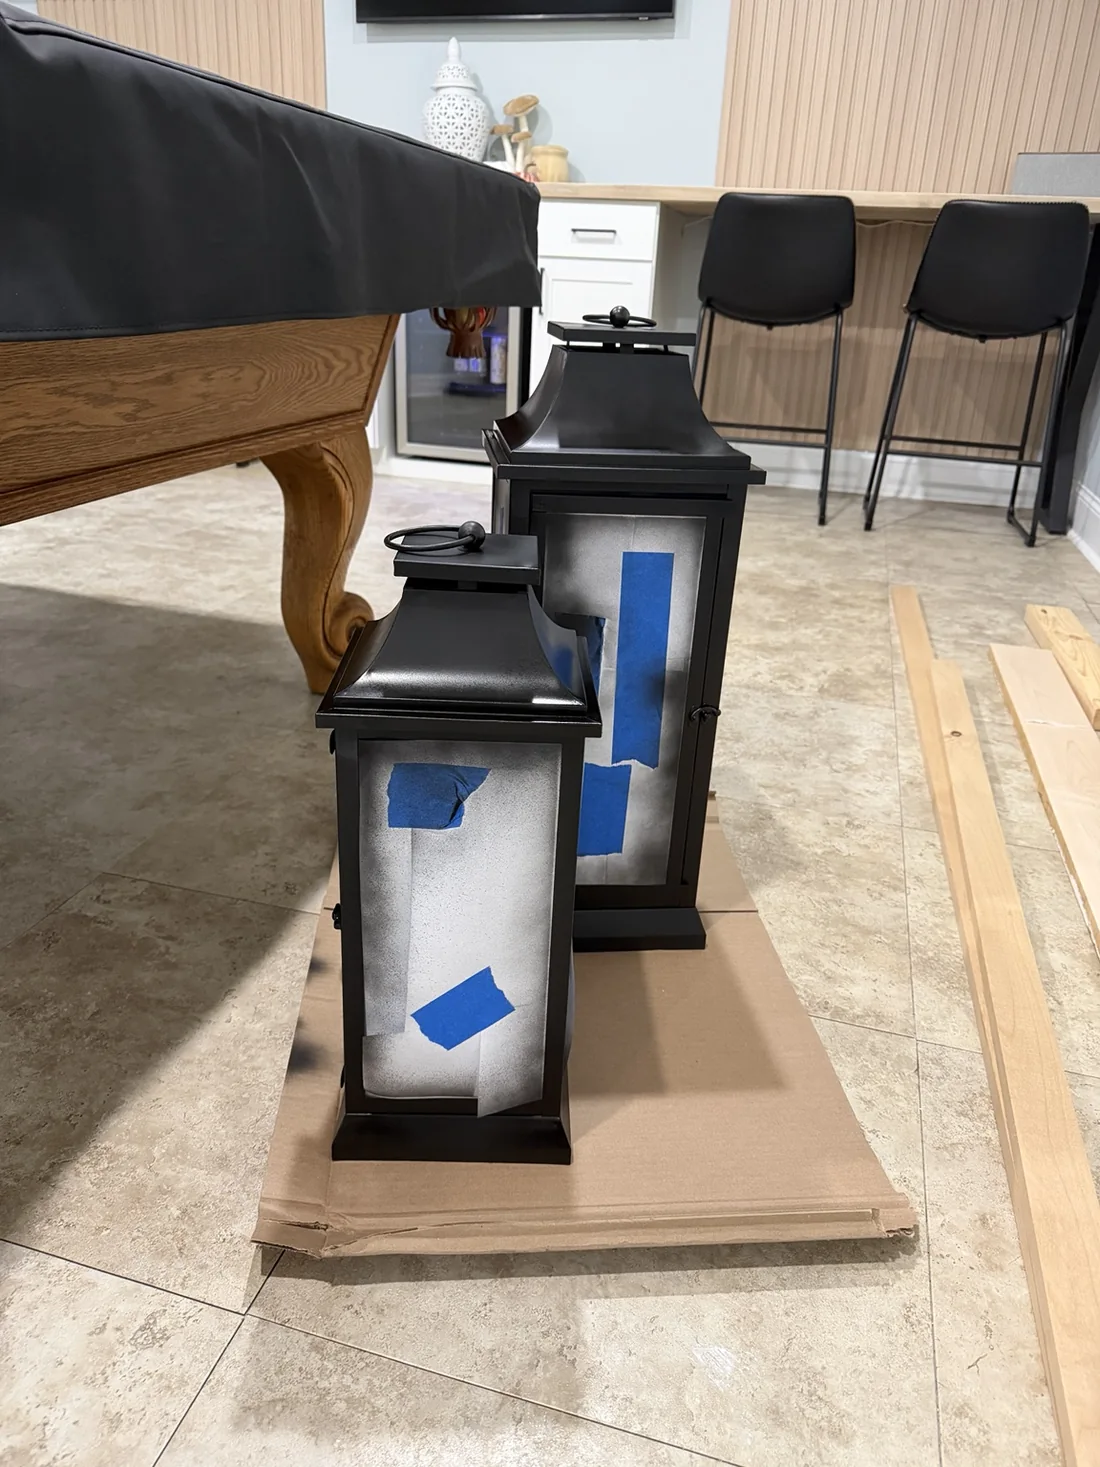
I set both lanterns on a solid piece of wood so I could move them together by lifting or shifting the board, rather than touching the lanterns themselves. It was a simple way to reposition them during the project without handling freshly painted surfaces.
One of those little setup decisions that makes a project easier.
STEP 04
Refresh the frames with matte black
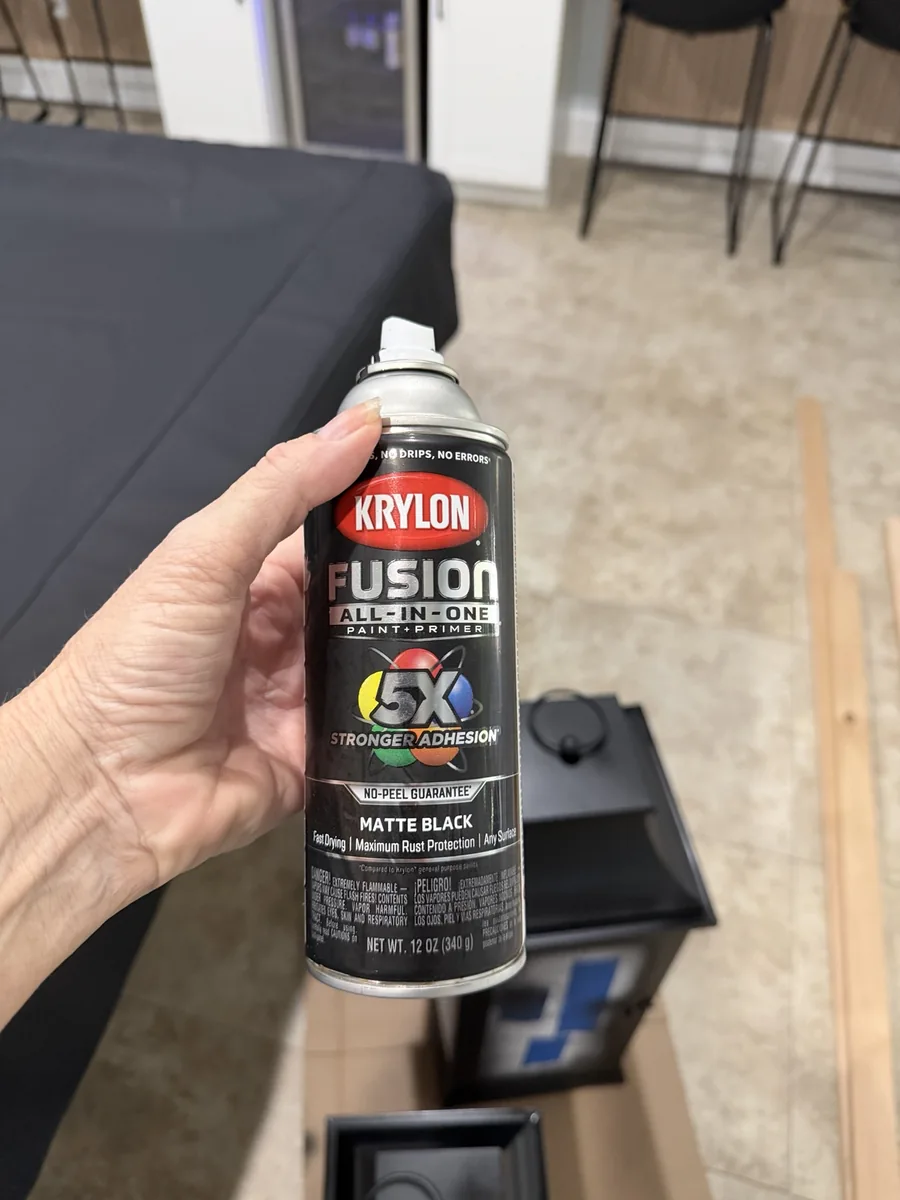
I used Krylon Fusion All-In-One Matte Black on both lanterns, applying several light coats and allowing them to dry between coats.
The new finish made them look crisp again without changing the shape and details I already loved.
STEP 05
Brighten the flameless candles
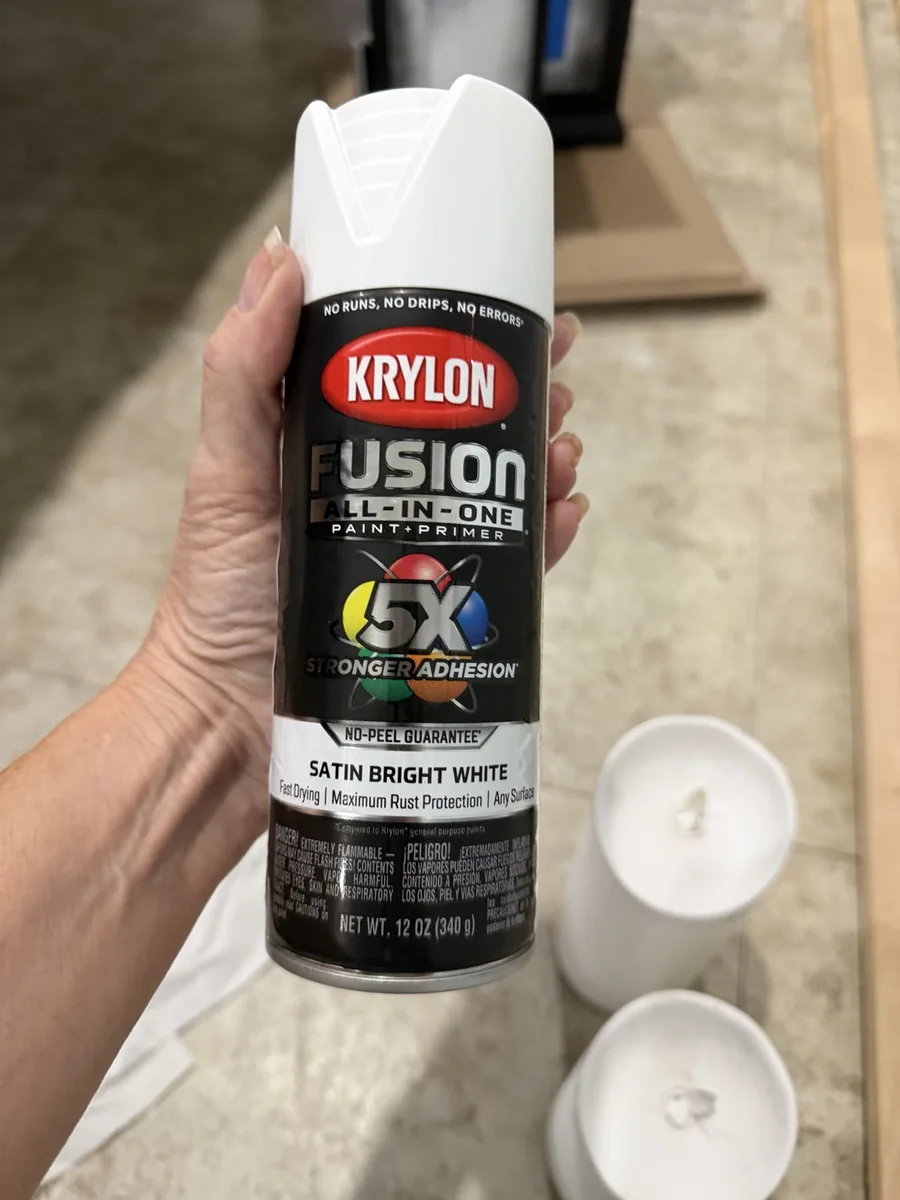
The candles were discolored but still working, so I refreshed their exteriors with Krylon Fusion All-In-One Satin White. I kept them upright and placed a small piece of cotton beside the wick to protect the light opening while painting. I removed the cotton before using the candles again.
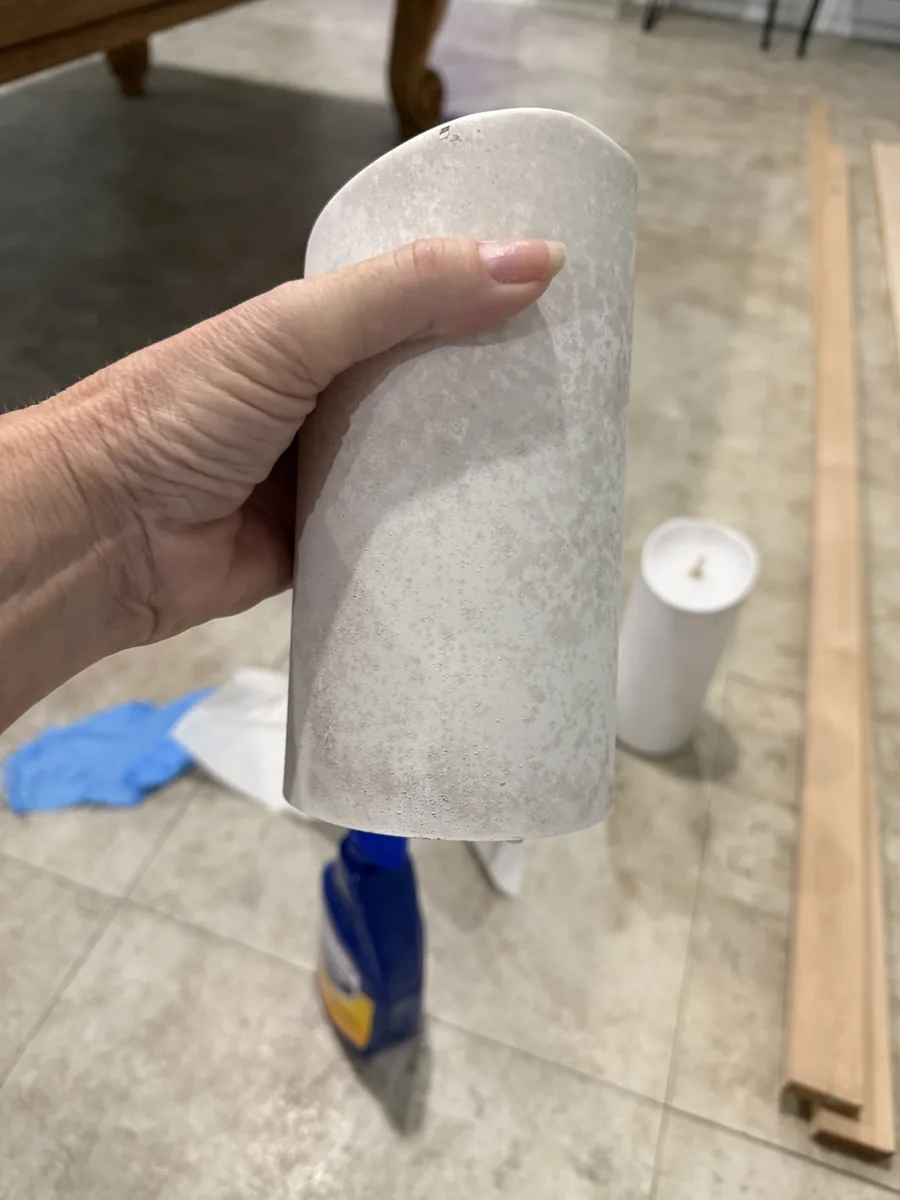
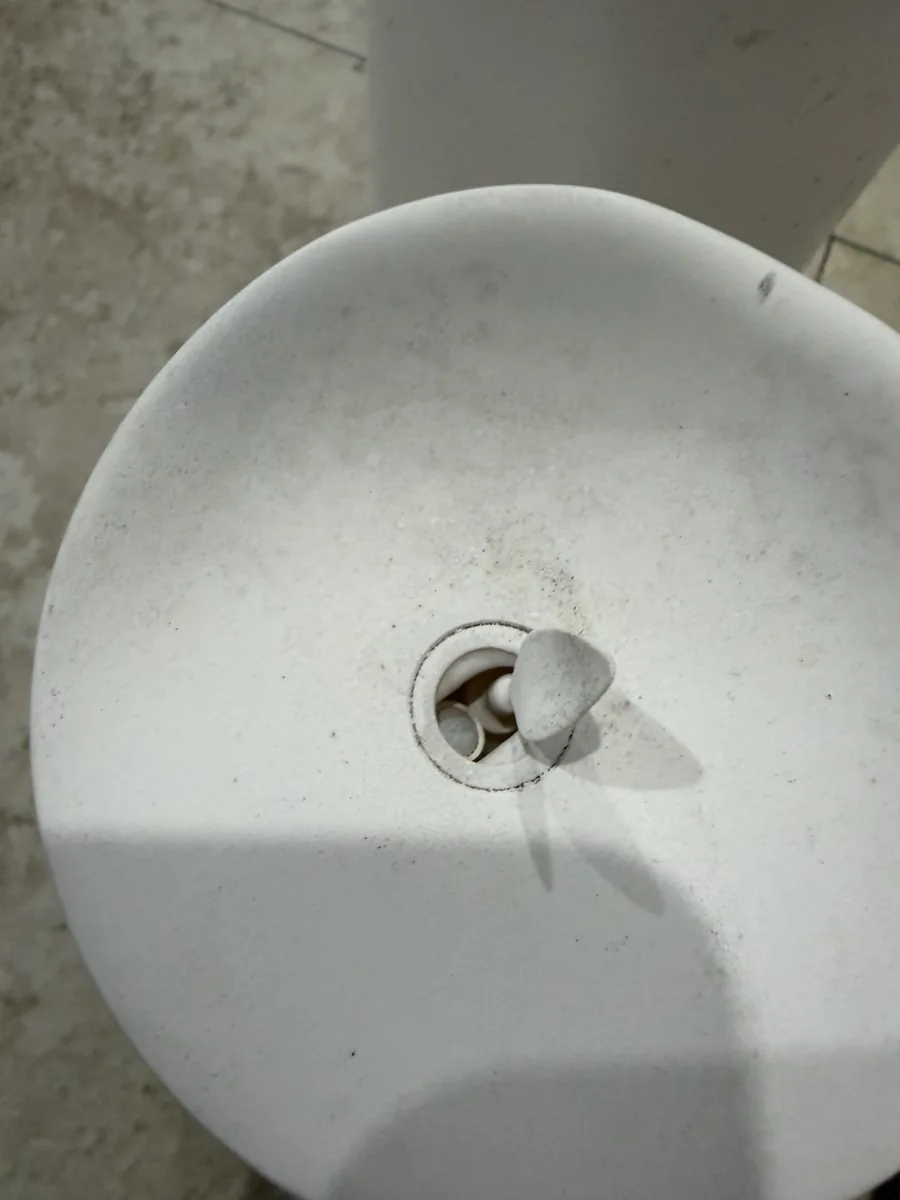
This is what I did with my own candles, not a guarantee that every candle can be painted. Check the candle manufacturer's guidance and paint label before attempting it. Keep paint away from the moving wick, light opening, battery compartment, and electronics. Follow the product's ventilation and safety directions.
STEP 06
Let everything dry and enjoy
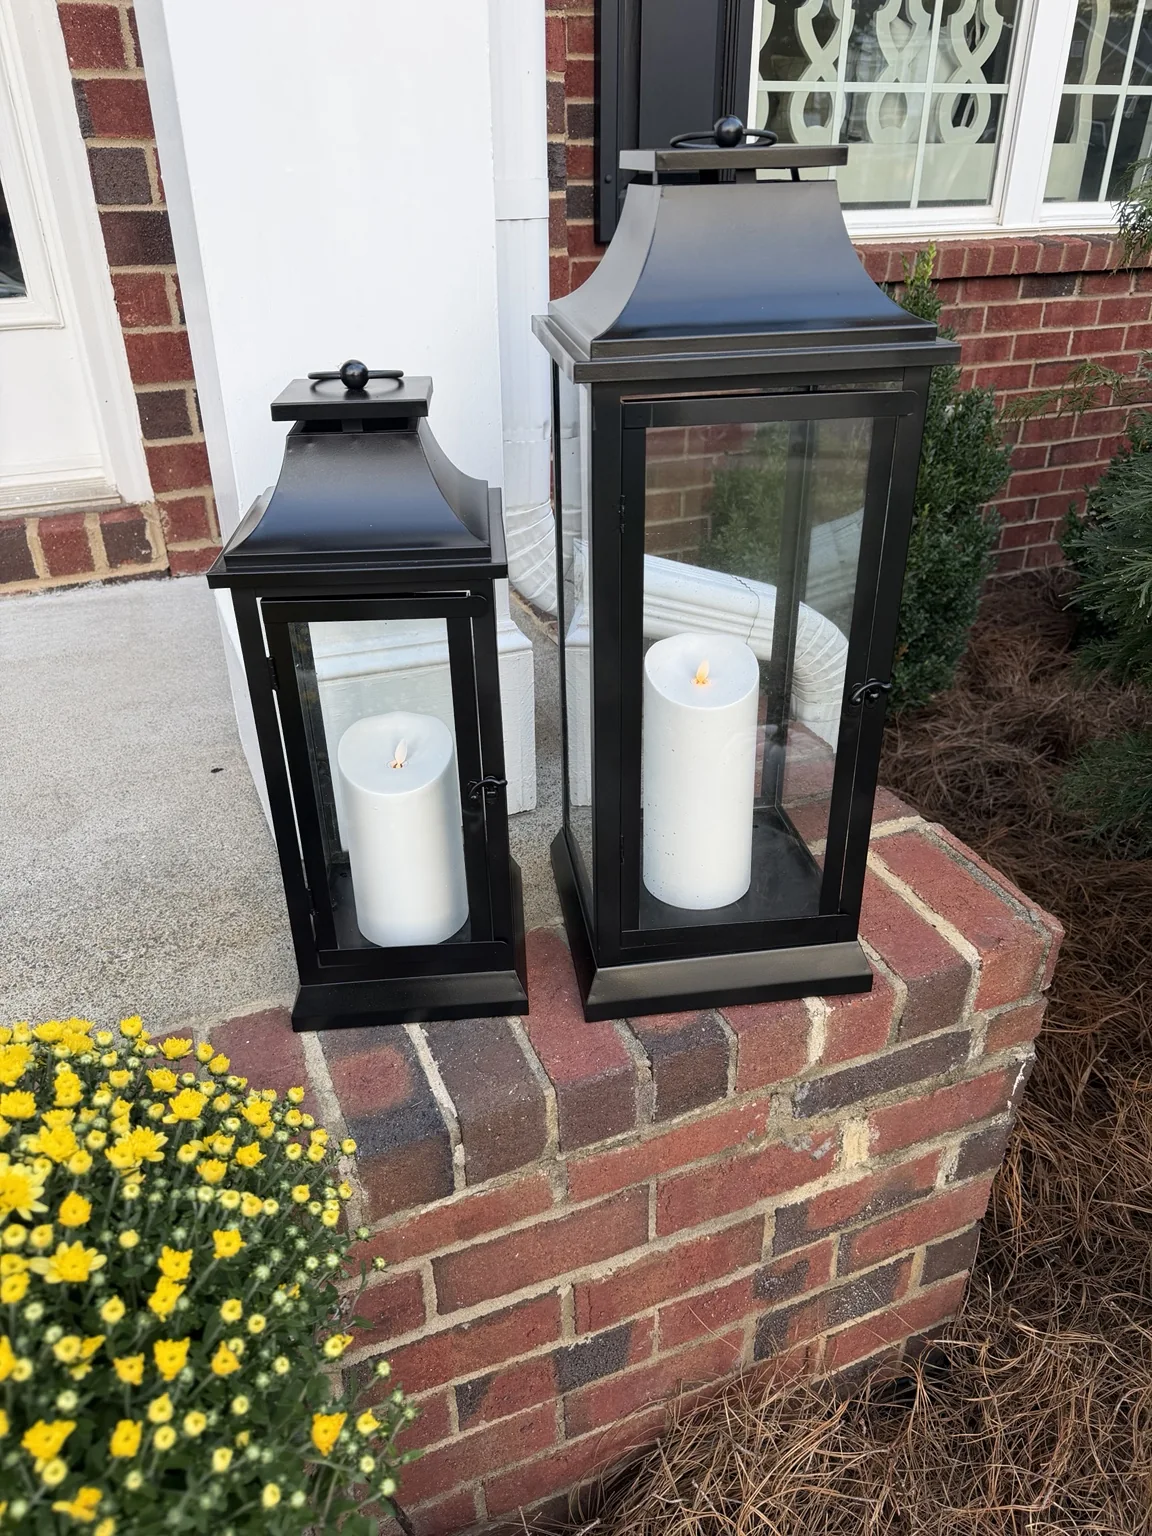
After everything dried completely, I removed the masking, returned the candles to the lanterns, and put the pair back on the porch.
I sometimes add seasonal ribbon, but I love the clean black-and-white combination all on its own.
THE LITTLE THINGS THAT HELPED
What I'd absolutely do again
- Keep the glass in place. Printer paper and painter's tape saved me from a much bigger project.
- Use several light coats. It gave me more control than trying to cover everything at once.
- Make the pieces easy to move. Placing the lanterns on a solid board meant I could reposition them without touching the fresh paint.
- Look at what still works. The scale, structure, and candles were worth keeping.
THE VERDICT
Was it worth it?
Absolutely. I loved the quality and proportions of these Luminara lanterns, and I wasn't ready to replace them simply because the finish had aged. The lanterns and candles originally cost a little over $200, while this refresh used under $15 in paint and supplies. That isn't a claim about what replacements would cost today—just a reminder that sometimes a little paint goes a long way.
They look better than when I bought them.
Would I do it again? Without hesitation. And that, to me, is a pretty good DIY outcome.