Our $46 Kitchen Island Makeover: A Custom Look Without Replacing a Thing
Who says a kitchen makeover has to cost a fortune? With a few pine boards, some simple trim, and finishing supplies we already owned, we gave our island a warmer, more custom look for $45.94 in new materials.
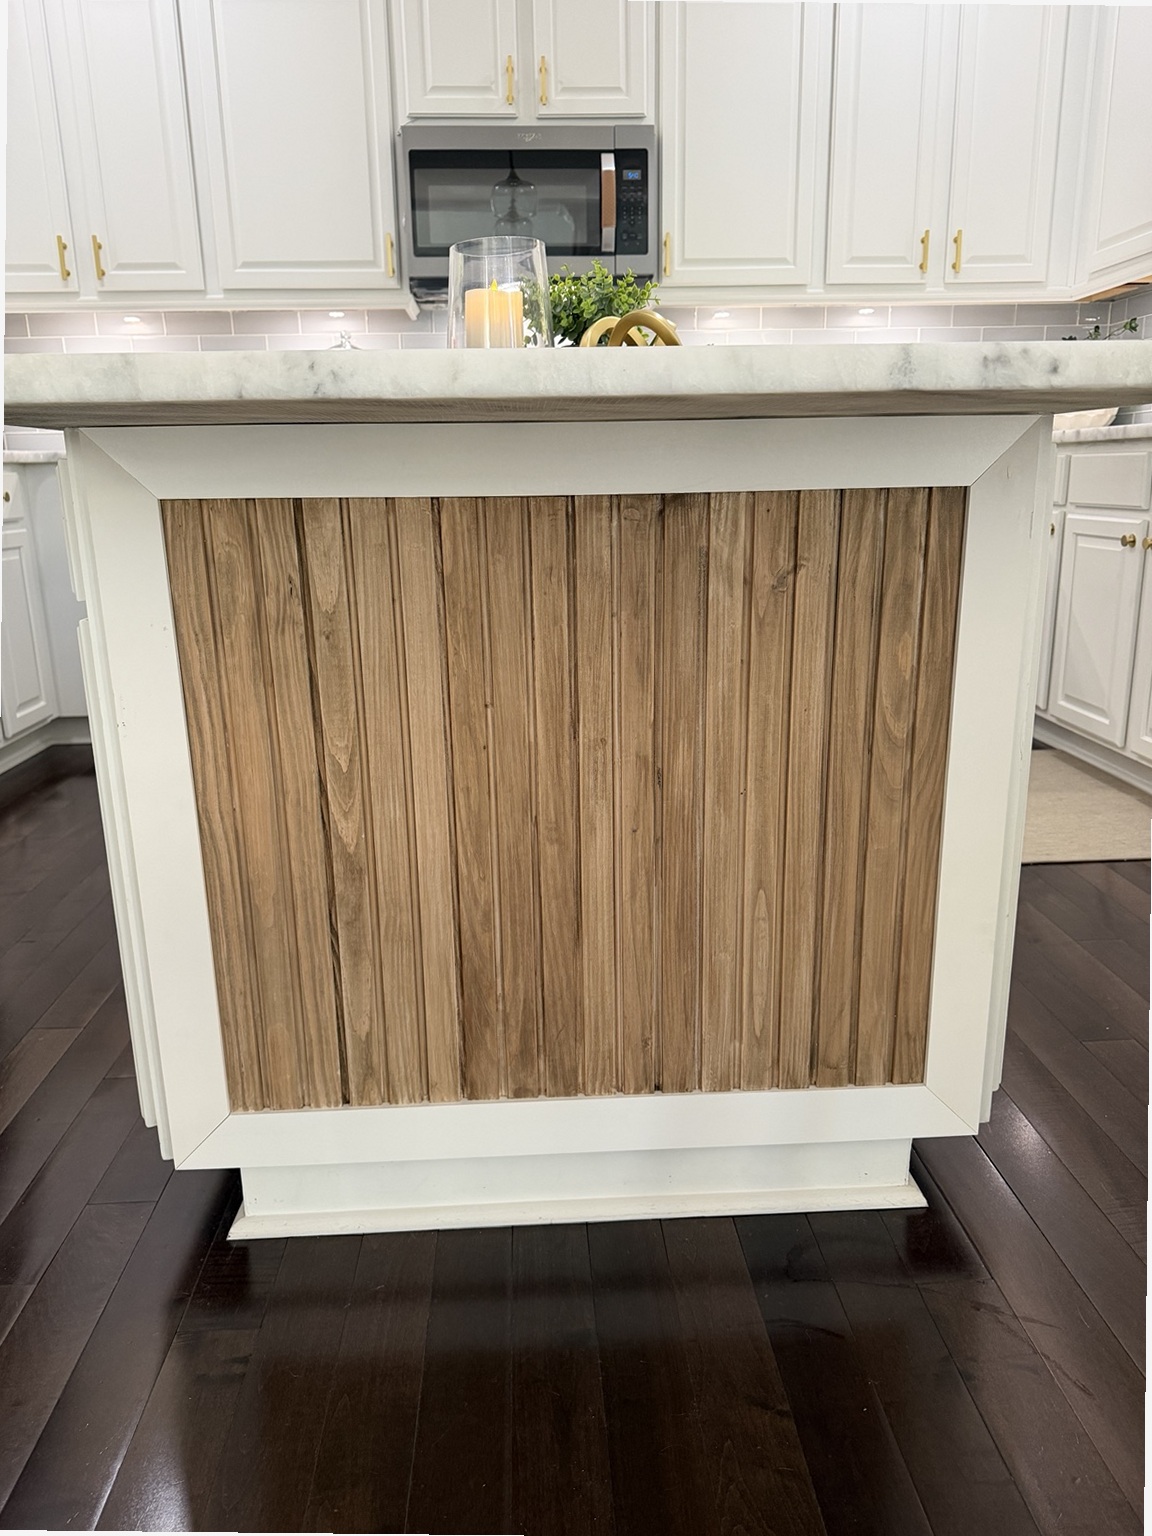
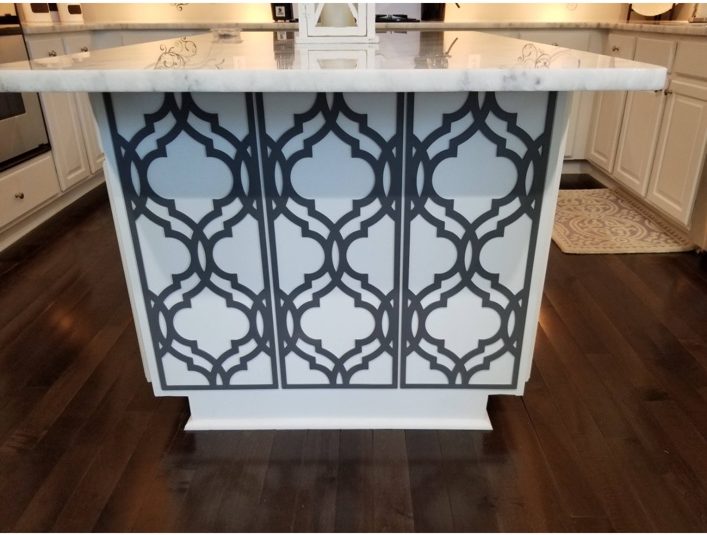
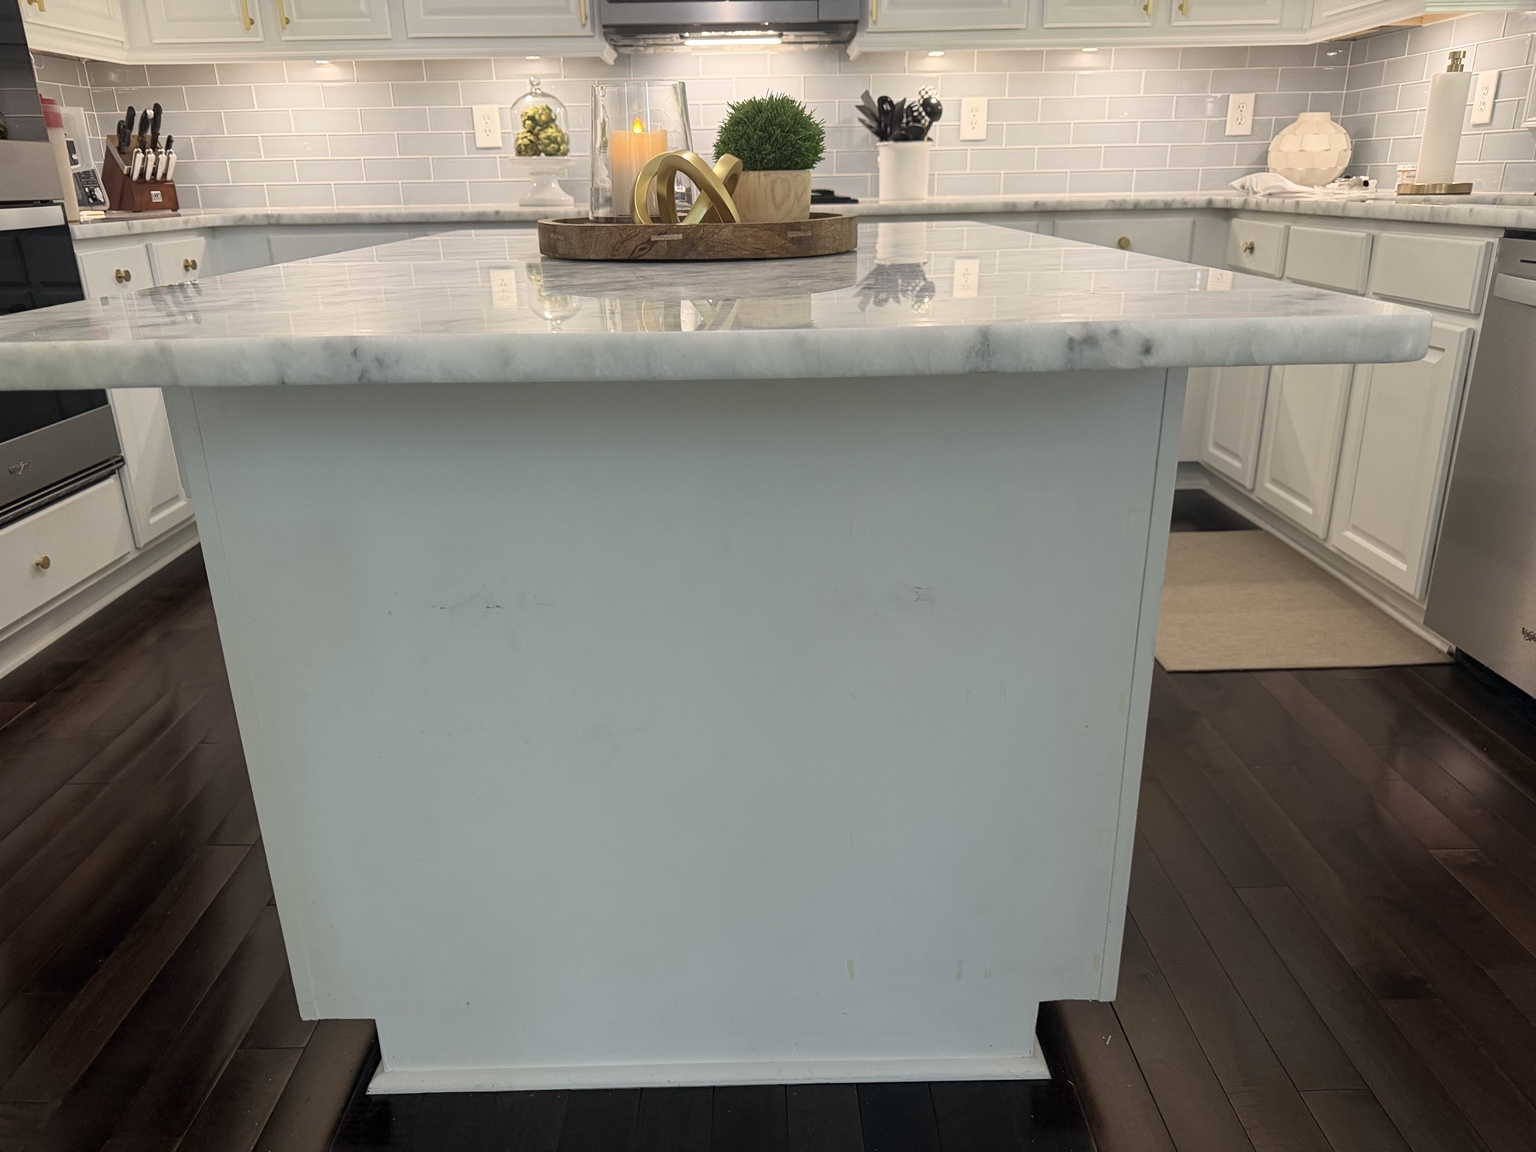
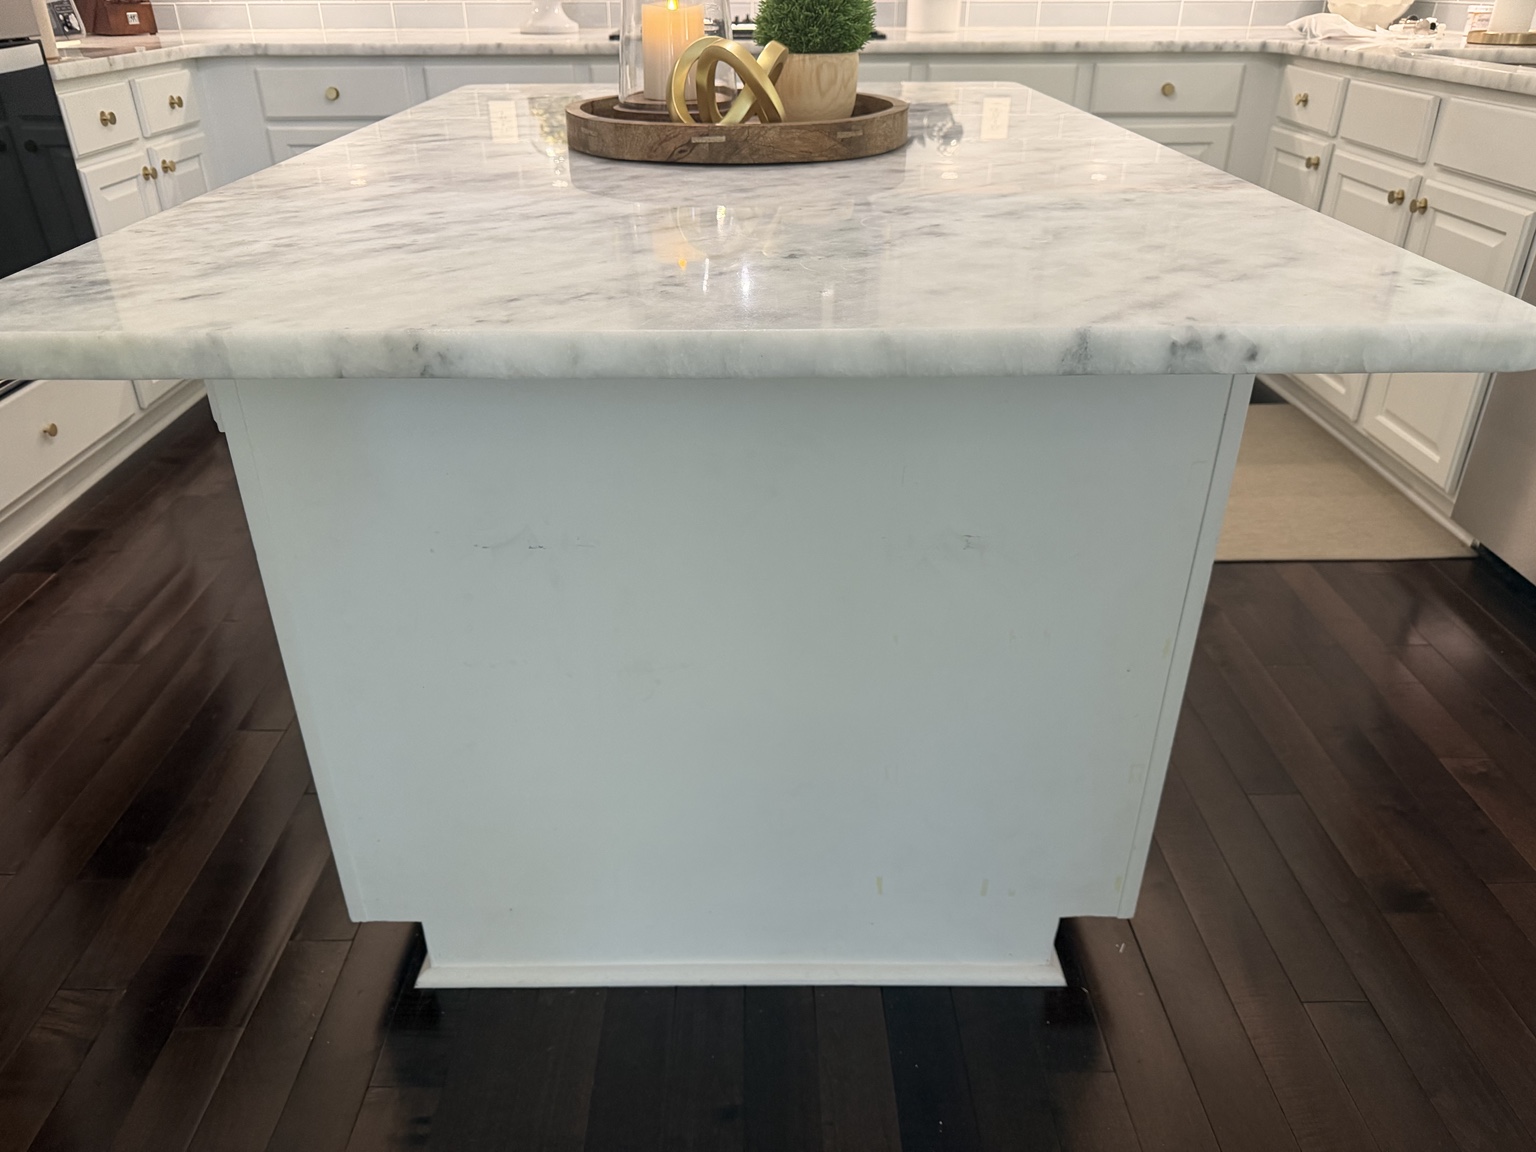
Our kitchen island was perfectly functional. But its gray decorative filigree was no longer the look I wanted. I was after something cleaner, warmer, and a little more timeless—without replacing a perfectly good island.
Making another project for my husband and me? Apparently, absolutely necessary. Lucky man.
The Before: Why We Changed It
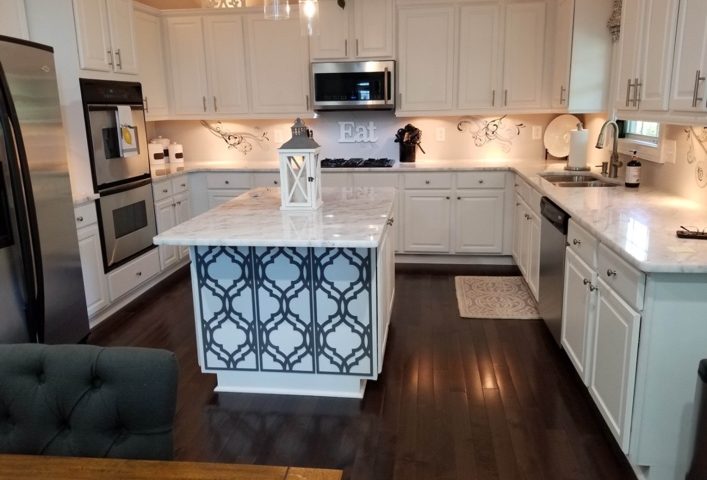
The original island had bold gray ornamental detailing. Once we removed those decorative pieces, we had a blank canvas for a more streamlined, furniture-inspired design.
The Materials
Purchased for this project
- Style Selections unfinished pine shiplap / slat-wall boards — one 6-pack, $29.98
- Primed 1×3×8-ft boards — two boards, $7.98 each
Already on hand
- Minwax Pre-Stain Wood Conditioner
- Minwax Color Wash — White Wash
- Behr Rustic Wood Effects — Rustic Brown B4604
- White paint, screws, ¾-inch brad nails, foam brushes, cotton rags, sandpaper
- Measuring tools, saw, drill, and brad nailer
Step 1: Remove the Dated Details
We removed the existing gray filigree while keeping the island’s original cabinetry and structure. No demolition, no replacement cabinets—just a cleaner surface to work with.
Step 2: Measure and Cut the Shiplap
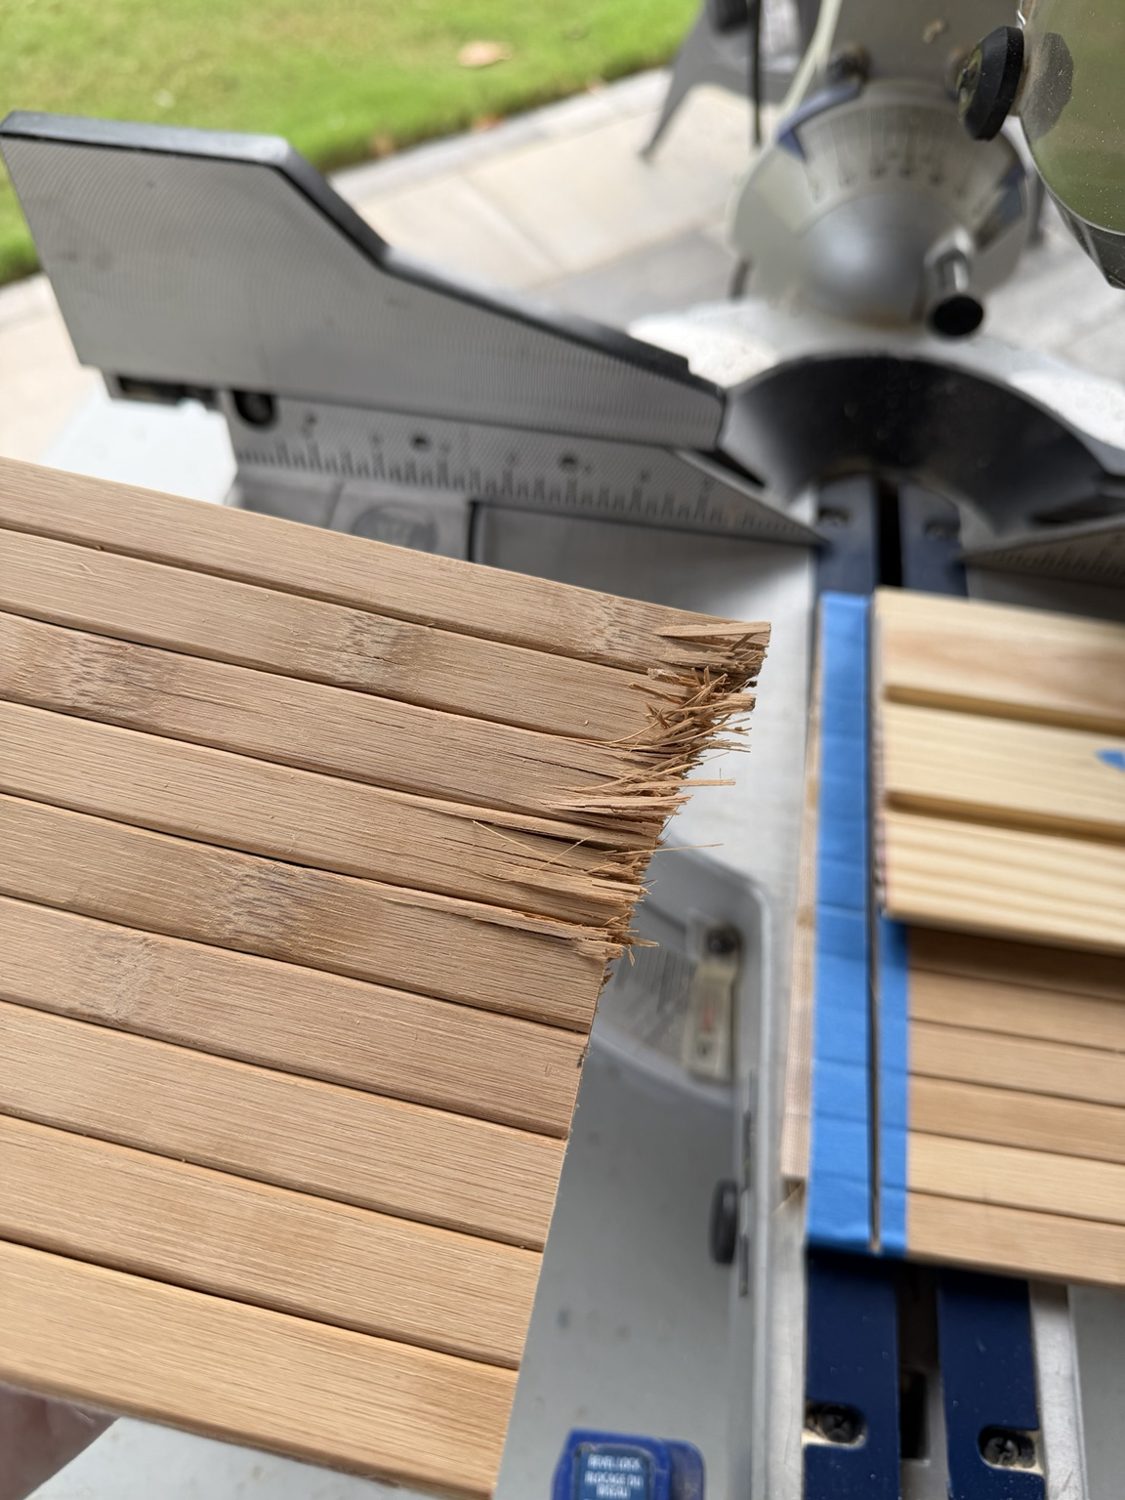
We chose unfinished pine shiplap boards rather than individual 1×1 slats. Their overlapping edges form a consistent repeating pattern. We cut the boards to the necessary length and ripped an edge where needed to fit the available space.
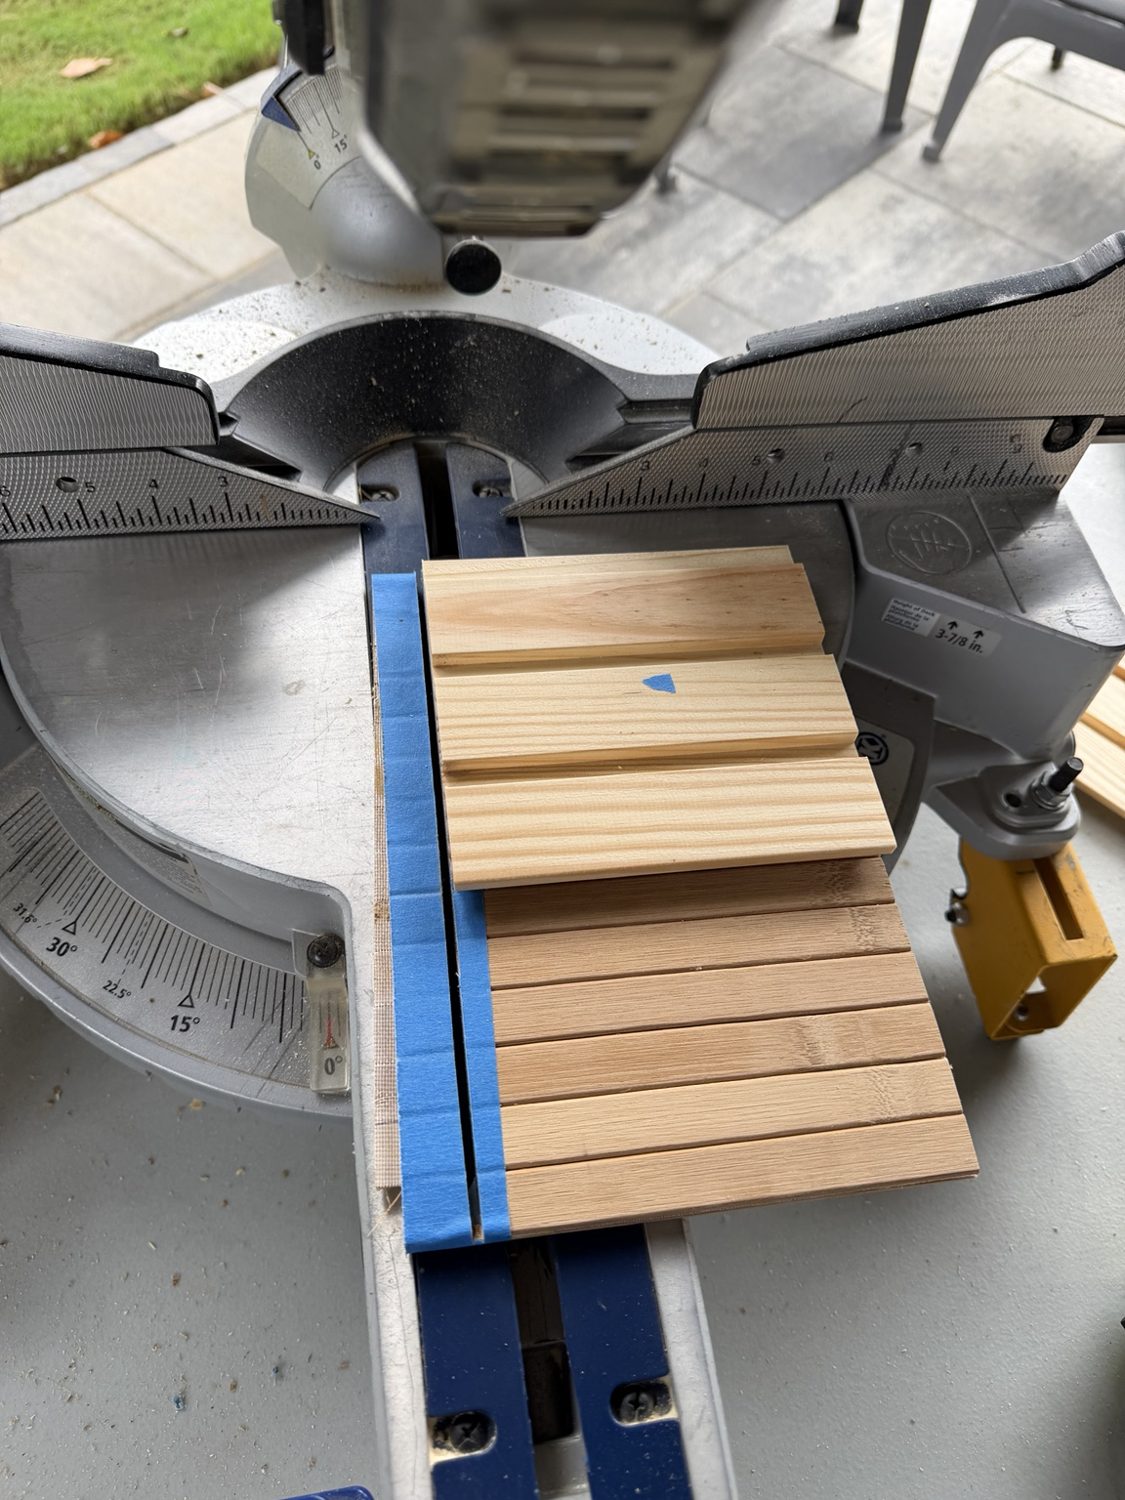
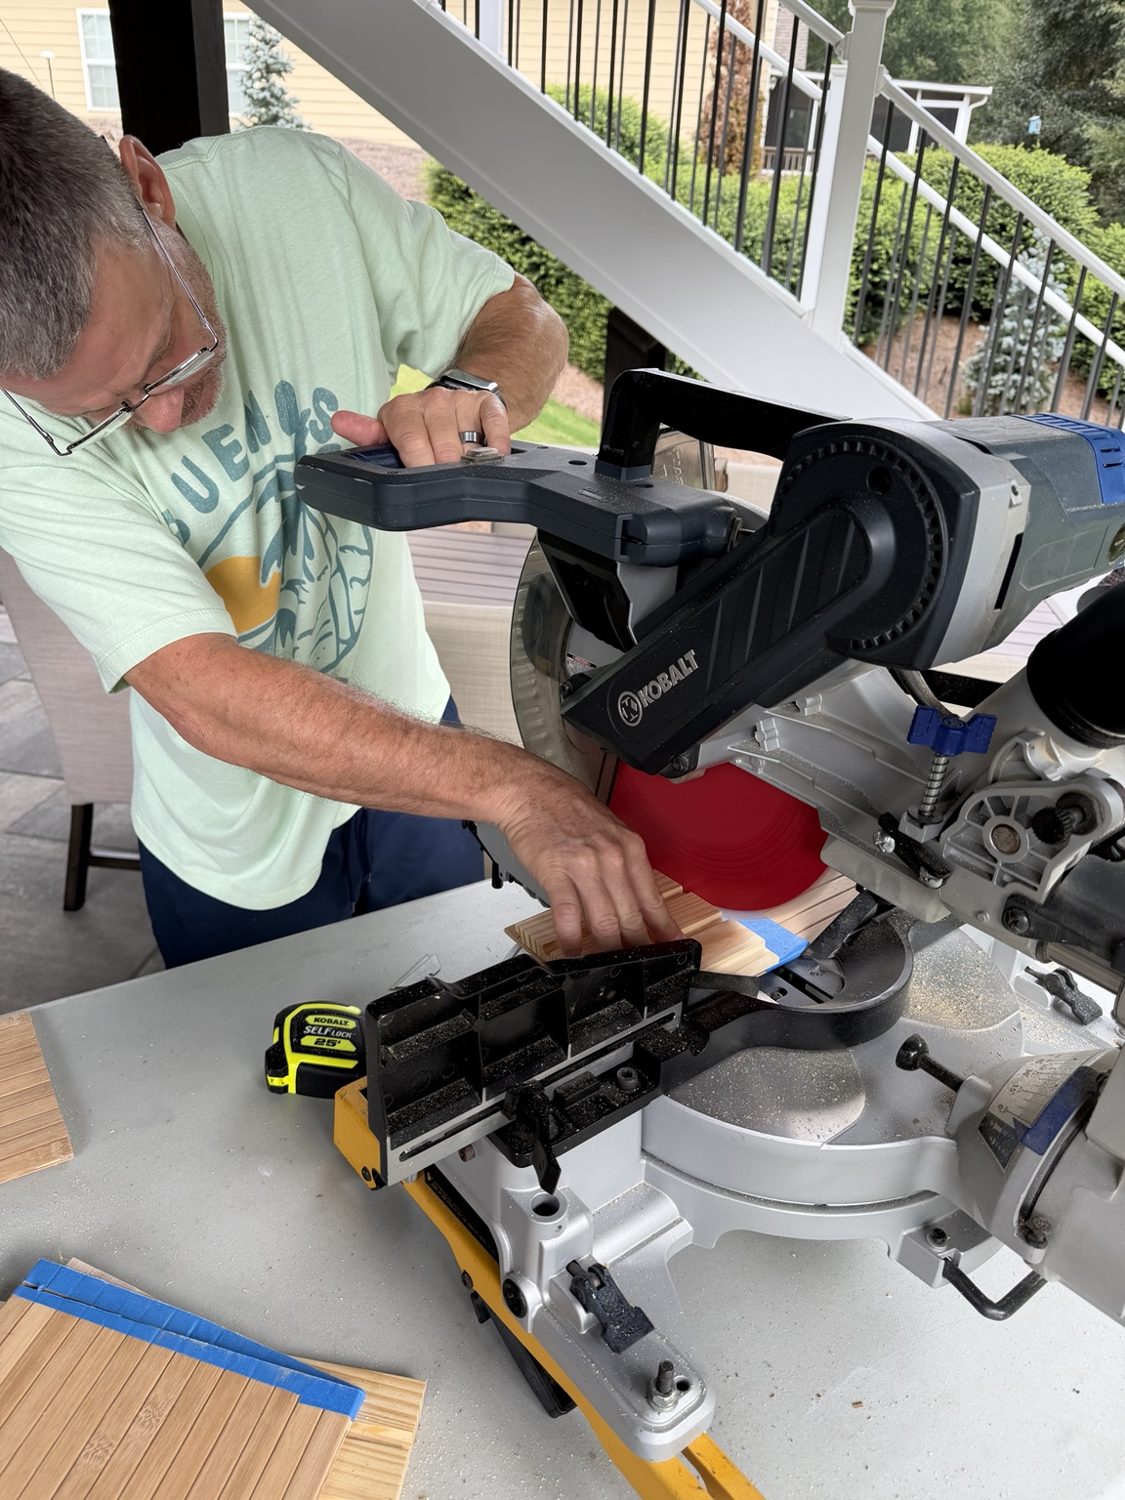
The cutting photos tell an especially useful part of the story. One attempt caused splintering at the end of the thin wood profile:
Step 3: Condition and Stain the Wood
Our goal was a warm natural-looking finish, not too dark or orange. We used Minwax Pre-Stain Wood Conditioner, followed by Minwax Color Wash in White Wash, then Behr Rustic Wood Effects in Rustic Brown.
We applied the color products using foam brushes and wiped them back with cotton rags, working with the grain. We also stained the visible boards before installation so the grooves were easier to reach.
Step 4: Create the White 1×3 Frames
We built the framing using only 1×3 boards—two eight-foot boards in total. We secured the frame pieces with screws from inside the island cabinetry to keep the finished exterior free of visible screw heads.
Step 5: Install the Pine Panels
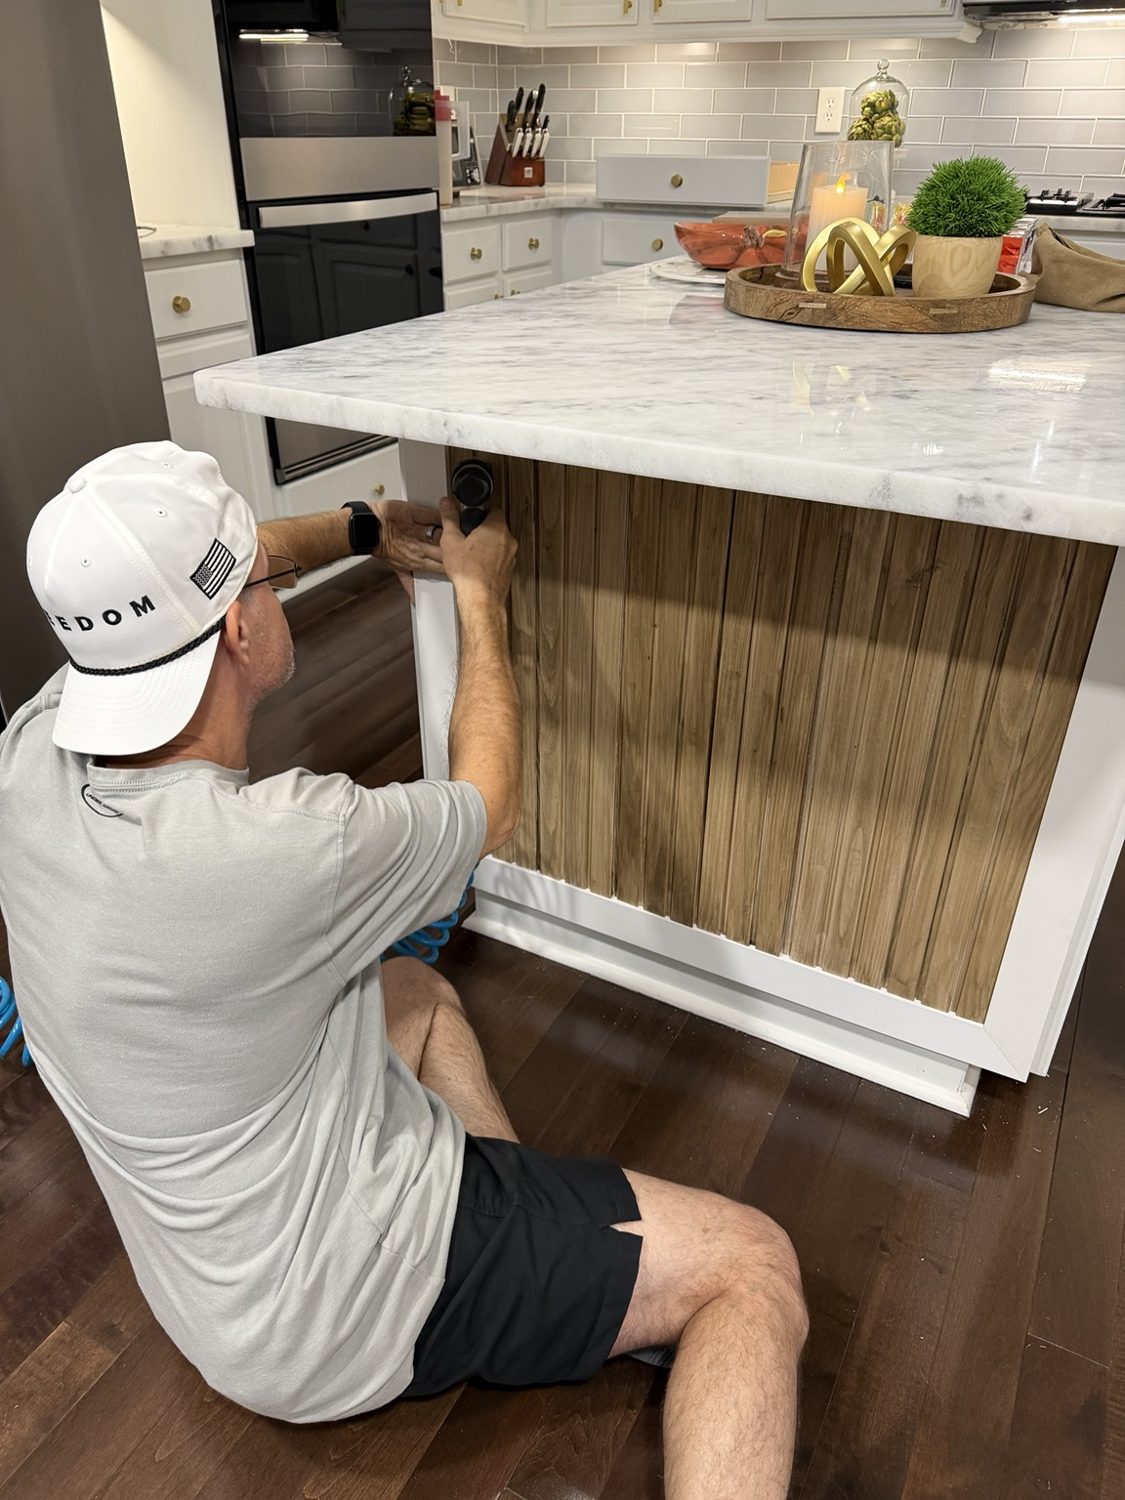
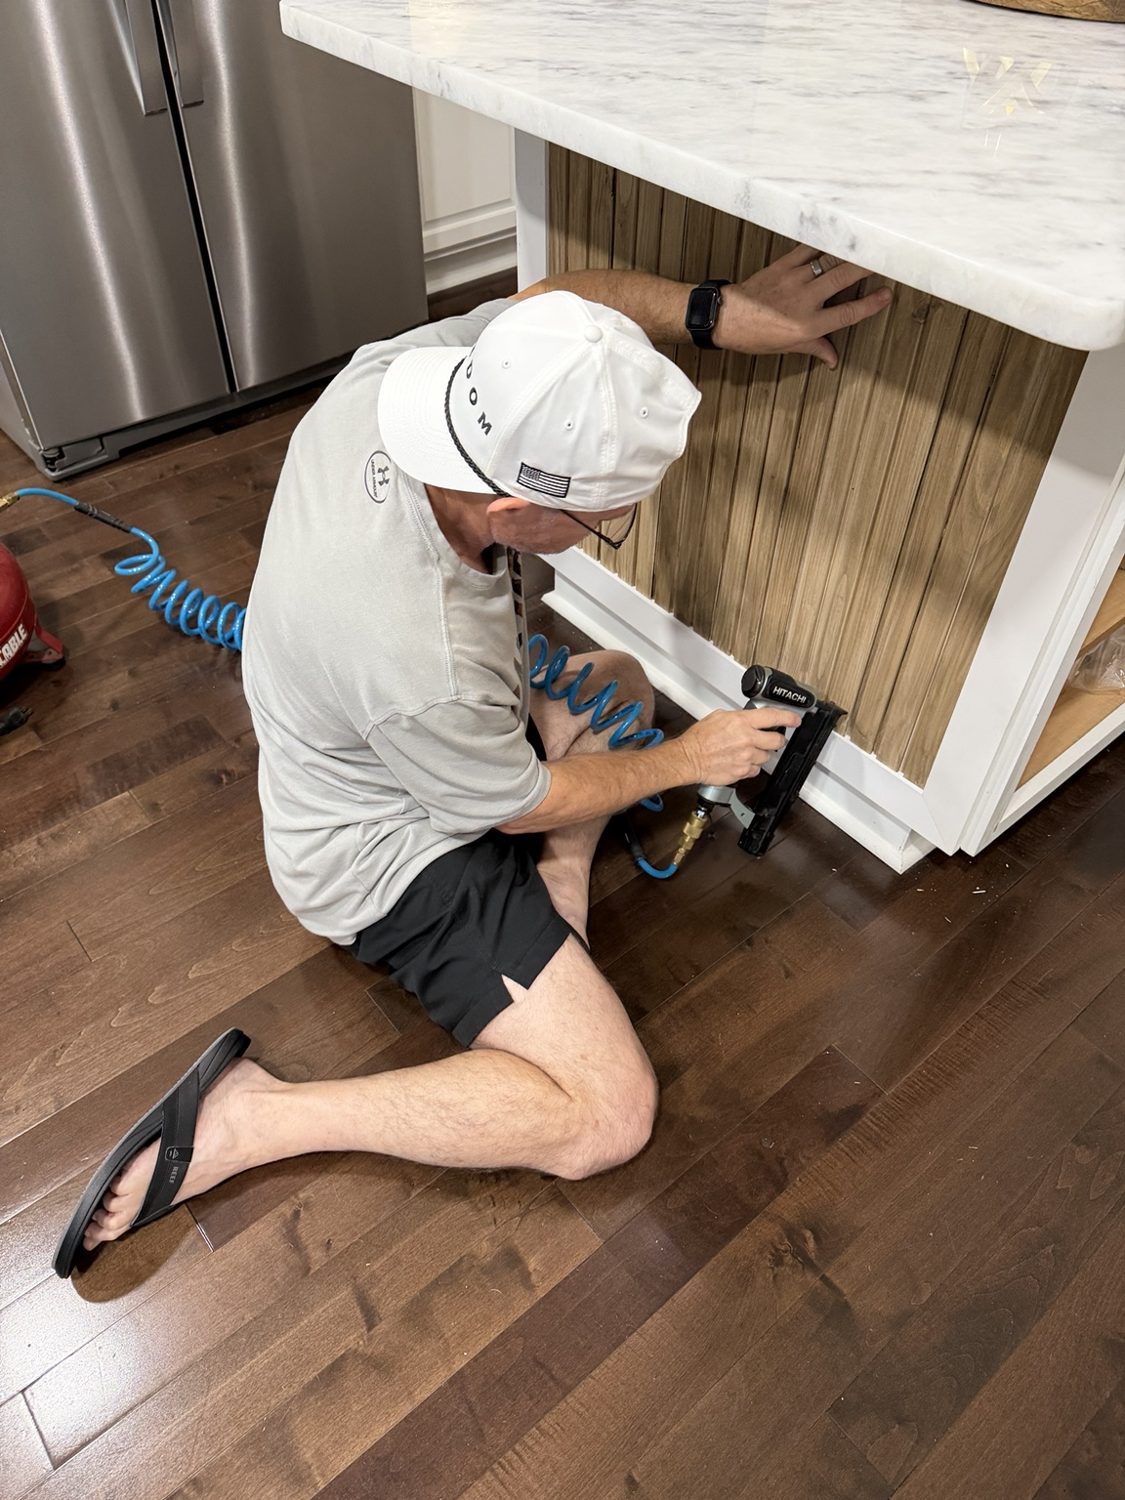
We installed the stained shiplap vertically inside the white frame, securing it with ¾-inch brad nails. The overlapping boards gave us the clean, evenly repeated vertical texture without individually spacing dozens of strips.
Step 6: Paint the Frame and Enjoy the Reveal
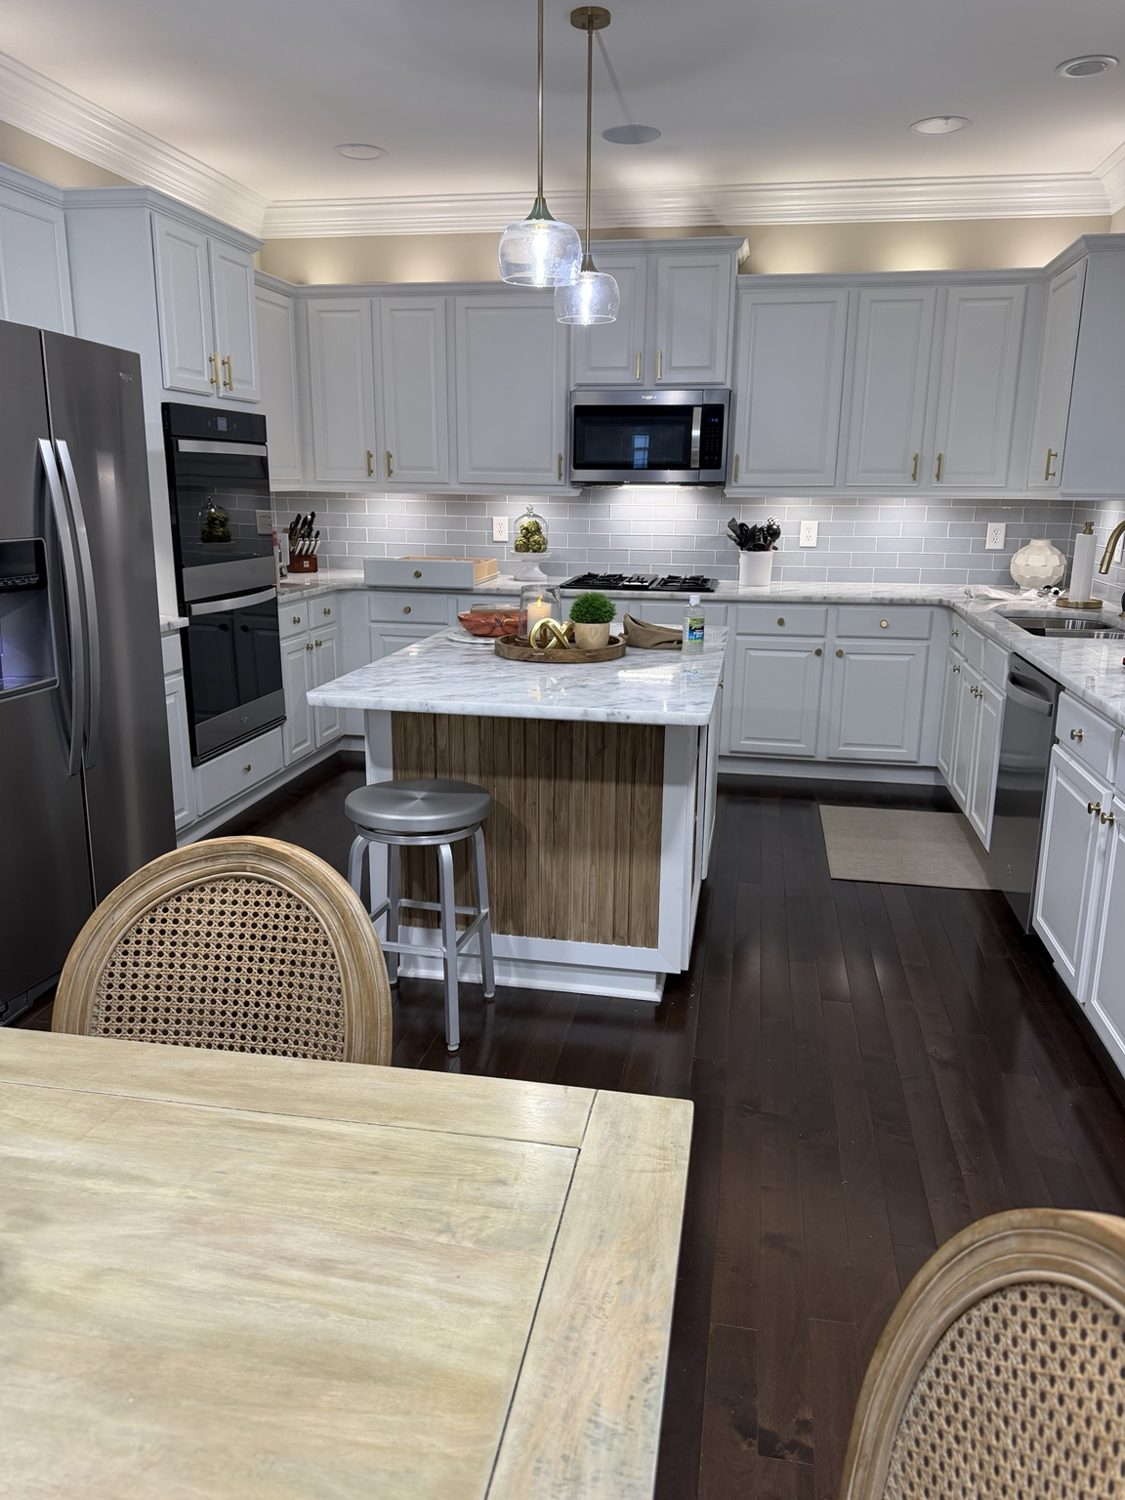
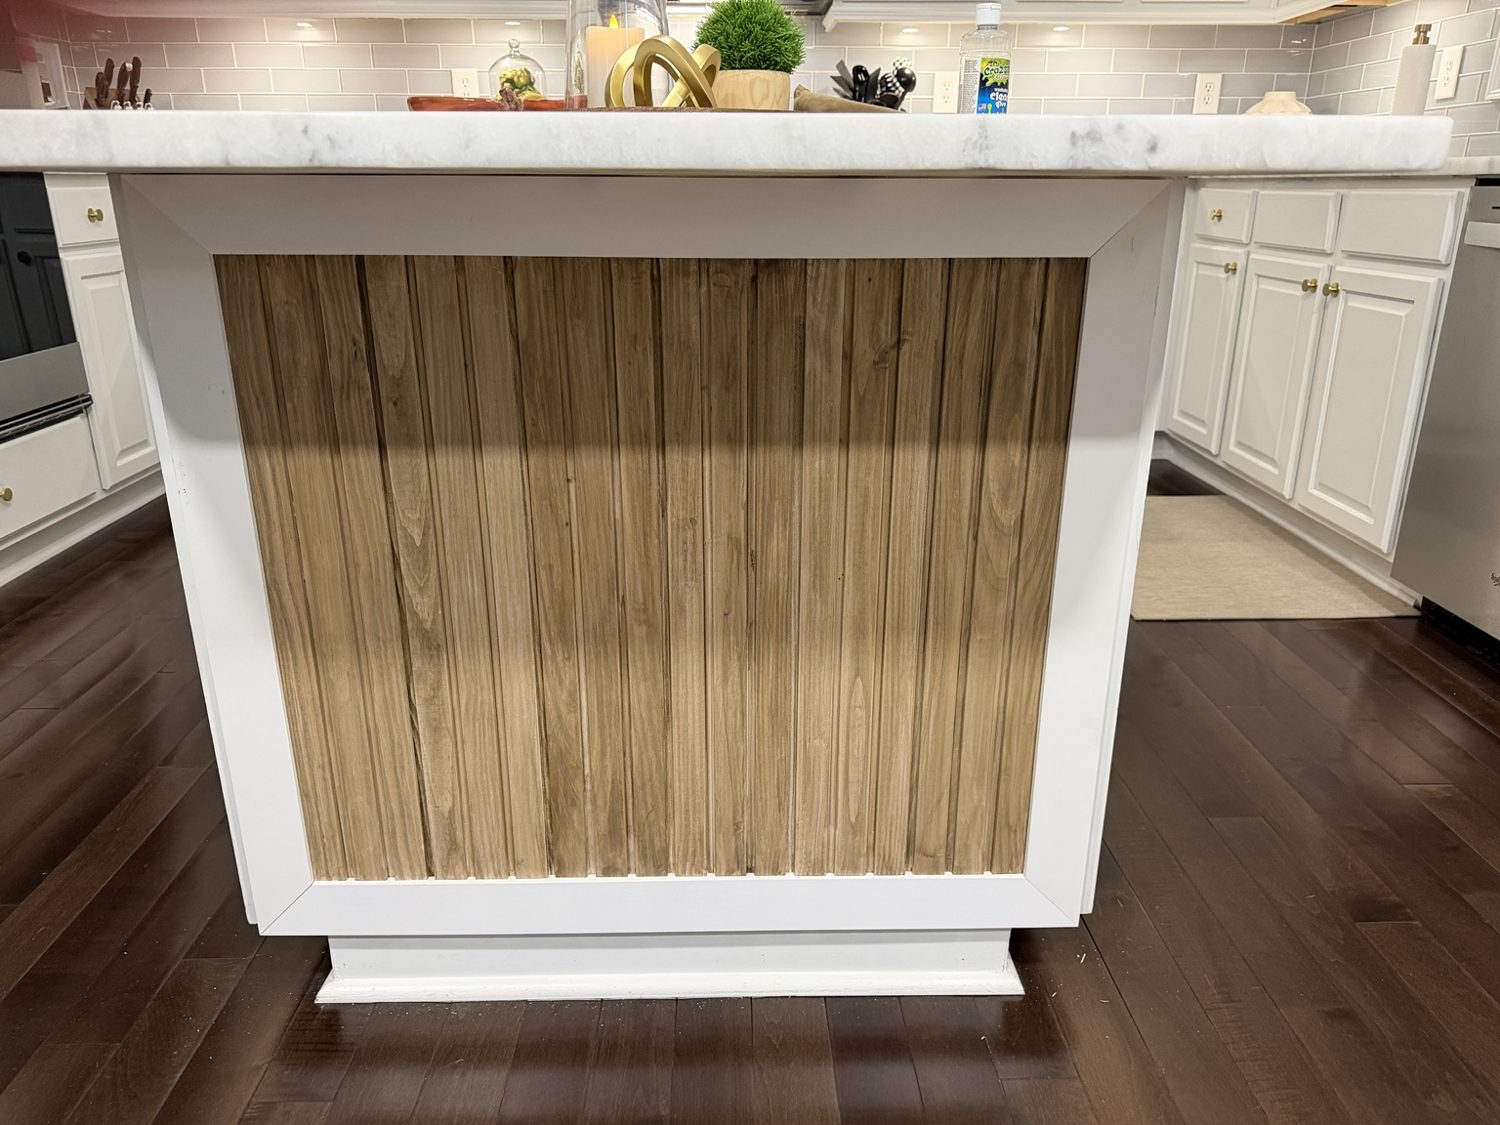
We finished the framing with white paint to coordinate with the existing cabinetry. The result is a warm wood inset wrapped in crisp white trim, with the original island still doing its job.
What It Actually Cost
| New materials | Cost |
|---|---|
| Pine shiplap, 6-pack | $29.98 |
| Two 1×3 boards at $7.98 | $15.96 |
| Total before tax | $45.94 |
We already owned the stains, conditioner, white paint, fasteners, and tools. The $45.94 total is our new-material outlay, not the full cost to buy every supply from scratch; labor and tax are excluded.
What We Learned
Reuse what works. Choose materials that simplify the project. Plan your fastening method before you start. And don't assume every cut will be perfect the first time.
Sometimes the best place to shop for your next project is your own garage.
This island makeover is one part of our larger kitchen refresh, alongside updated lighting, hardware, paint, window treatments, and our custom-framed calendar and weather station.
Beautiful homes evolve—one thoughtful project at a time.