Beautiful homes evolve — one thoughtful project at a time.
The family room · project tutorial
From Dark Glass to Faux White Oak
Four rebuilt, fluted doors. One custom faux-wood finish. And a “quick” project that took daaaaaaaays.
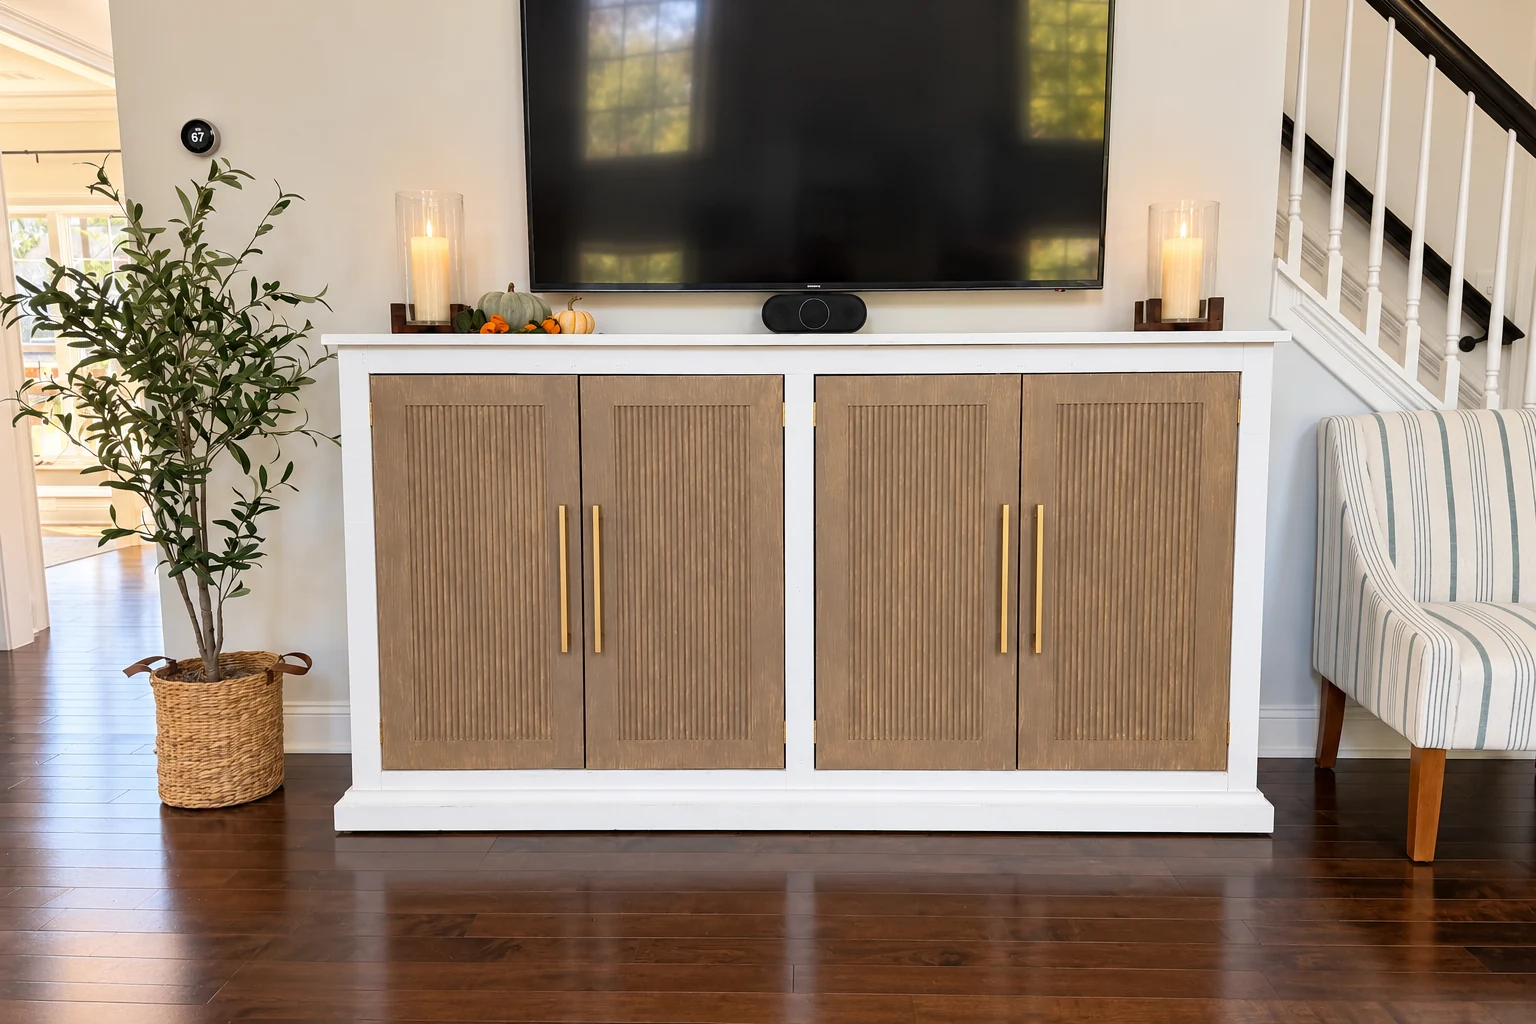
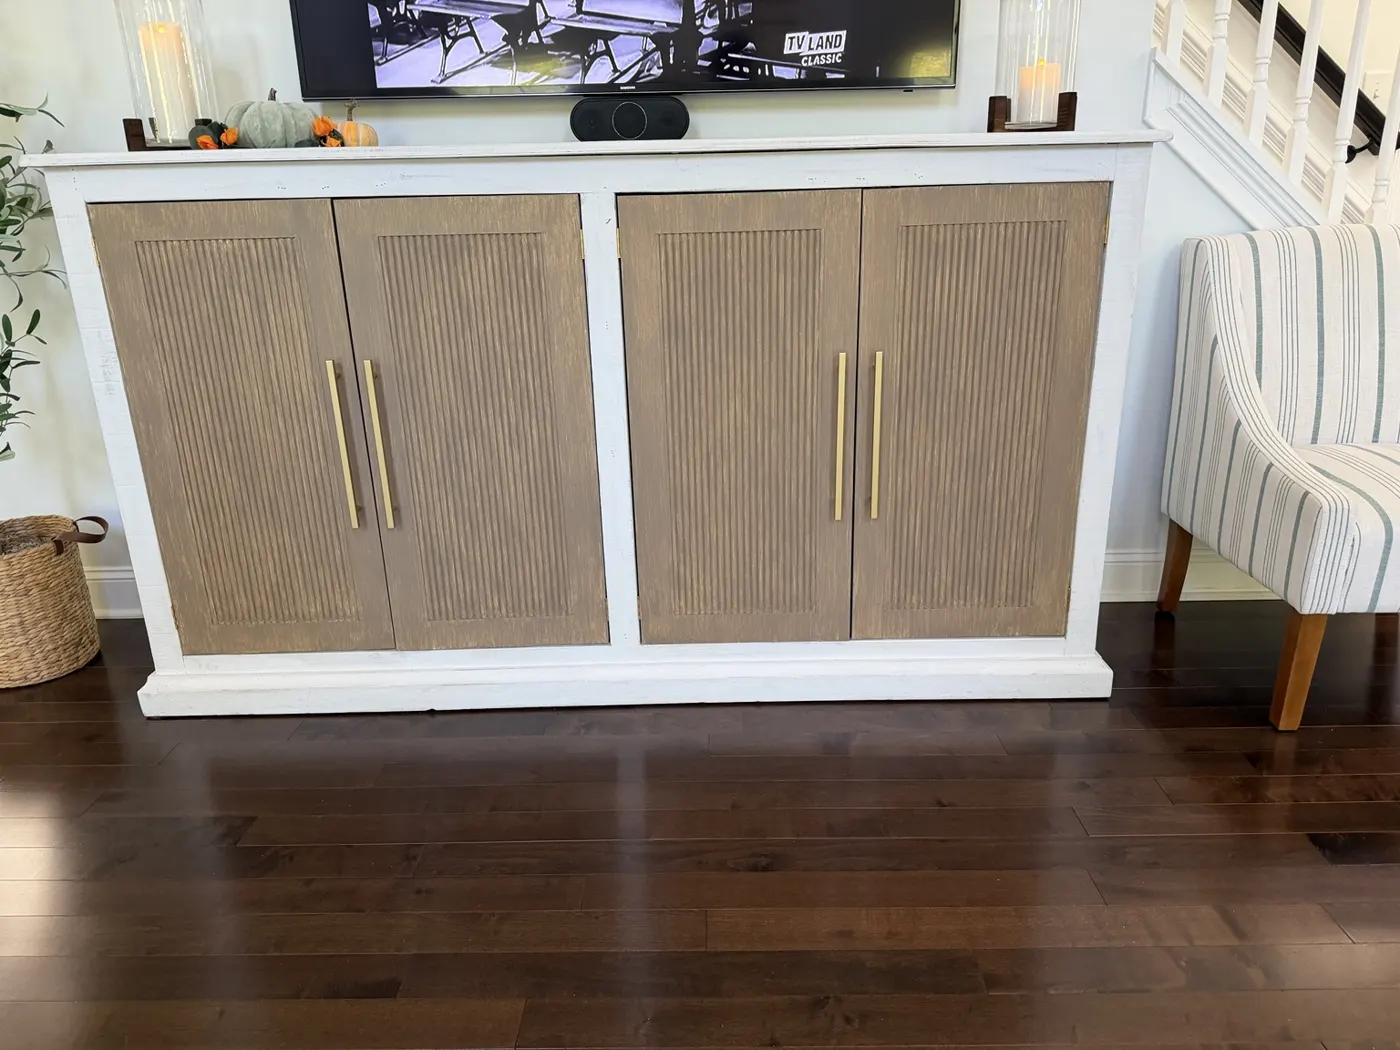
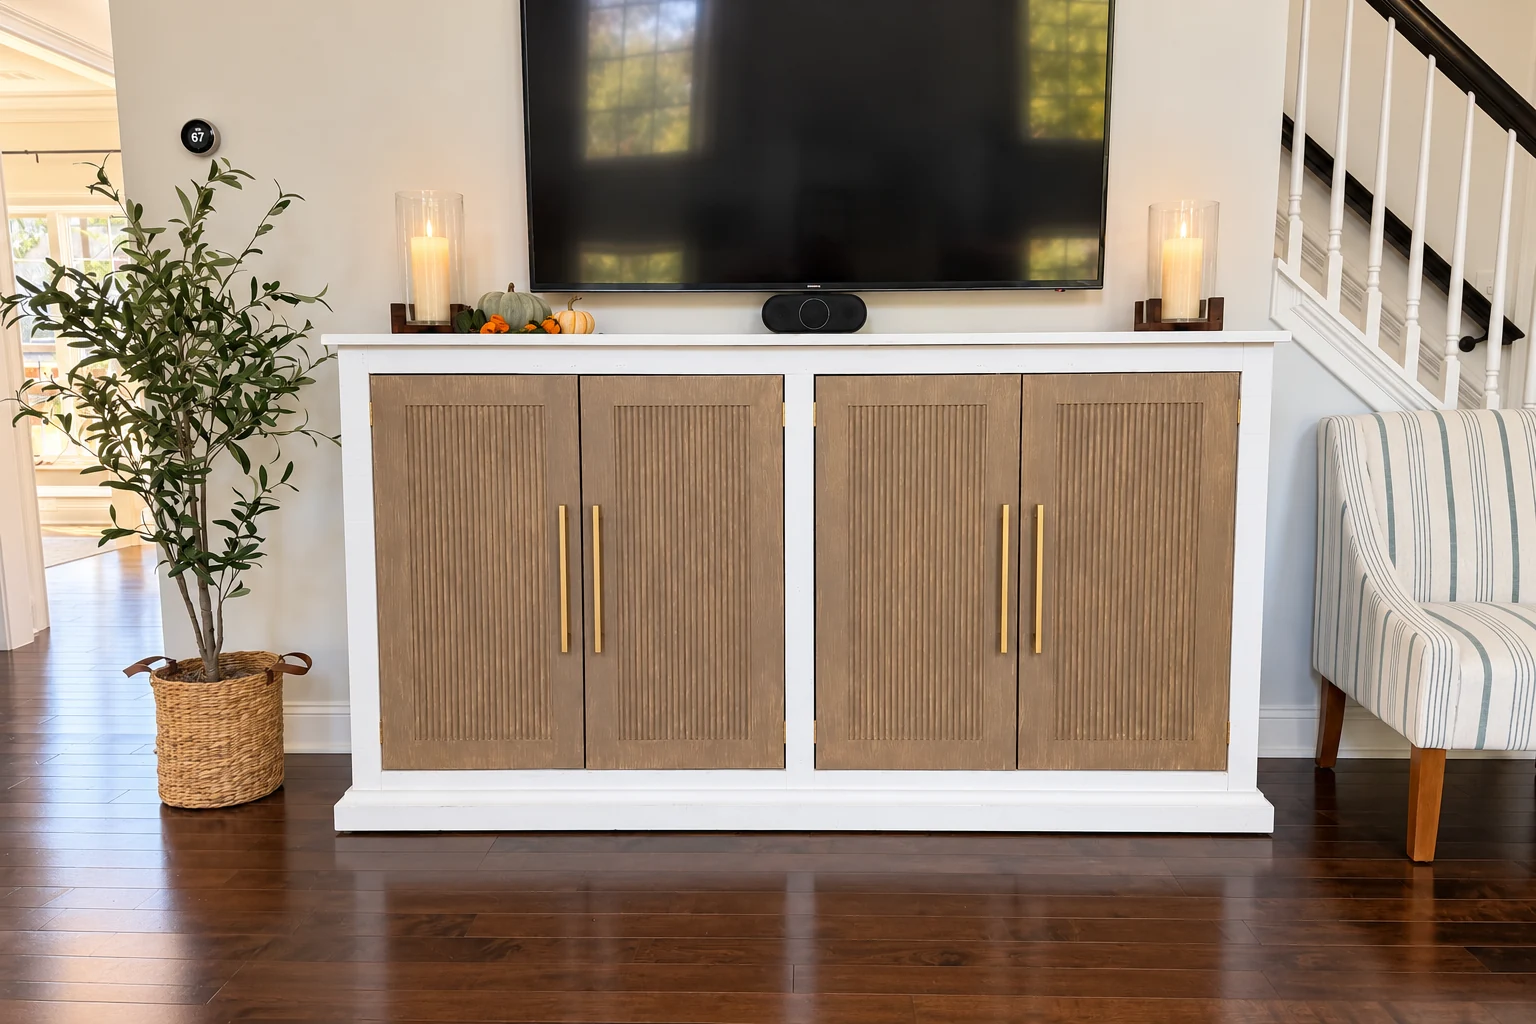
Finished credenza — styled photograph with candle flames digitally added.
Two ways to read
We know. You just want the recipe.
Some of you want the whole story. Others just want the formula without hearing about my husband, my iced coffee, or all the times I changed my mind. No judgment. Pick your adventure.
Materials, measurements, and steps, without the detours. Everything lives right here on this page.
1 · Door finish
2 parts Pickled Oak : 1 part Aged Glaze : 1 part Van Dyke BrownExample: 2 tbsp Pickled Oak + 1 tbsp Aged Glaze + 1 tbsp Van Dyke Brown.
Apply over Sherwin-Williams ProClassic Satin Extra White.
2 · Frame refresh
2 parts Linen White chalk paint : 1 part waterExample: 1/8 cup paint + 1/16 cup water.
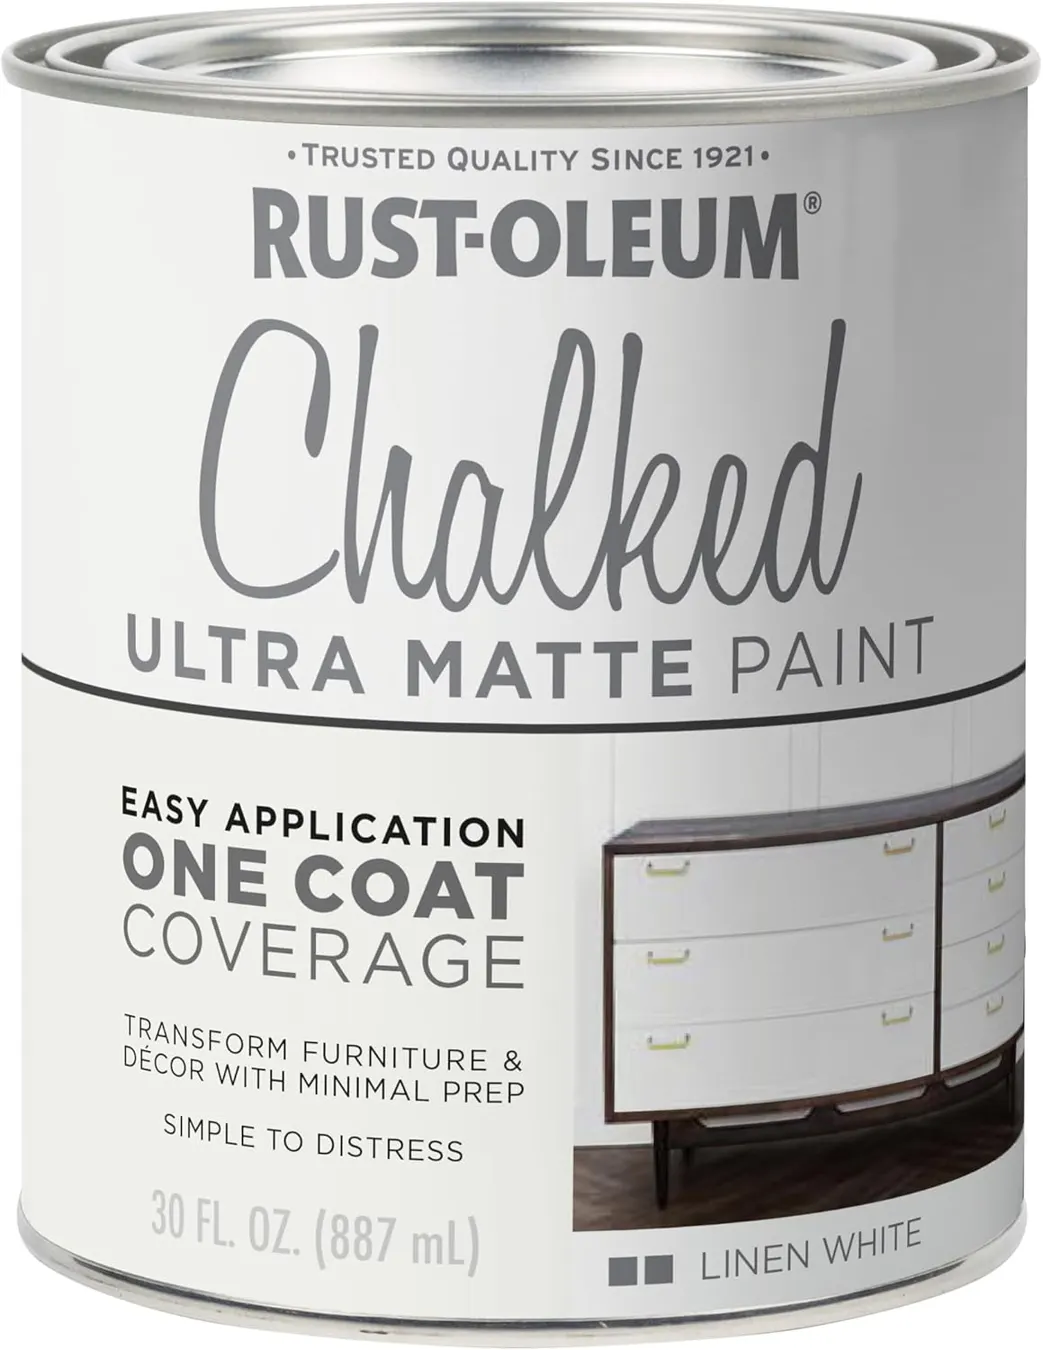
Rust-Oleum Chalked Ultra Matte, Linen White. Apply with a light hand at select edges to retain rustic wear.
3 · Steps
Measure the original openings and build four plywood-backed doors with primed framing and MDF fluting.
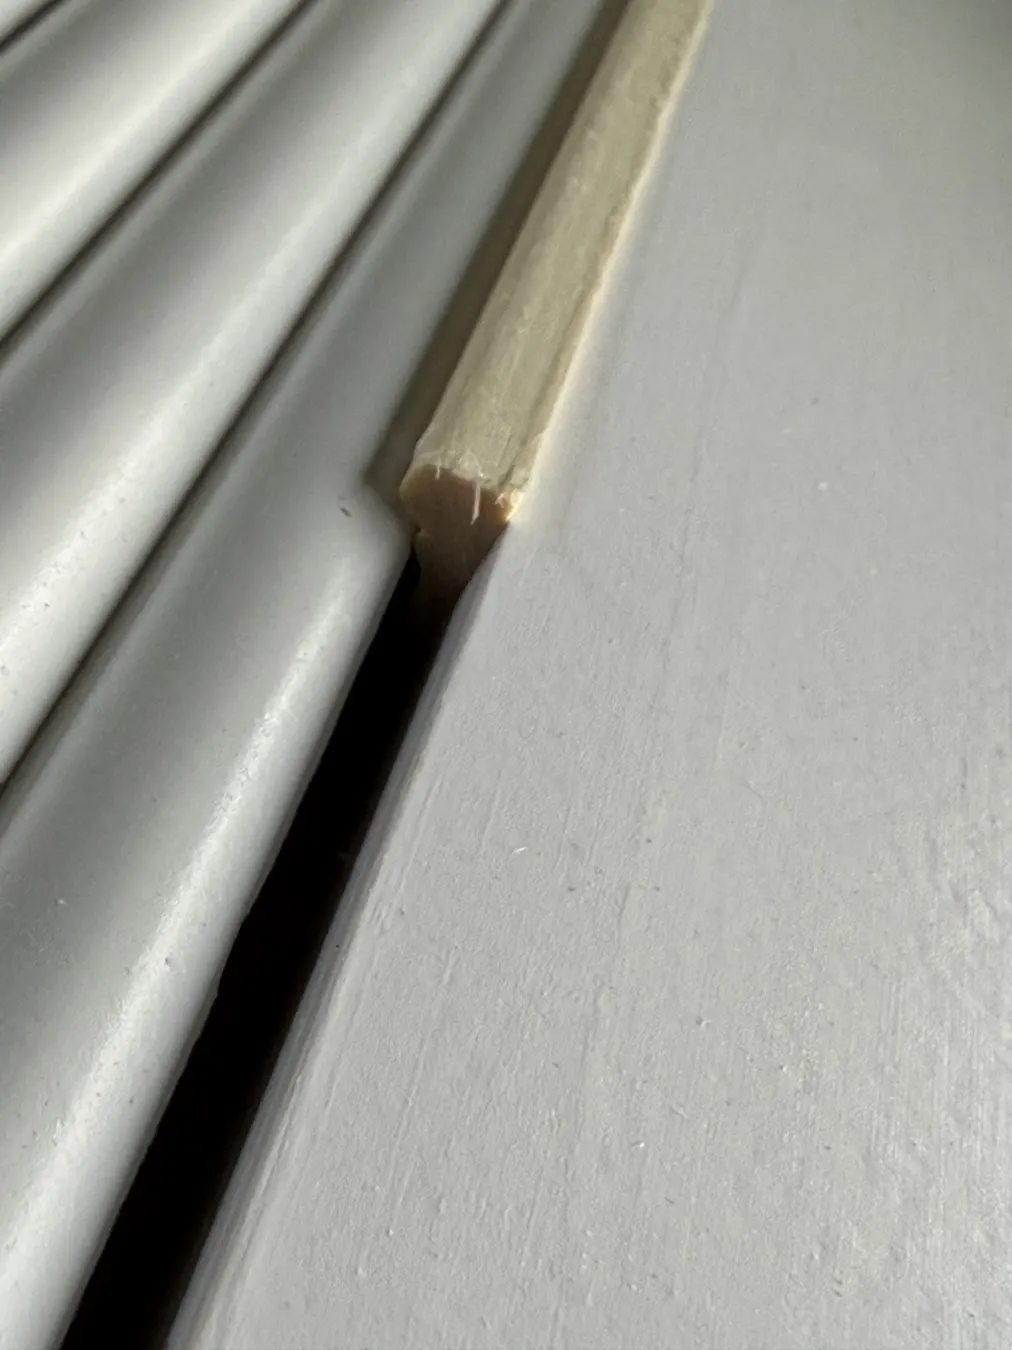
Fit narrow trim strips alongside the fluting; secure the pieces and sand only where needed.
Apply the Extra White satin base and allow it to dry thoroughly.
Mix the 2:1:1 custom finish. Apply with a chip brush, then pull a 5-inch brush in long strokes to create grain.
Allow to dry. Add a very light second pass only to the fluting if too much white shows through.
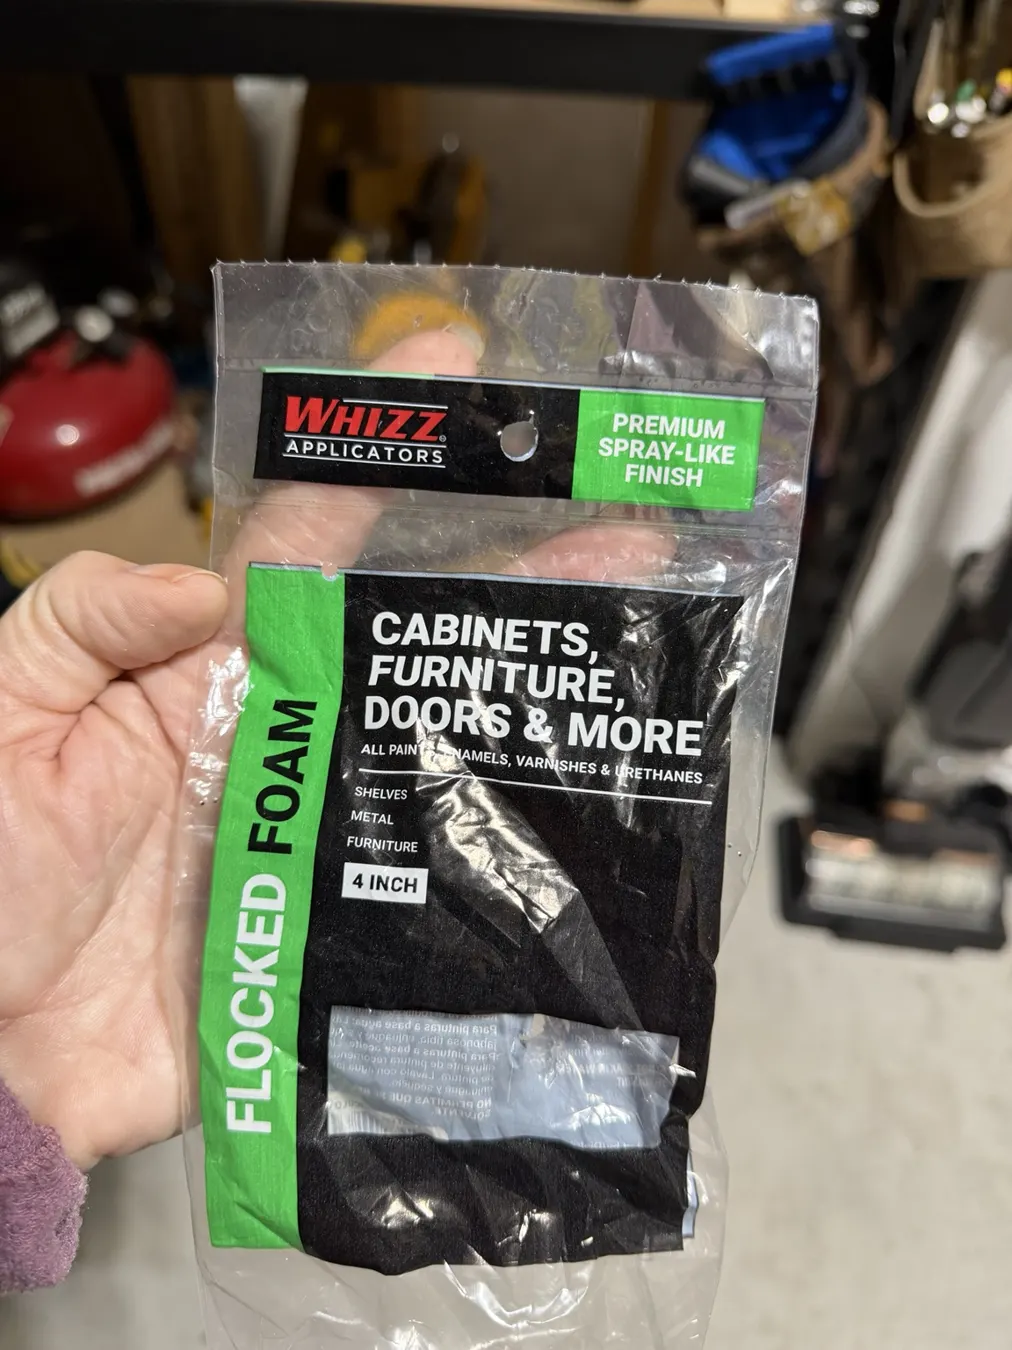
For the backs, use a 4-inch Whizz flocked foam roller for a smooth finish.
Refresh the credenza frame using the 2:1 chalk-wash formula, preserving a little original rustic character.
Fit the long brushed-brass pulls and reinstall/adjust the doors.
Before you begin: Try both formulas on small samples, let them dry, and check them in the actual room. Diluted paint splatters more — cover your floors generously.
Sometimes updating a piece of furniture means painting it. And sometimes you look at four dark glass doors with ornate trim and think, Nope. We’re rebuilding the whole thing.
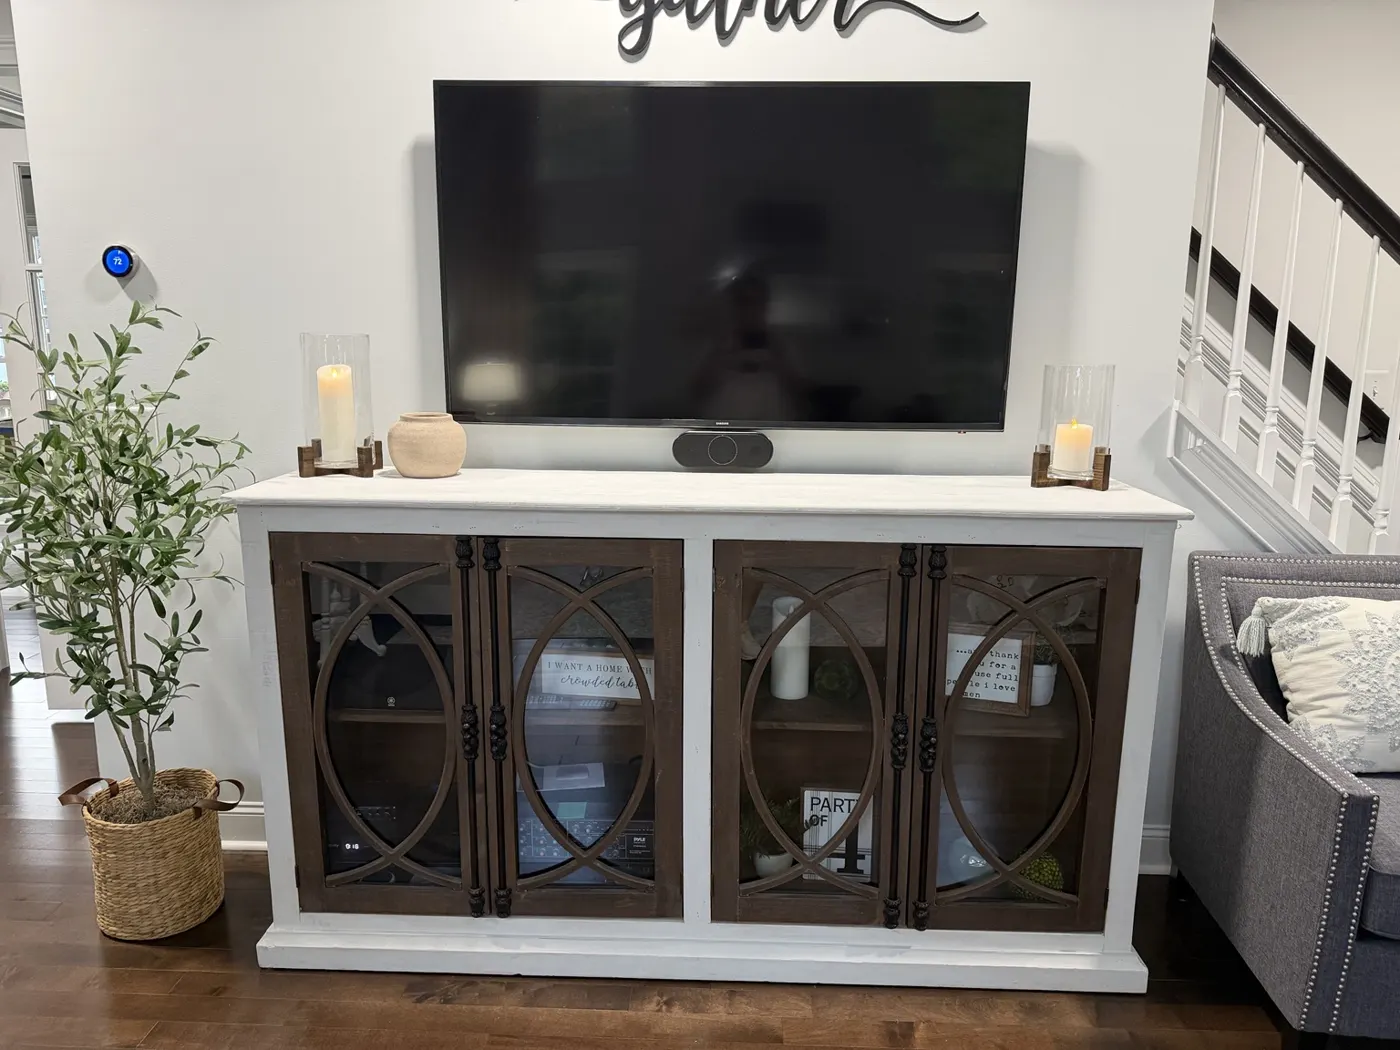
That was this credenza. The cabinet was solid, functional and the right scale for the enormous TV above it, but those dark glass doors made that side of the room feel much heavier than I wanted.
I am remarkably consistent in saying, “This should be pretty quick.” My husband is equally consistent in saying, “Sure it will be.”
I genuinely thought we could build these doors and the fireplace mantel in less than a day. We could not. Not even close. Daaaaaaays later, here we are — with approximately 47 finish samples. You’re welcome. 😂
Before — the original dark glass doors and decorative overlays
Our plan
We kept the existing white frame and replaced the doors with a solid backing, clean framing, vertical fluting, a lighter faux-white-oak finish and long brass pulls. I briefly considered two wide doors instead of four. Although there wasn’t actually a structural center support between the pairs as I first thought, four separate doors ultimately worked better for the proportions.
Building four new doors
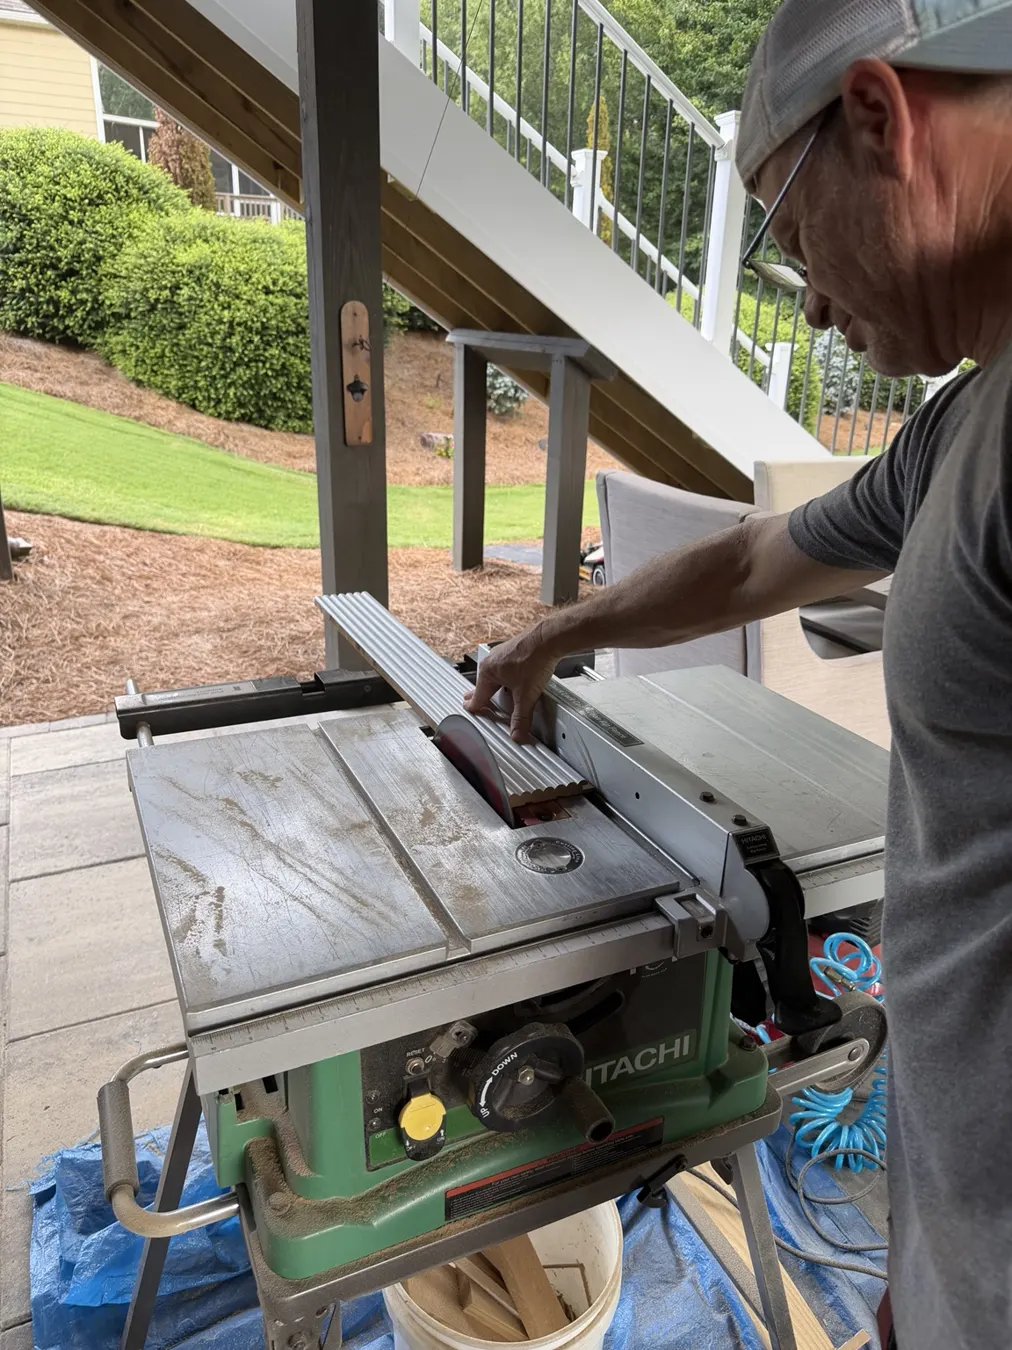
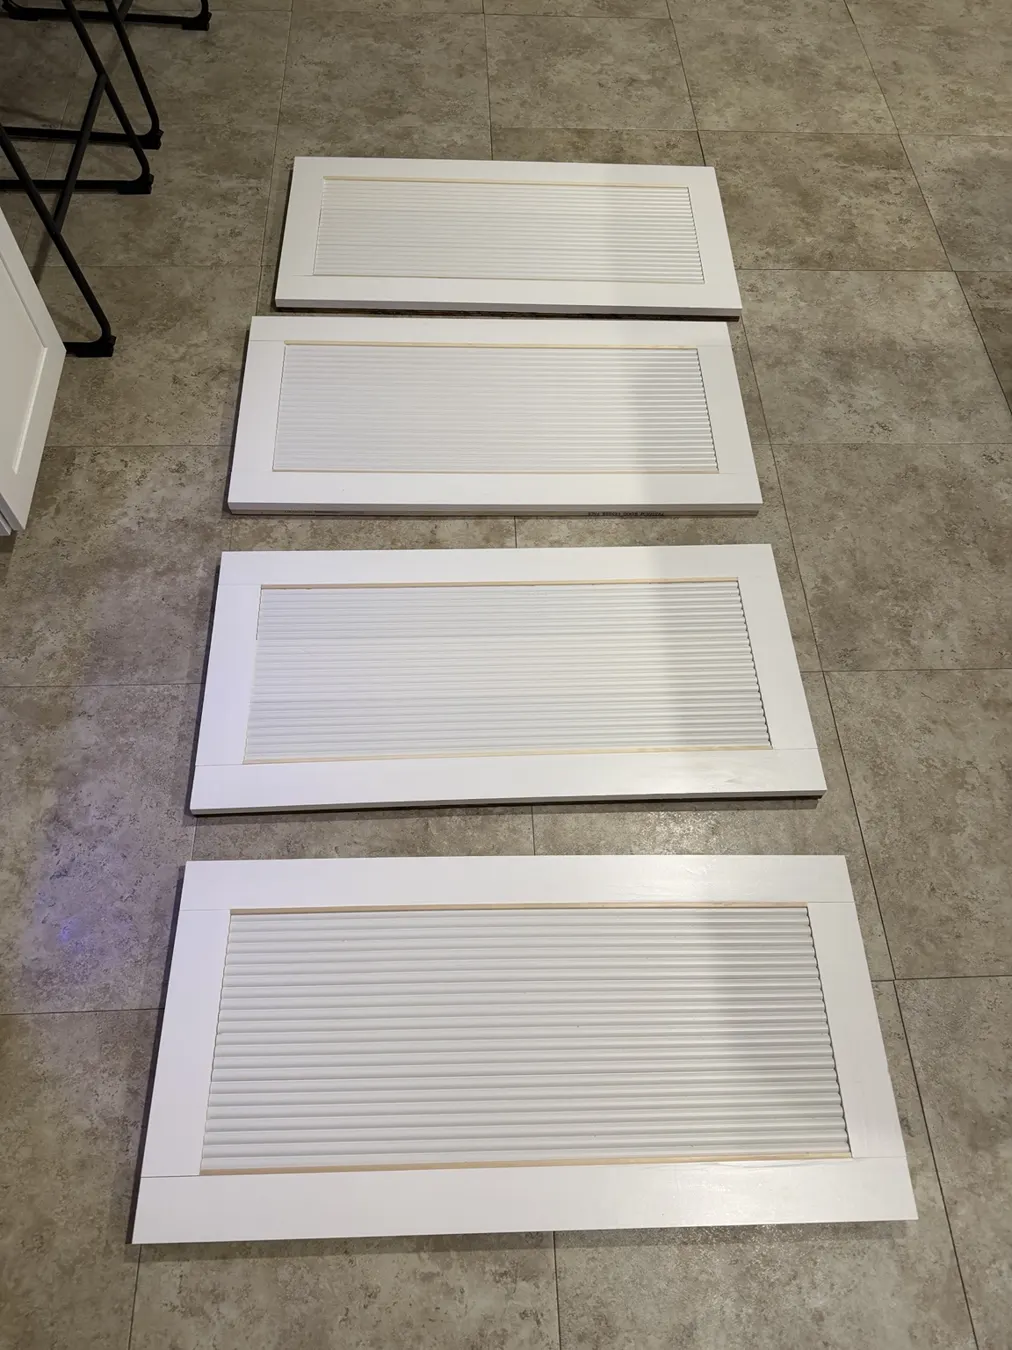
We used 1/2-inch Blondewood plywood as a base for each door, wider primed framing at the edges and MDF fluting in the inset. We ripped slim trim strips to fill the side gaps rather than end the fluting in an odd sliver.
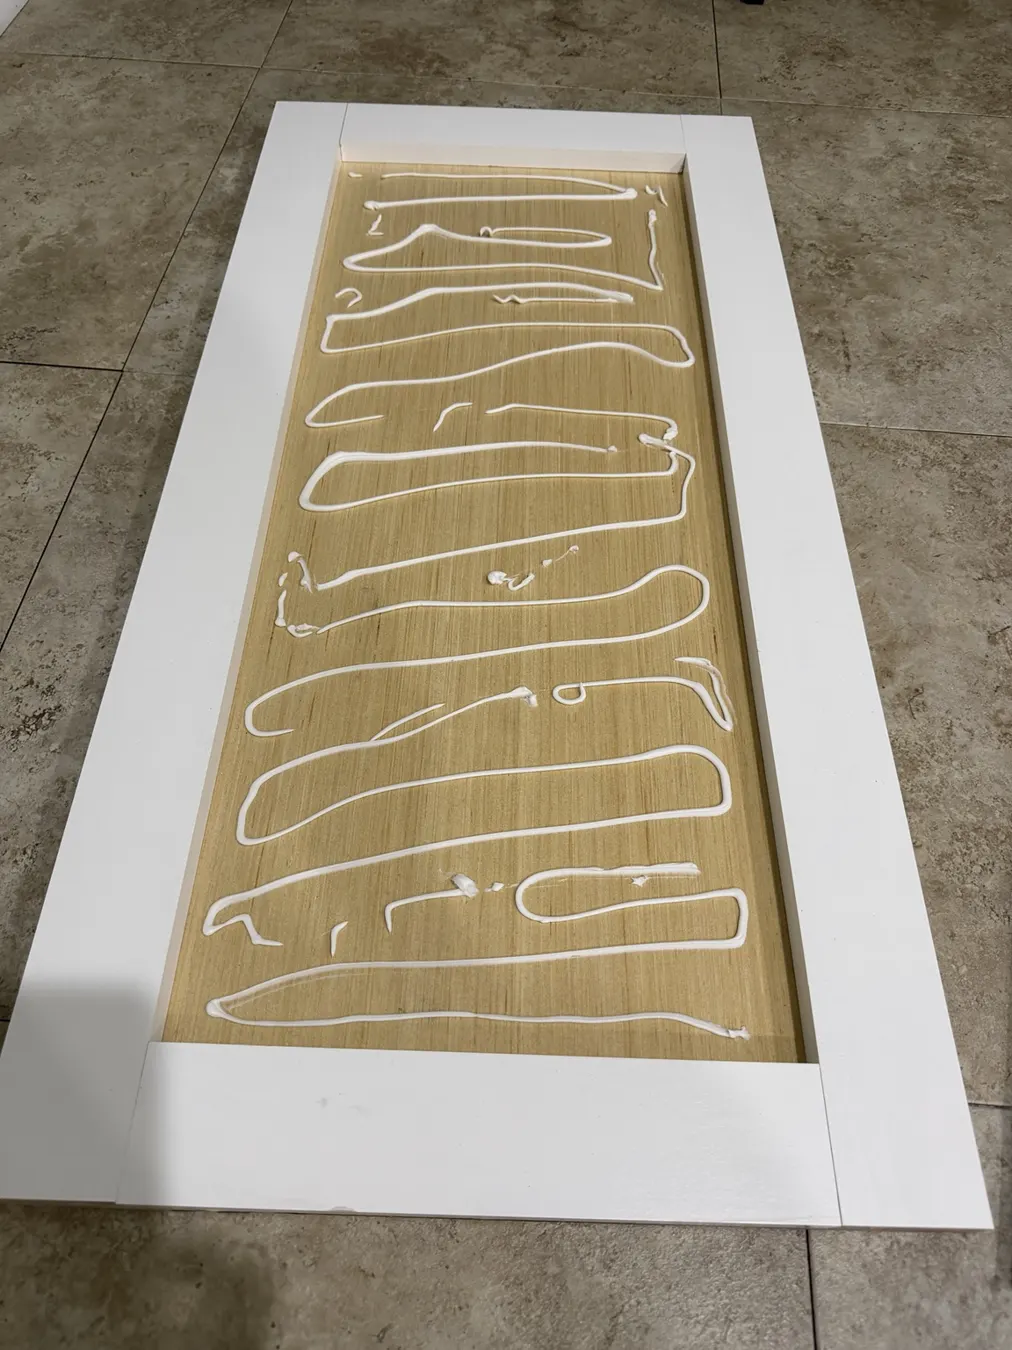
Cutting the material for the doorsFour doors assembled, sanded, and glued
Narrow filler trim alongside the flutingLoctite Power Grab used during assembly
A tiny but important lesson: Don’t push one filler strip too hard — you can pop the strip on the opposite side out of place. A few tiny edges were slightly proud; once I held the door up, they were essentially invisible. We kept the construction secure rather than chase a perfection no one would notice.
We sanded only where necessary. The 1×3-style framing was already primed, and I avoided sanding the MDF fluting.
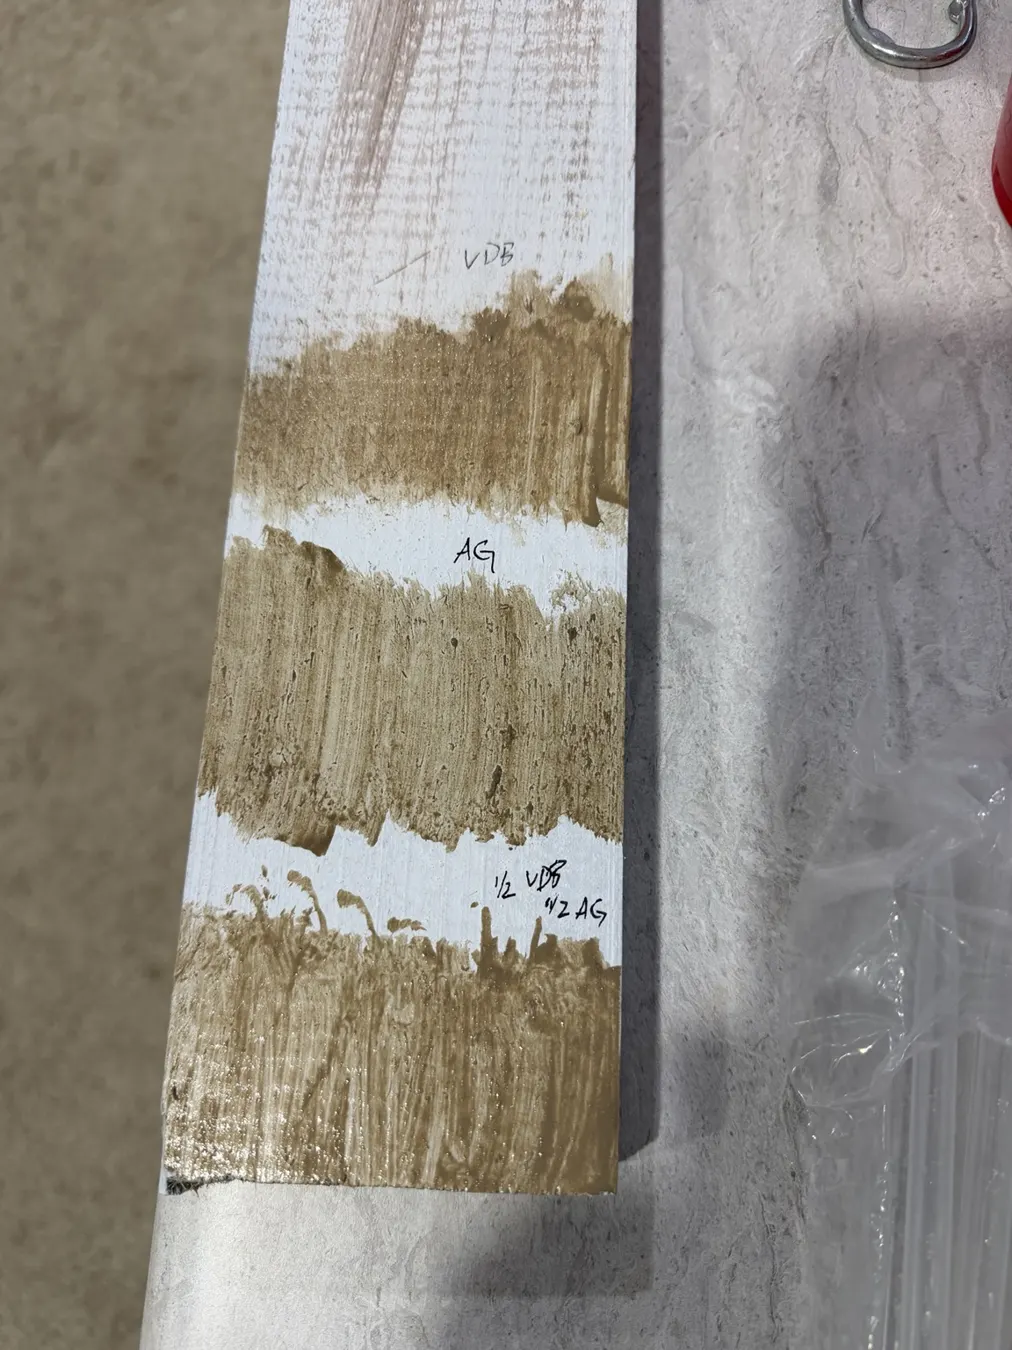
Eight hours of finish tests
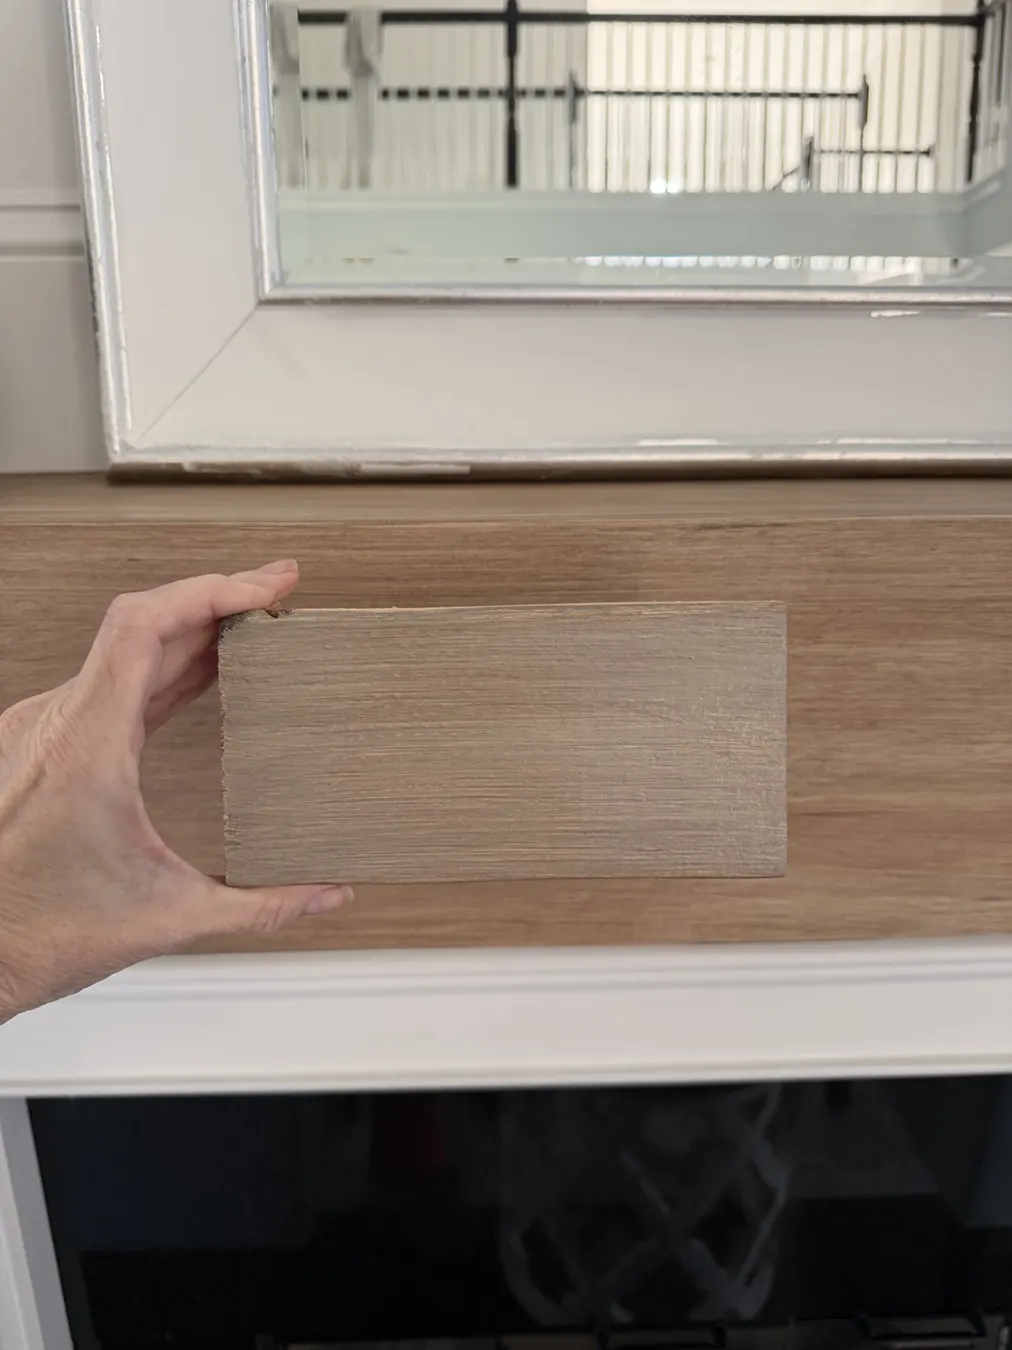
Testing the finish took longer than I expected, but I’d do it again. I wanted a lighter companion to the warm mantel, not a perfect match. Not yellow, not orange, not gray — and not so dark that we recreated the visual weight we had just removed.
We started with Sherwin-Williams ProClassic Interior Acrylic Latex in Satin Extra White. That sheen is important: a glaze spreads and wipes differently on satin than on flat paint. Your samples should use the same base and application tools as the real project.
A few of the many glaze combinationsTesting a wood-tone sample against the mantel
The winning mixture
2 parts Pickled Oak : 1 part Aged Glaze : 1 part Van Dyke BrownExample: 2 tbsp + 1 tbsp + 1 tbsp.
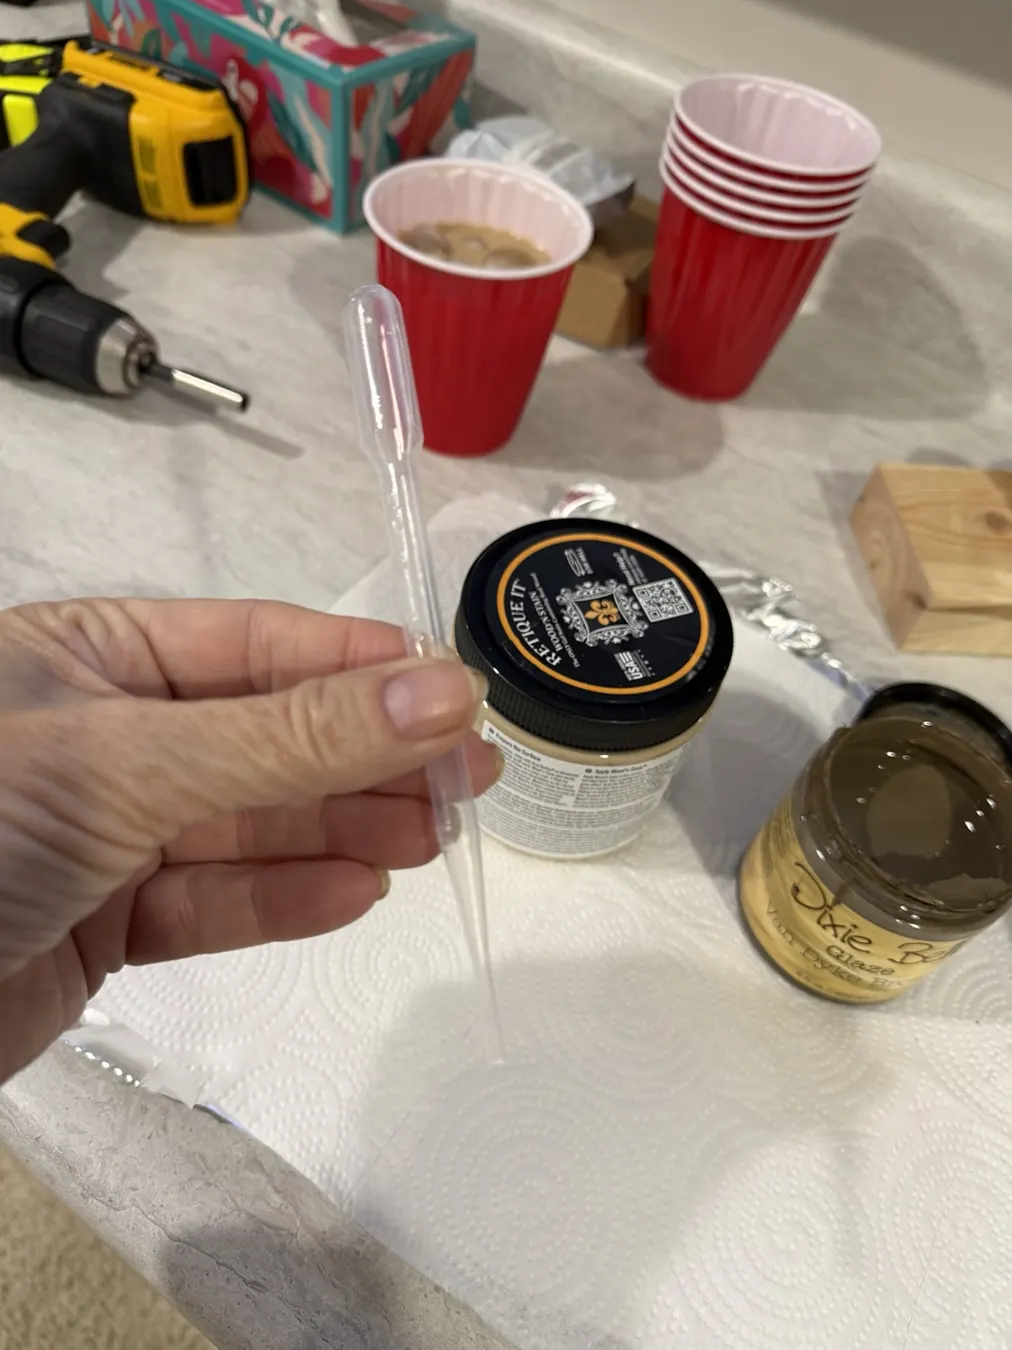
I tested tiny batches with pipettes and cups, then scaled up once the color worked. I also save random household containers for paint and glaze — the DIY version of opening a Cool Whip container at your grandparents’ house and finding leftover chili, complete with the permanent orange ring. 😂 Just use clean, compatible containers, label them clearly, and never use them for food again.
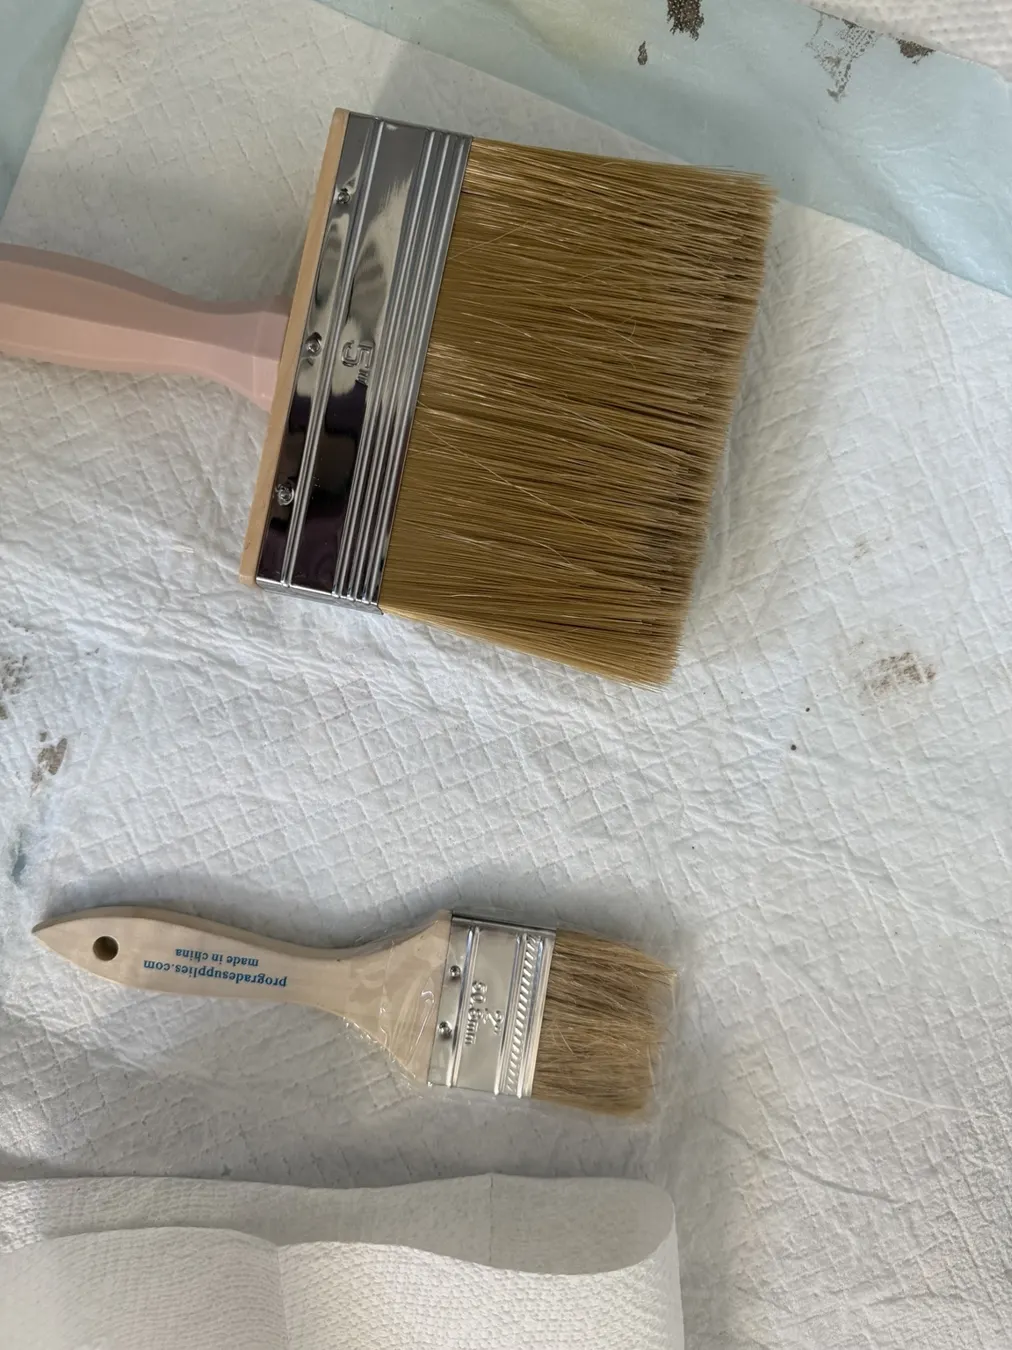
Small amounts make testing less wastefulTools used for the finishing process
Making paint look like wood
I applied the blend with a chip brush, then used a 5-inch brush in long, consistent strokes to create softer wood-like lines. Cheap chip brushes shed — check for stray hairs while the mixture is still workable. For the back sides, I used a 4-inch Whizz flocked foam roller because I wanted a smoother finish, not faux grain.
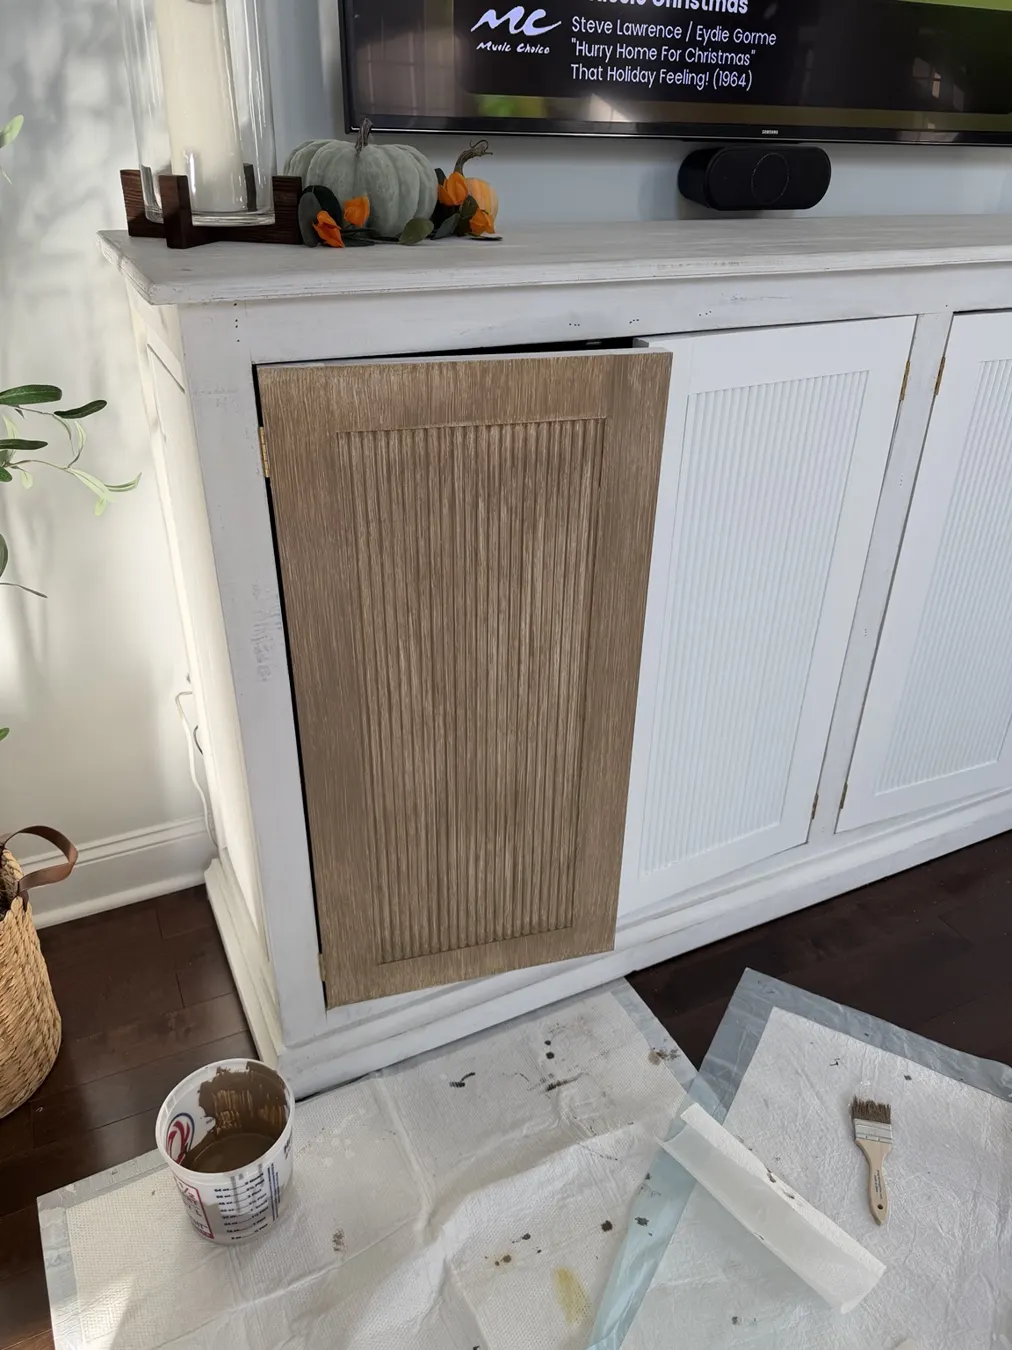
The flocked-foam roller used on the door backsThe first glazed door beside the unfinished doors
The fluted MDF absorbed and displayed the finish differently, letting more of the white base show through. Instead of darkening the whole door, I allowed the first pass to dry and added one gentle toning pass only to the fluting.
The four new doors glazed and hung, before the frame refresh
Brass, not black
I considered black handles to echo the TV, speaker and stair rail, but they felt too visually strong. These slim brushed-brass pulls made the warmer faux wood feel softer and more refined. Their long vertical lines also echo the fluting.
The frame needed some love, too
The credenza was originally off-white. When I first brought it home, I brightened it with diluted Rust-Oleum Chalked Ultra Matte Linen White paint. Once the doors were finished, the tired spots on the frame stood out, so I refreshed it with a stronger wash.
2 parts Linen White chalk paint : 1 part waterExample: 1/8 cup paint + 1/16 cup water.
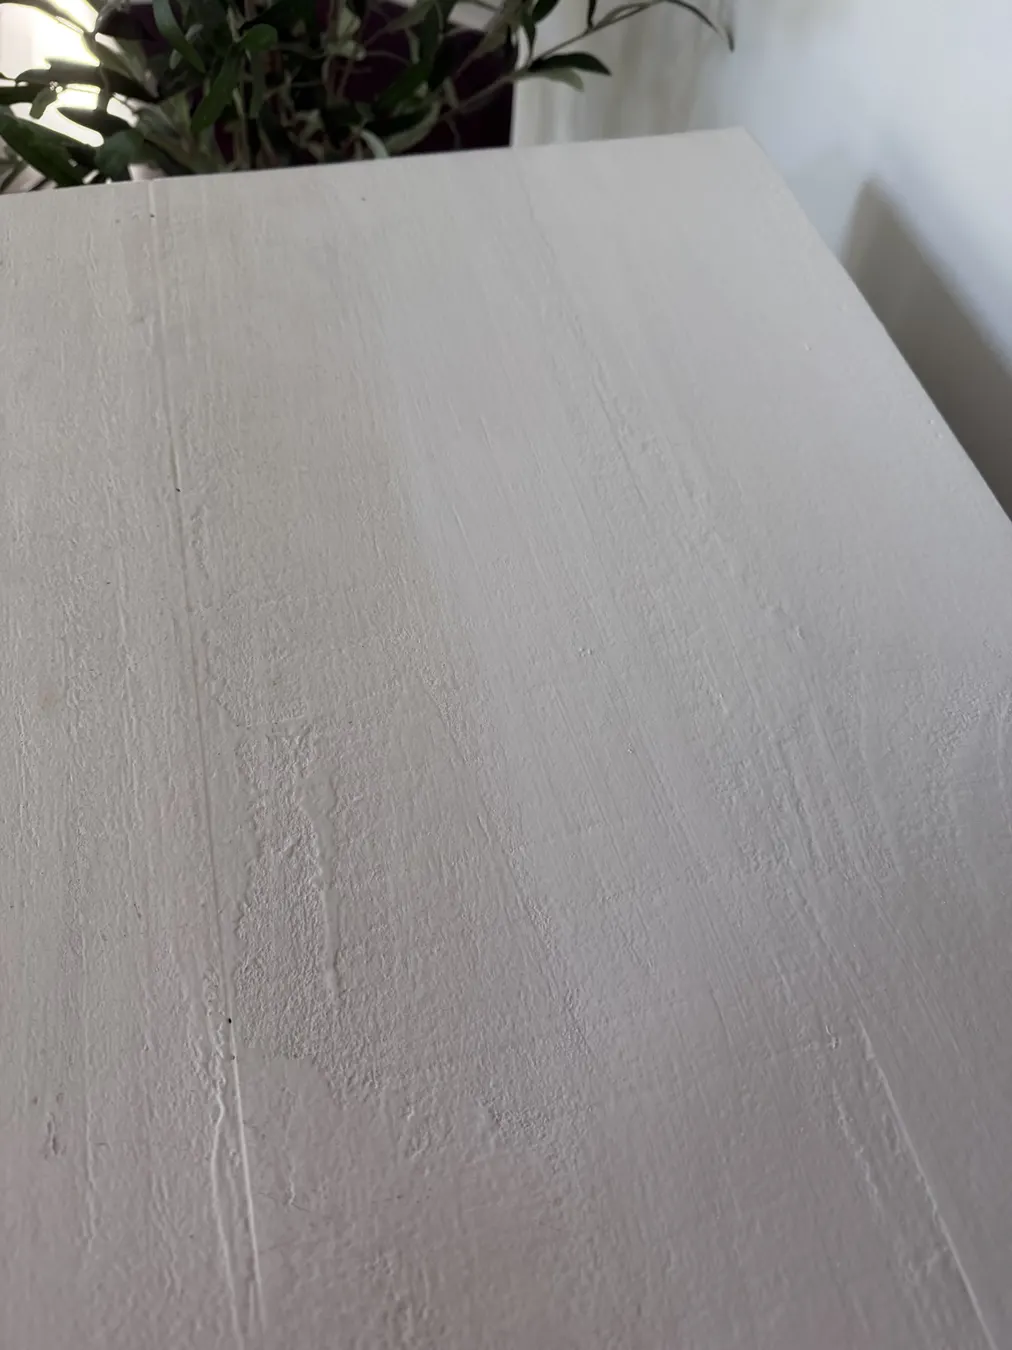
Rust-Oleum Chalked Ultra Matte in Linen WhiteClose look at the renewed white frame
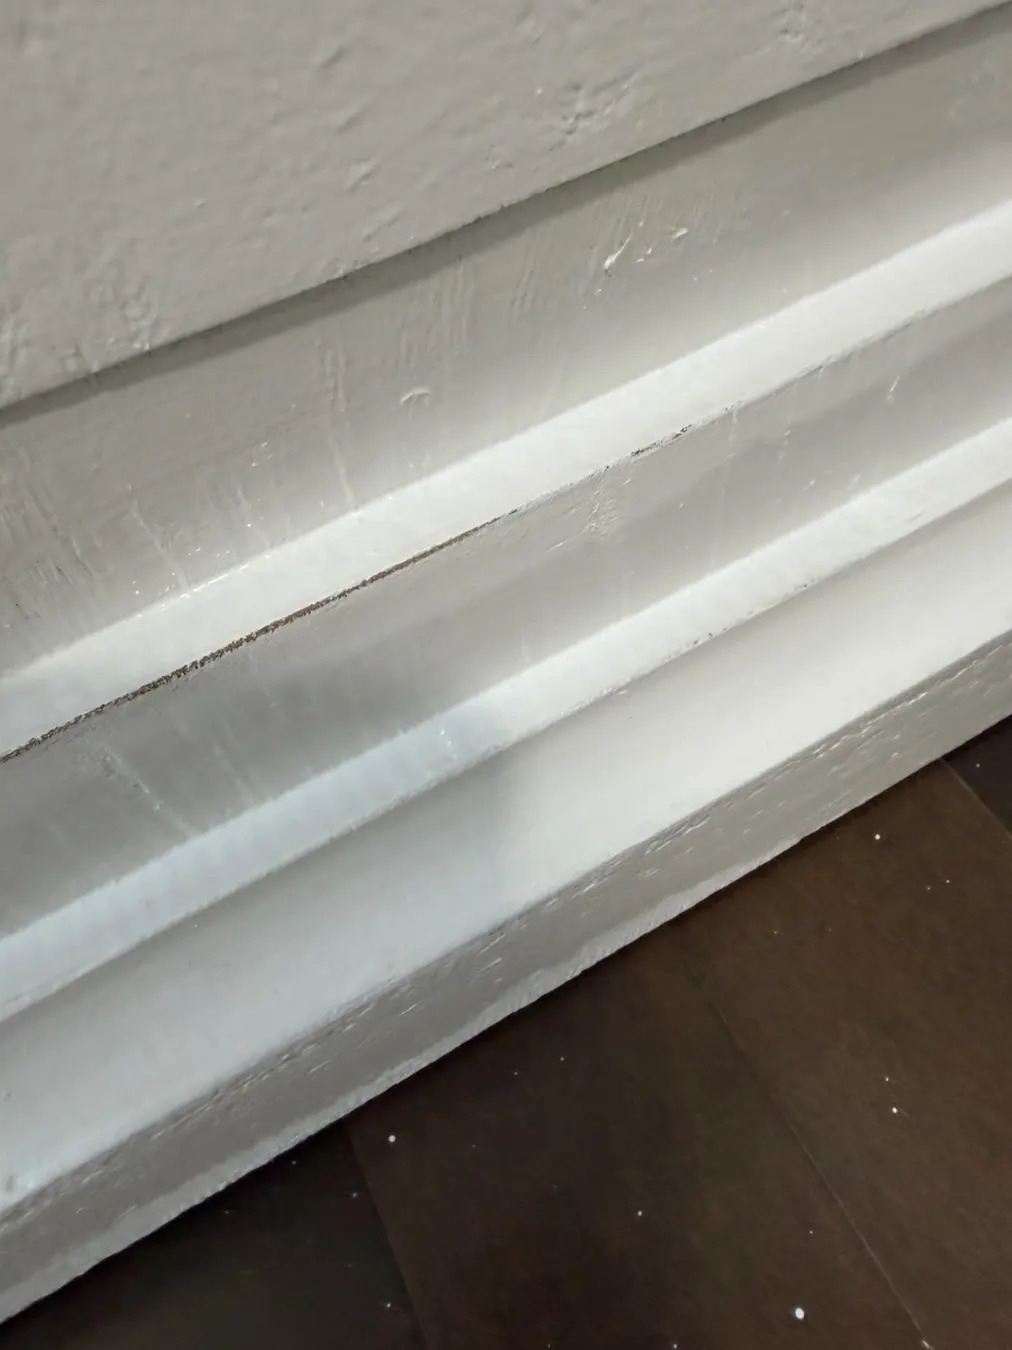
I deliberately didn’t paint every imperfection away. The cabinet is rustic, and that character fits the way it was built. A lighter hand at some edges let the old worn details show through while making the whole frame brighter and fresher.
Intentional exposed wear at the edge of the refreshed frame
A reminder from the hardwood floor
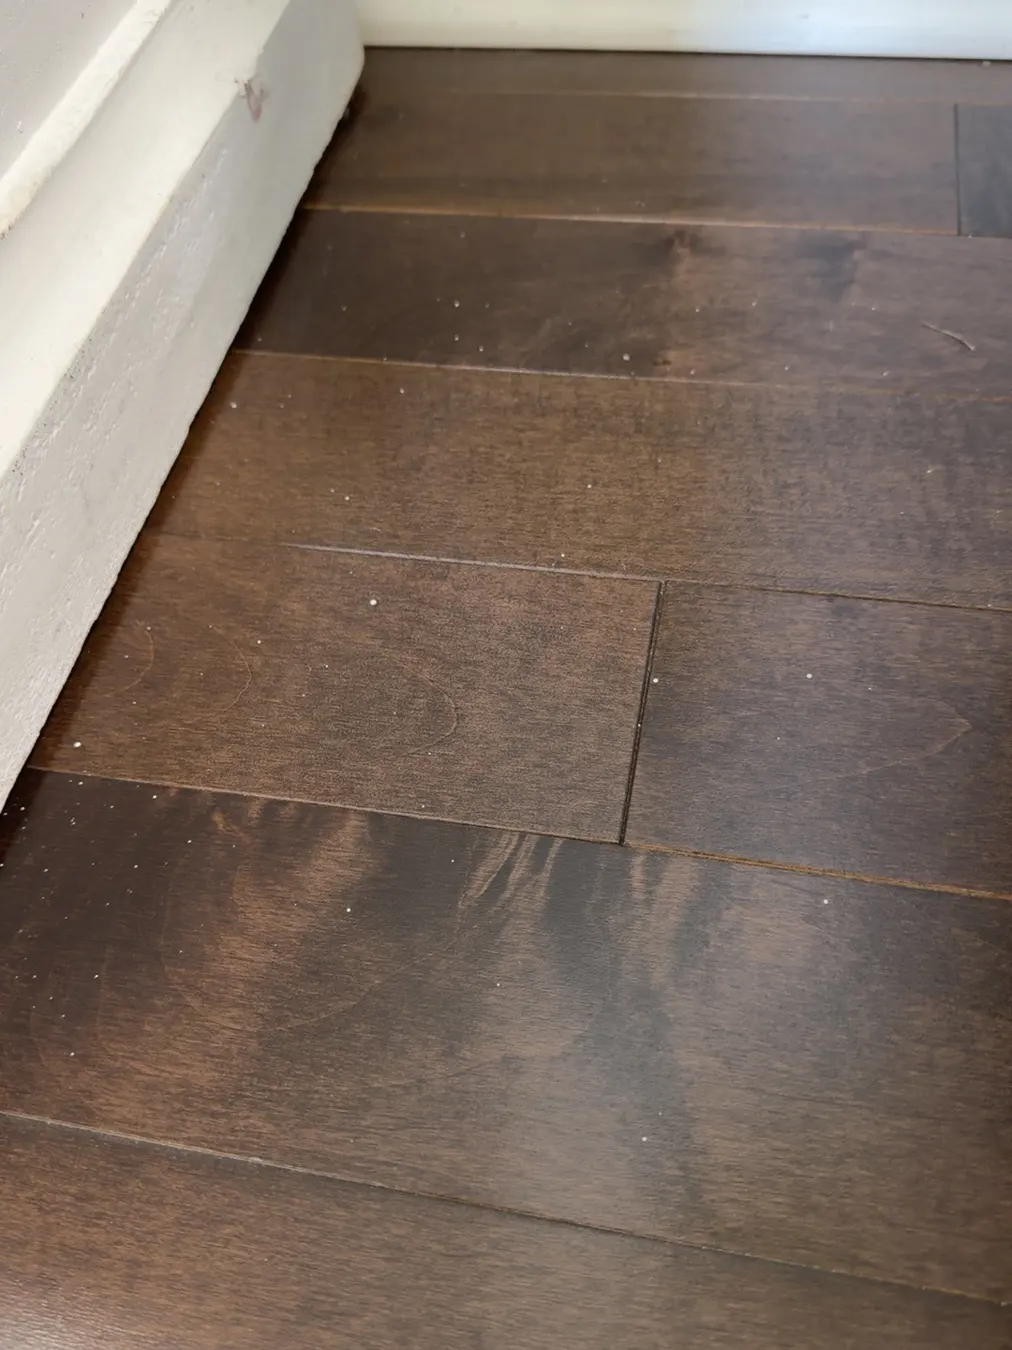
Watered-down paint splatters significantly more than regular paint. Despite my collection of reusable potty-training pads (absorbent on one side, waterproof on the other), I failed to cover enough floor. I actually stopped to fetch more protection after starting. And yes, “clean the floor” made the to-do list. Although redoing the floors is already on another list. In my head. God bless.
The evidence: little white paint spots on the floor
And finally…
The dark glass doors are gone, replaced by light, fluted faux-wood doors and a refreshed rustic white frame. The finish relates to the mantel without copying it; the brushed brass gives the whole thing a quieter, warmer finish.
Was this quick? Absolutely not. Was my husband surprised? Also absolutely not.
Finished makeover — styled photograph with candle flames digitally added.
My biggest takeaway: Test tiny batches, match your sample base and tools, let the finish dry before deciding, and resist the urge to erase the character that makes a piece worth saving.
Sources & supply notes
Shop this project
These are the supplies and tools used or referenced for this makeover. Links lead to the matching product pages when confirmed. Some links may earn The Ivey House a commission at no additional cost to you.
Link note: The exact fluted MDF molding purchase link still needs matching to the original order. It is deliberately not linked to an unverified substitute. Product pages can change availability or selected variants.