Two Mismatched Screens, One Coordinated Look
How we turned our digital calendar and weather station into a more intentional-looking pair using two matching wood panels, matte black paint, and warm stain.
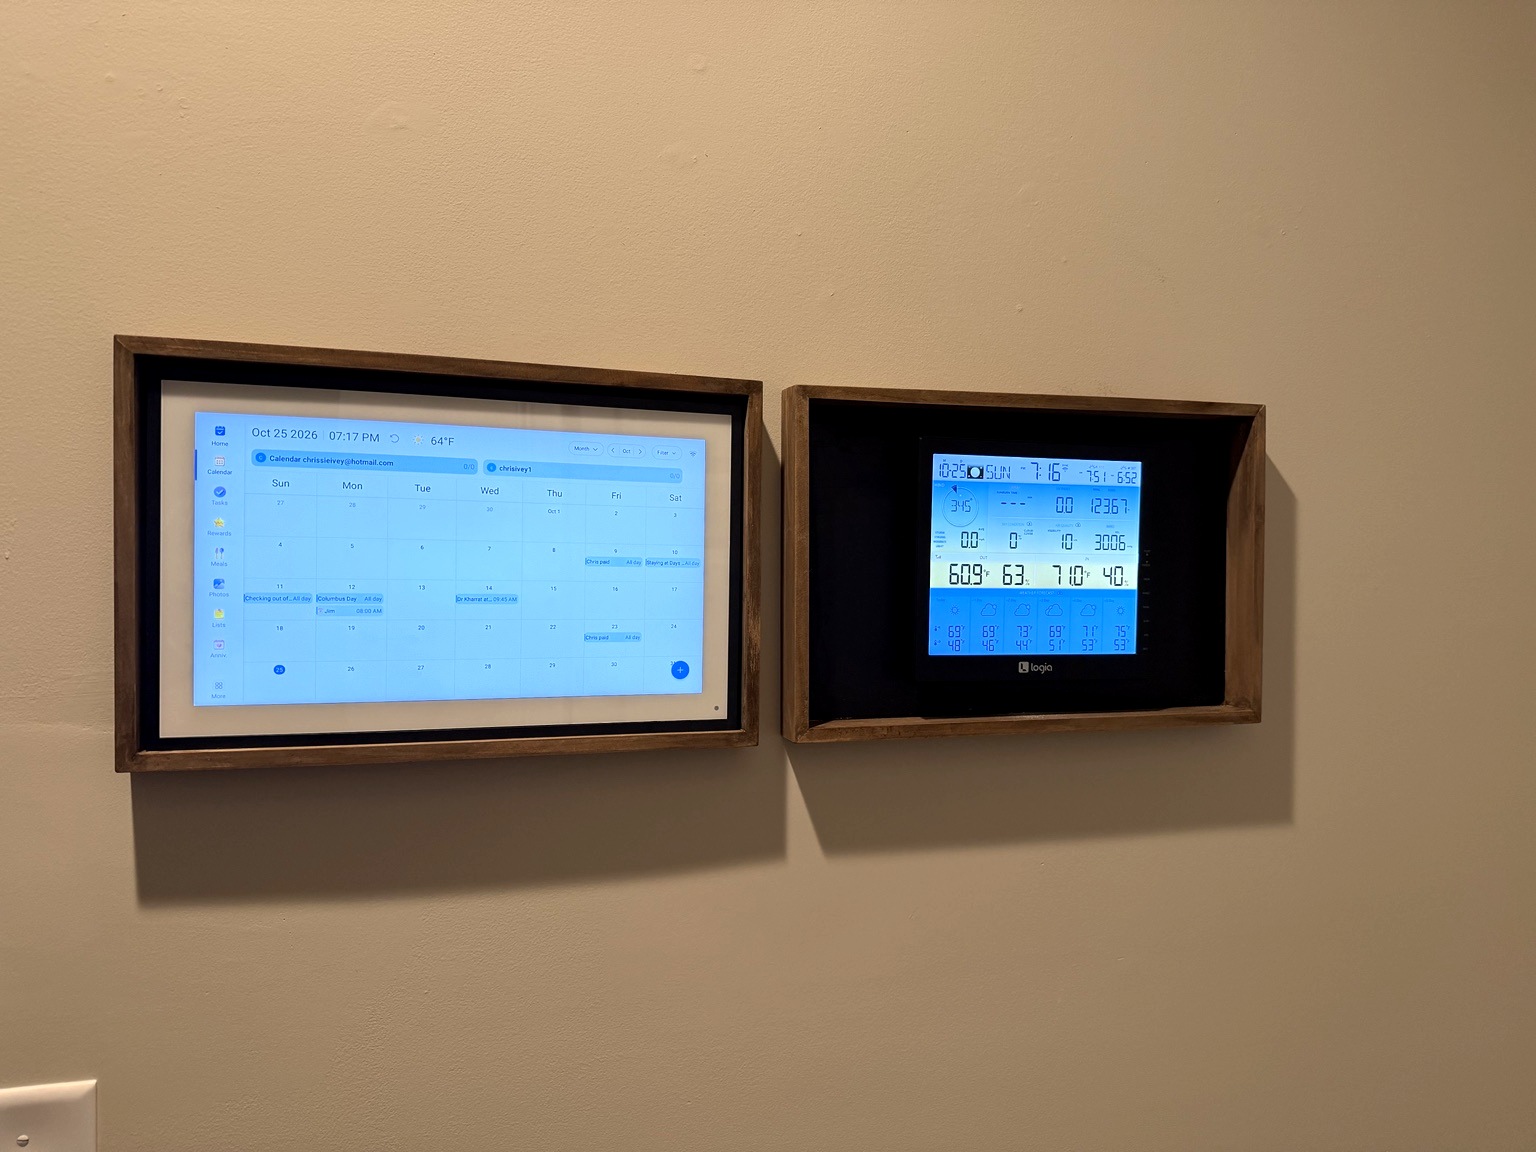
Two Different Screens.
Two Matching Frames.
Our kitchen calendar + weather station makeover
 BEFORE → A MORE INTENTIONAL LOOK
The idea
Our kitchen calendar and weather station did their jobs, but they looked unrelated on the wall. One was large and horizontal; the other was much smaller. The exposed cords made the arrangement feel temporary. Instead of replacing working electronics, we decided to give them identical surrounds. Matching the outside dimensions—not the devices—was the trick.
Materials
- Two Woodpeckers 11 × 17 × 1½-inch cradled wooden painting panels (sold as a two-pack in the original Amazon listing)
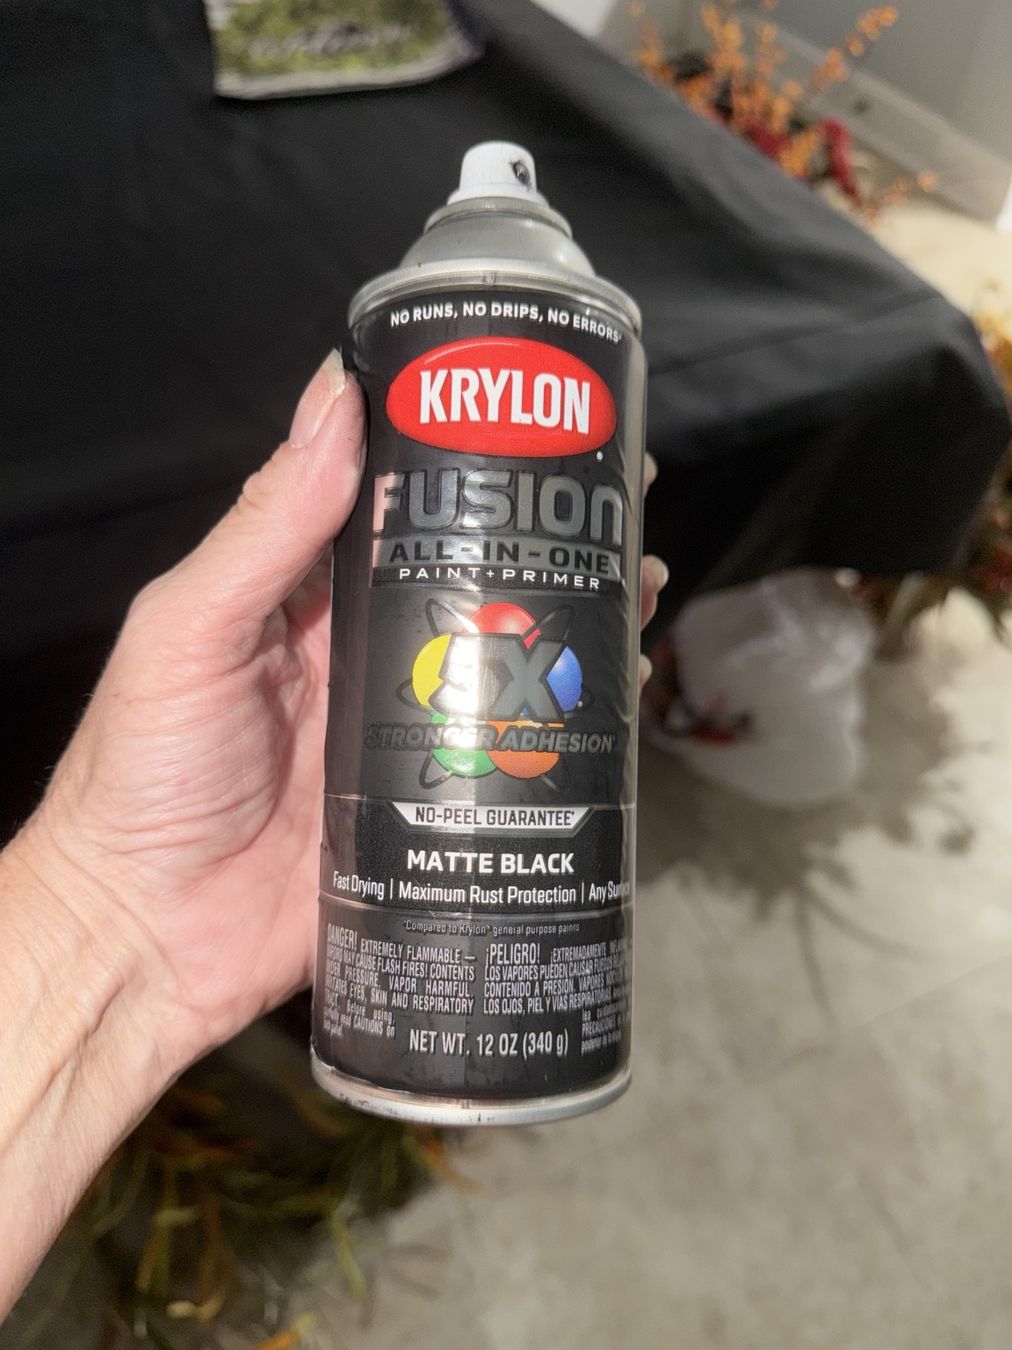
- Krylon Fusion All-in-One Matte Black spray paint
- Painter’s tape and a permanent black marker for tiny touch-ups
- Minwax Pre-Stain Wood Conditioner, Minwax Color Wash in White Wash, and Behr Rustic Wood Effects in Rustic Brown B4604
- Foam brushes and cotton rags
- Drill, mounting screws, appropriate anchors, and device hanging hardware
Saved Amazon project link (product identity not independently confirmed).
Cost: Panel purchase price still unconfirmed; existing stain and painting supplies reused. We avoid calling the total confirmed until the original receipt price is verified.
Step 1: Begin with identical wood panels
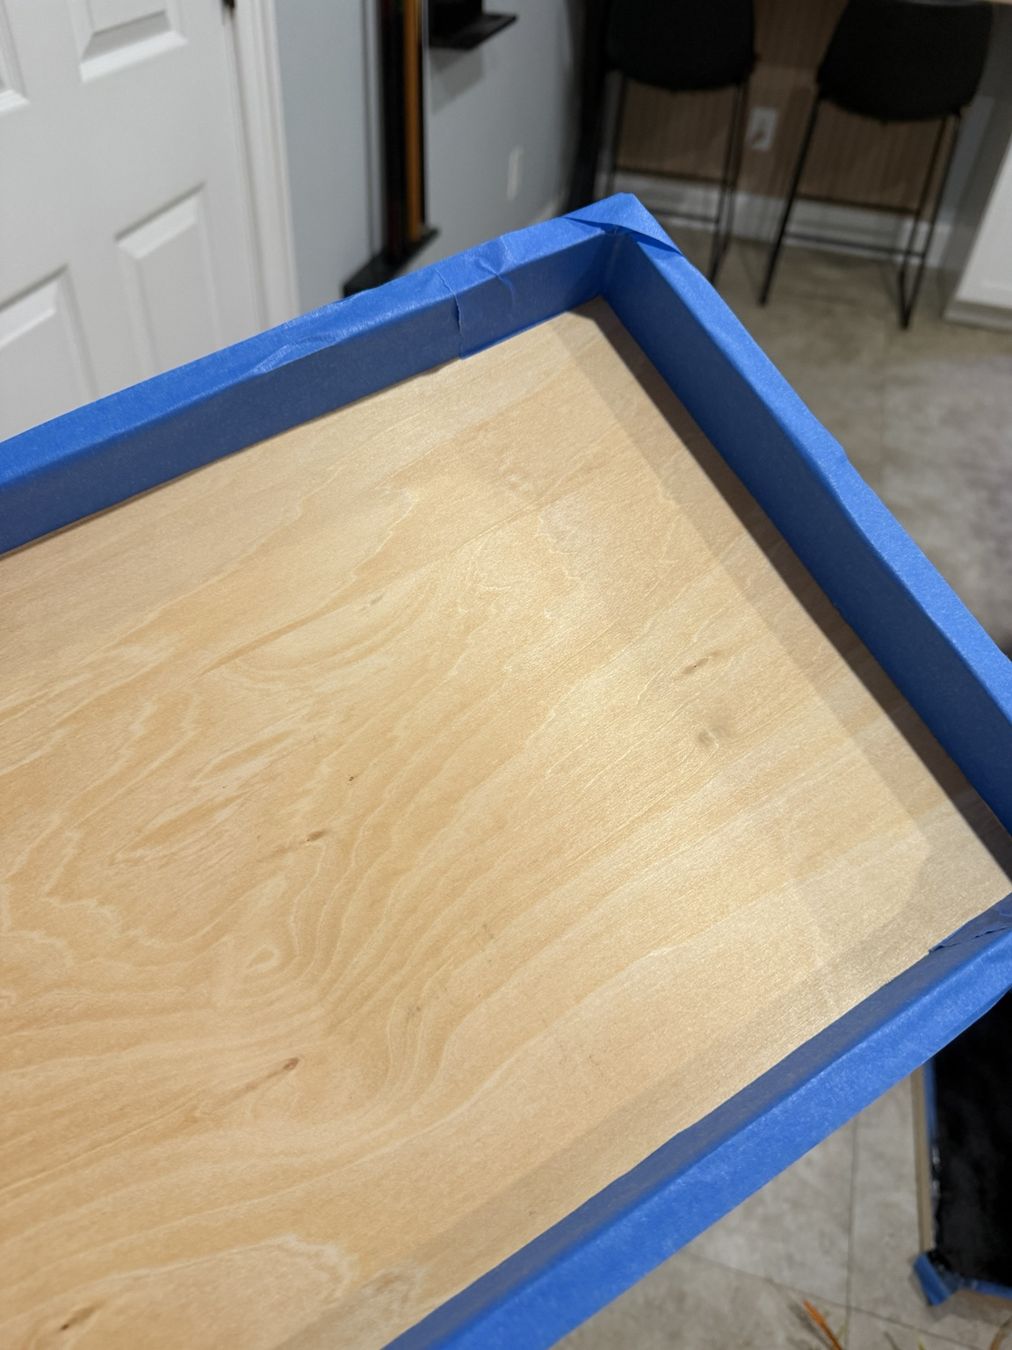
The recessed cradled panels create a ready-made shadow-box effect. Both were turned horizontally so their identical outer sizes create symmetry, even when the digital displays inside do not match.
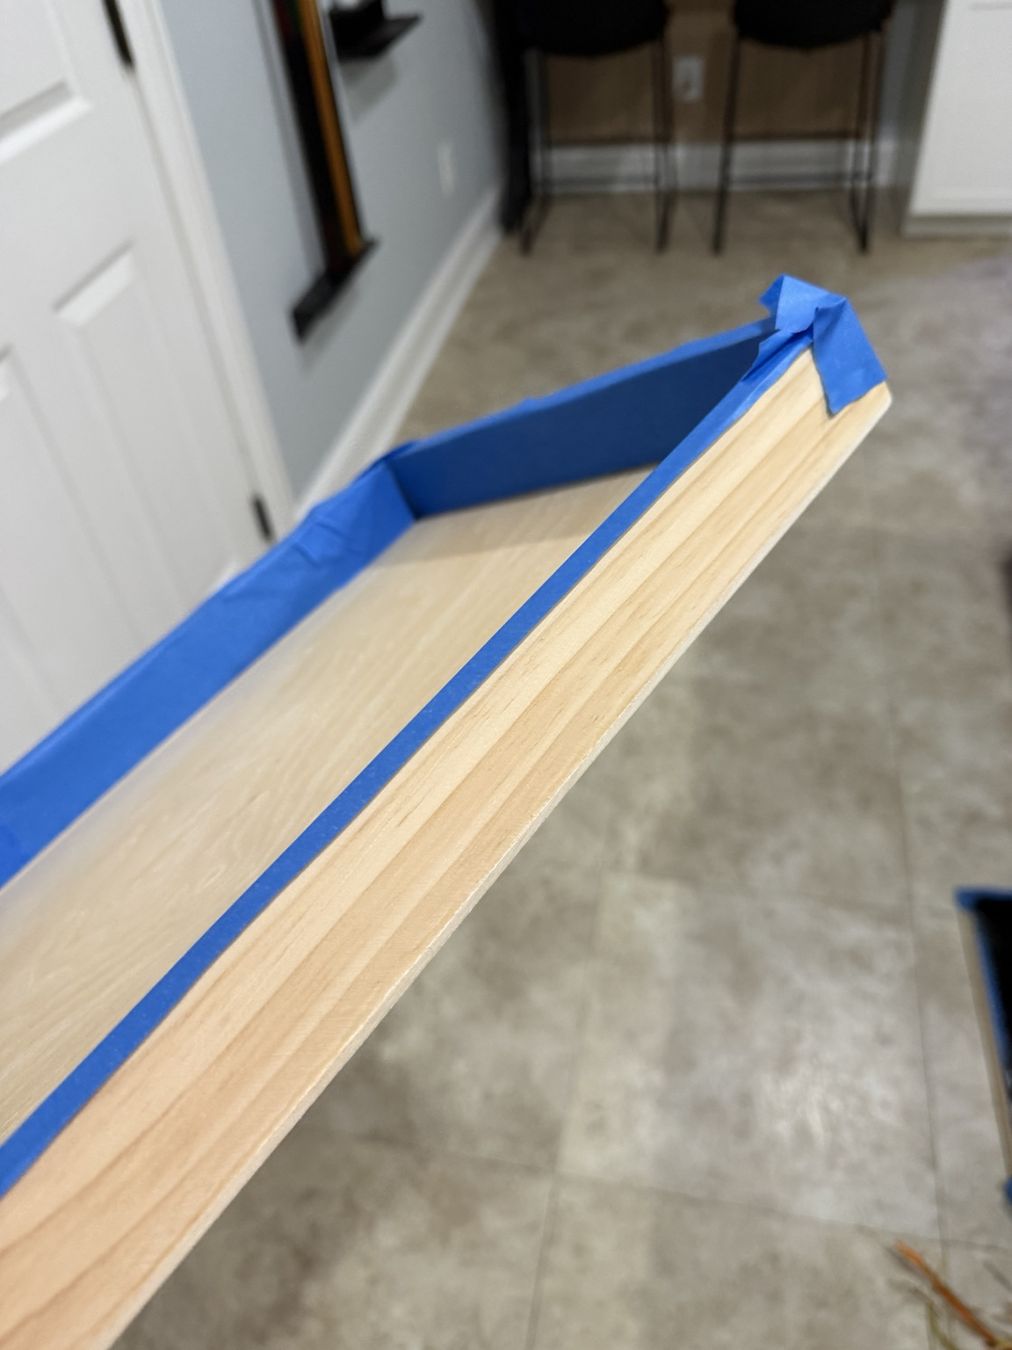
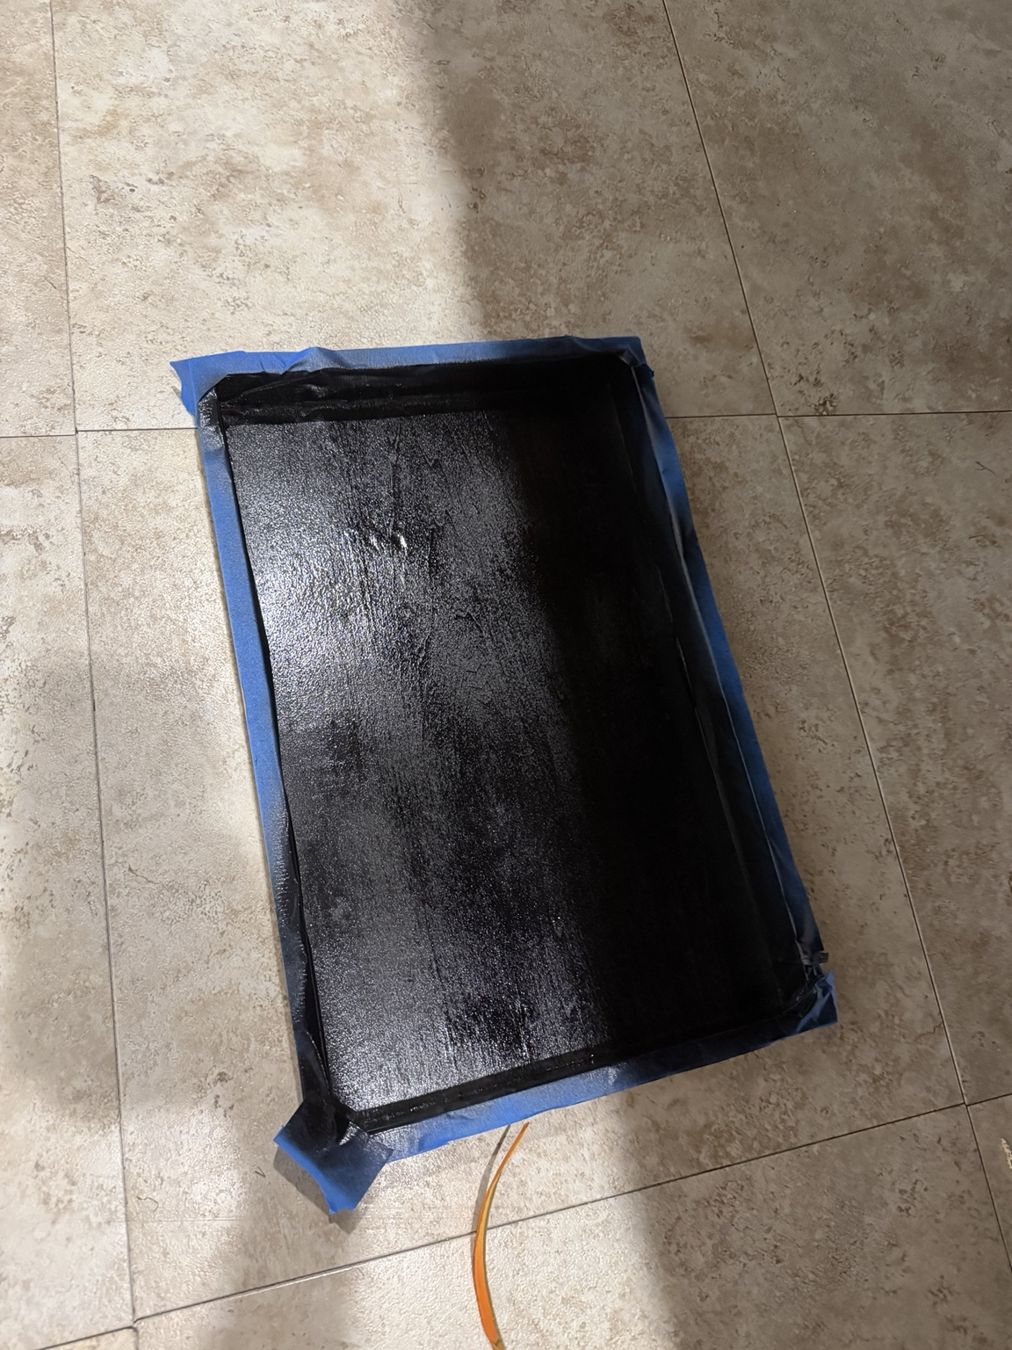
Step 2: Mask and paint the recesses
We taped the natural-wood sides and sprayed the center recesses with matte black paint, keeping the surrounding wood unpainted for staining. Let the paint fully cure according to the can instructions before handling. For any tiny spots that still needed black touch-up, I used a permanent black marker instead of getting out the spray paint again. Test the marker in an inconspicuous spot first, since its sheen can differ from matte paint.
Step 3: Stain the wood edges
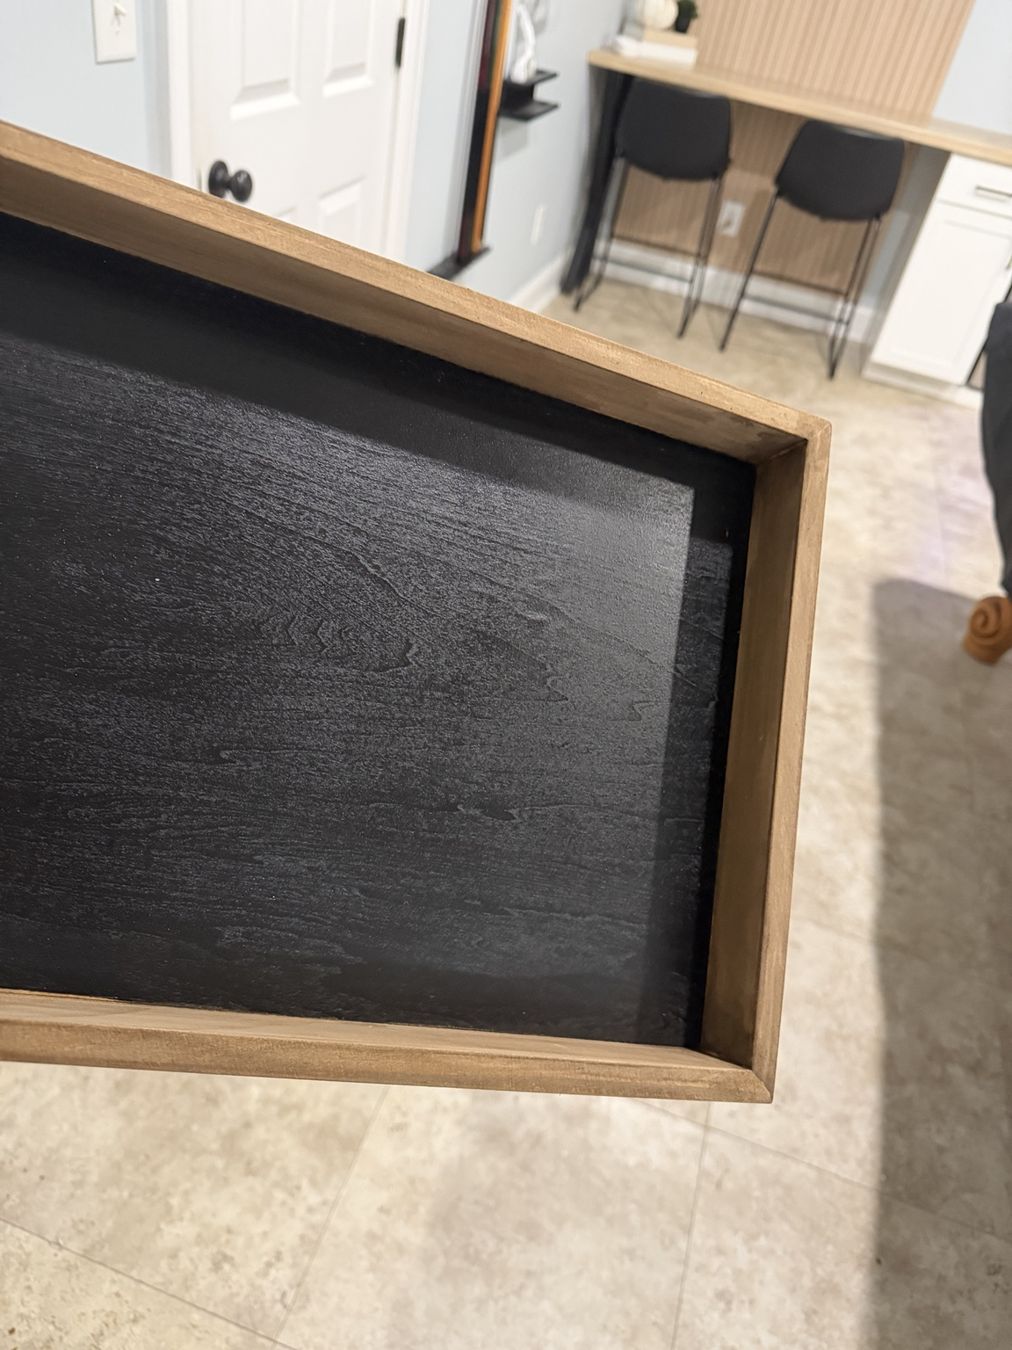
We used the same light-to-brown sequence as on our kitchen island and fireplace mantel: wood conditioner, then White Wash, then Rustic Brown. The stain was applied with a foam brush and wiped back with a cotton rag along the grain. The contrast between the warm wood and the black recess helps the small weather station feel integrated.
Step 4: Plan the fit and mounting
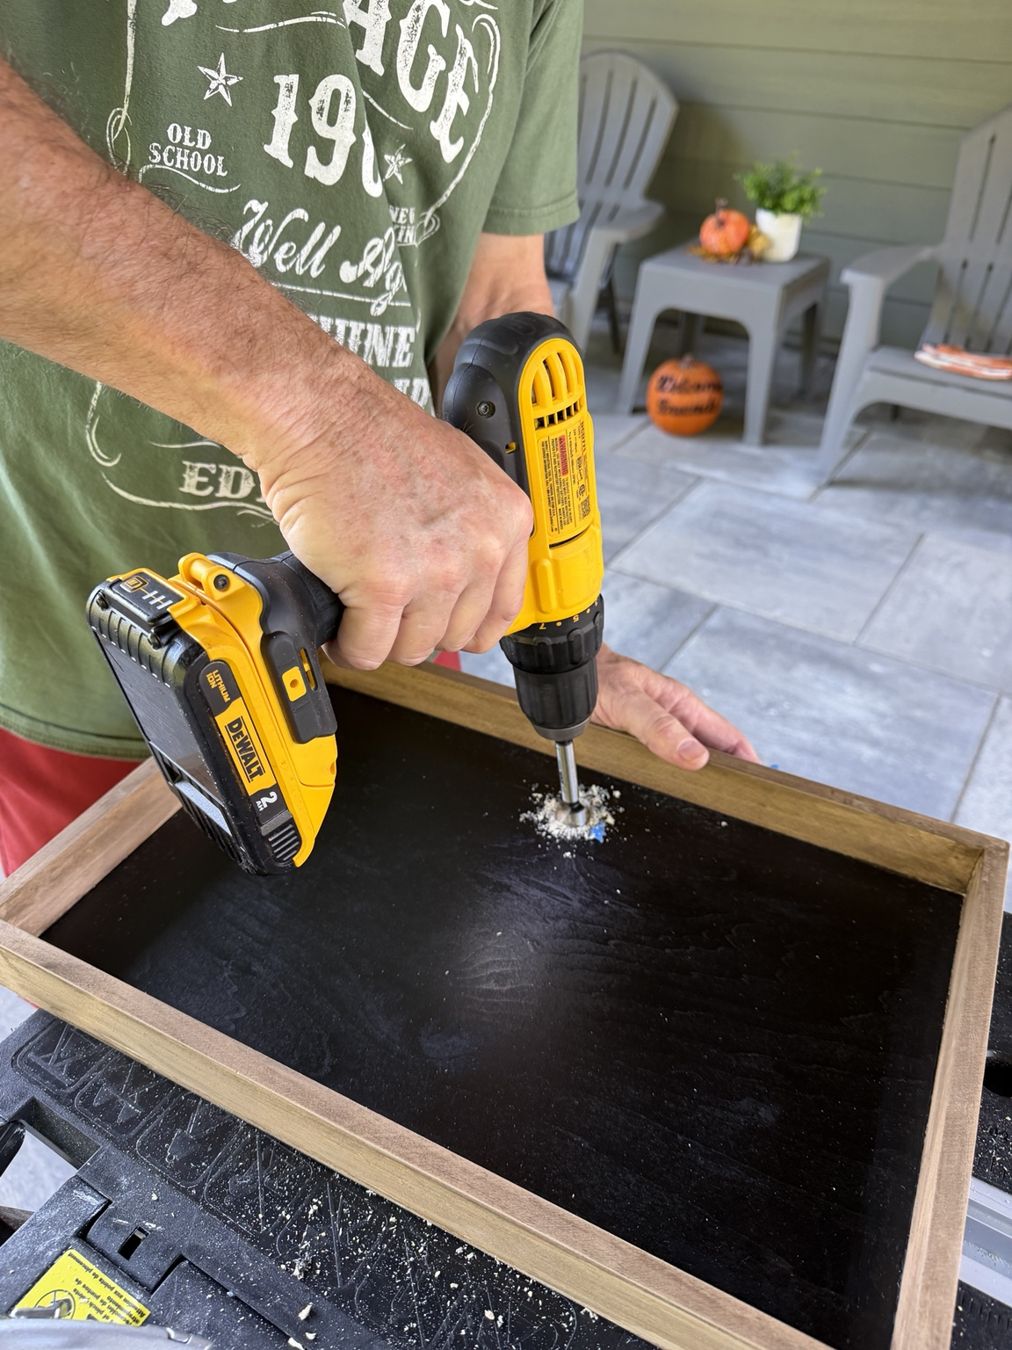
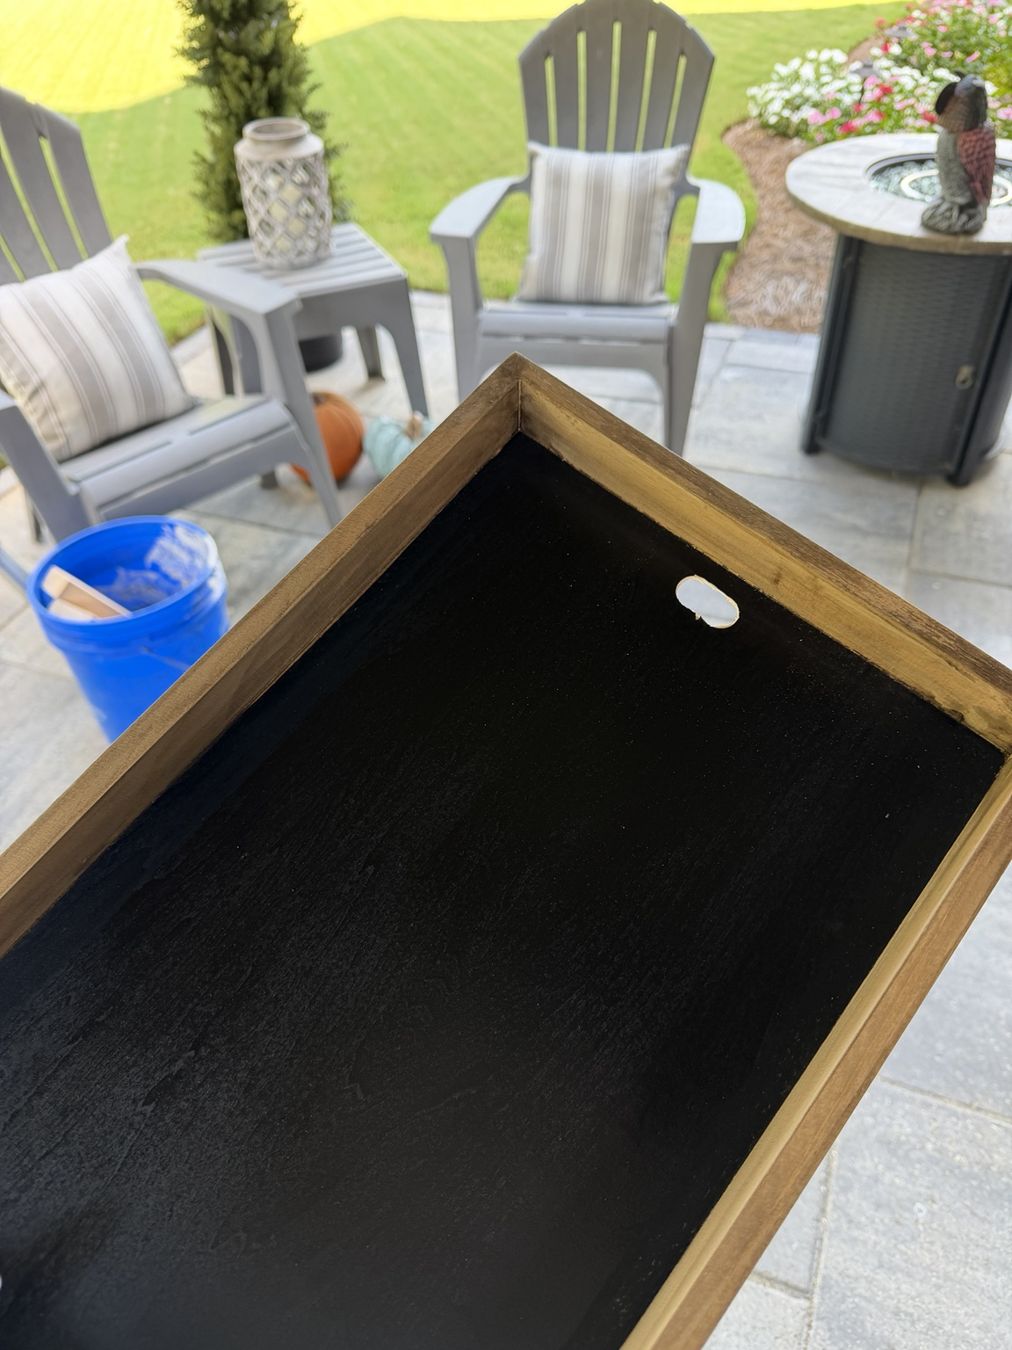
Before hanging the displays, we positioned each device within its panel and planned the mounting points and cable access. Openings were drilled in the wood panel to accommodate the connections. We reused the devices’ hanging-screw locations: mounting screws passed through the wooden panels and into the wall, with secure support for the combined weight.
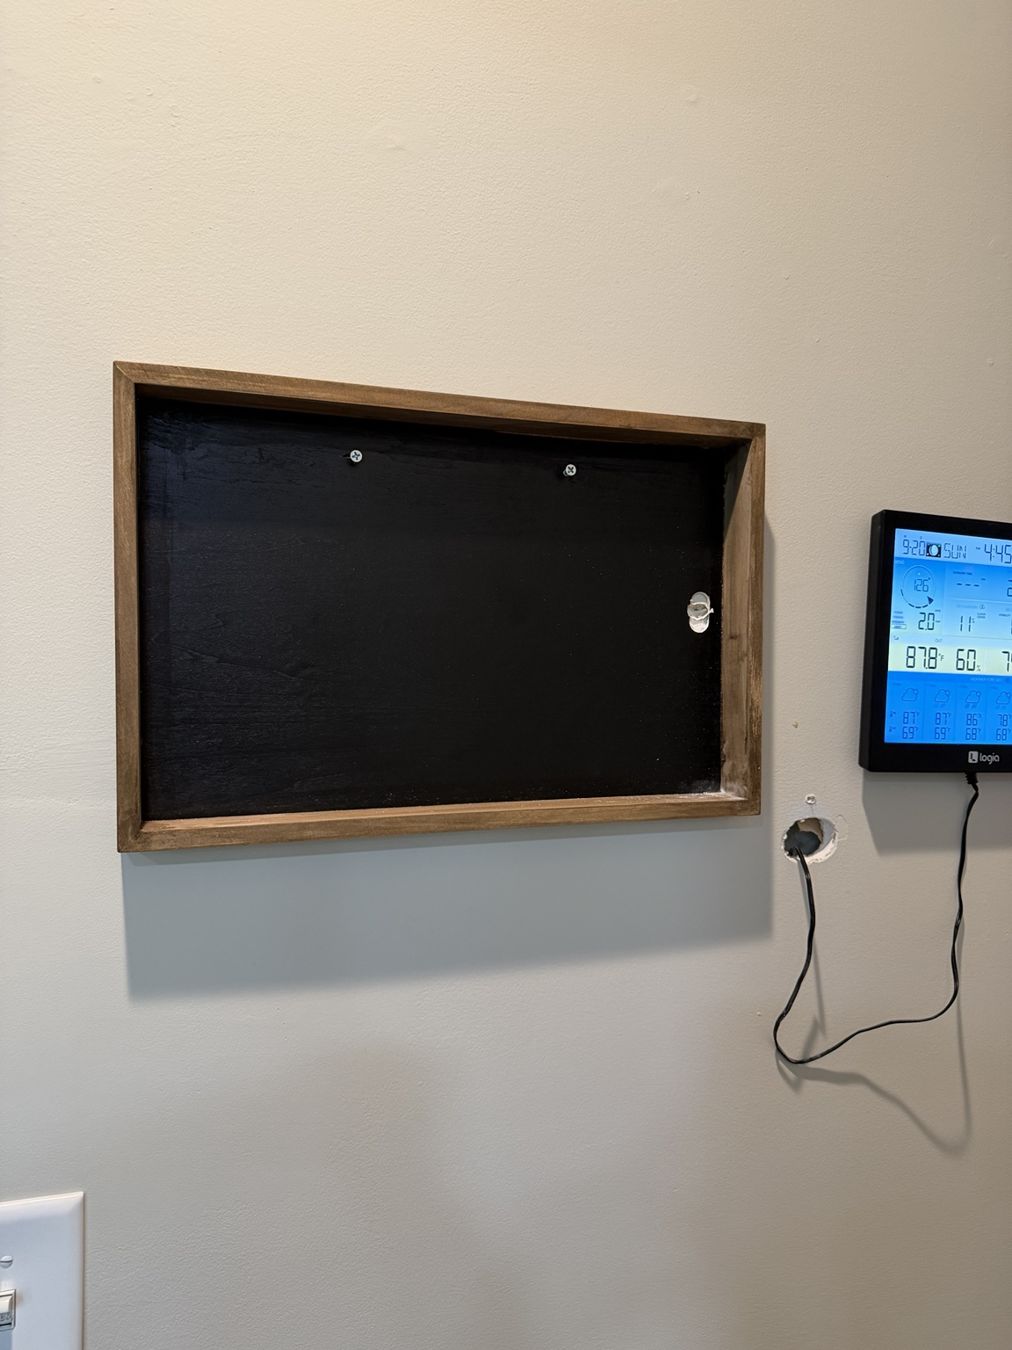
The result
Same calendar, same weather station—but now they read as a coordinated pair. The repeated wood outline gives the wall structure, and the black recess visually connects the two different-sized screens. This after photo was taken before the last drywall touch-up.
What we learned
You don’t always need matching objects to create a matched look. Sometimes giving different things the same frame is enough. The biggest design decision was making the two outer rectangles identical.
Beautiful homes evolve—one thoughtful project at a time. — The Ivey House