HOW I DID IT
The magnetic mounting method
Here's the actual installation, using the photographs I took along the way.
STEP 01
Check the door and shade header
First, make sure a magnet actually sticks to your door. Not every metal-looking door is magnetic, and magnetic holding strength varies by surface. My French doors are metal, and the bamboo shades have wooden headers where I could attach the magnets.
Before you start, also check that the shade will clear the door frame and hardware when the door opens and closes.
STEP 02
Plan where the magnets will go
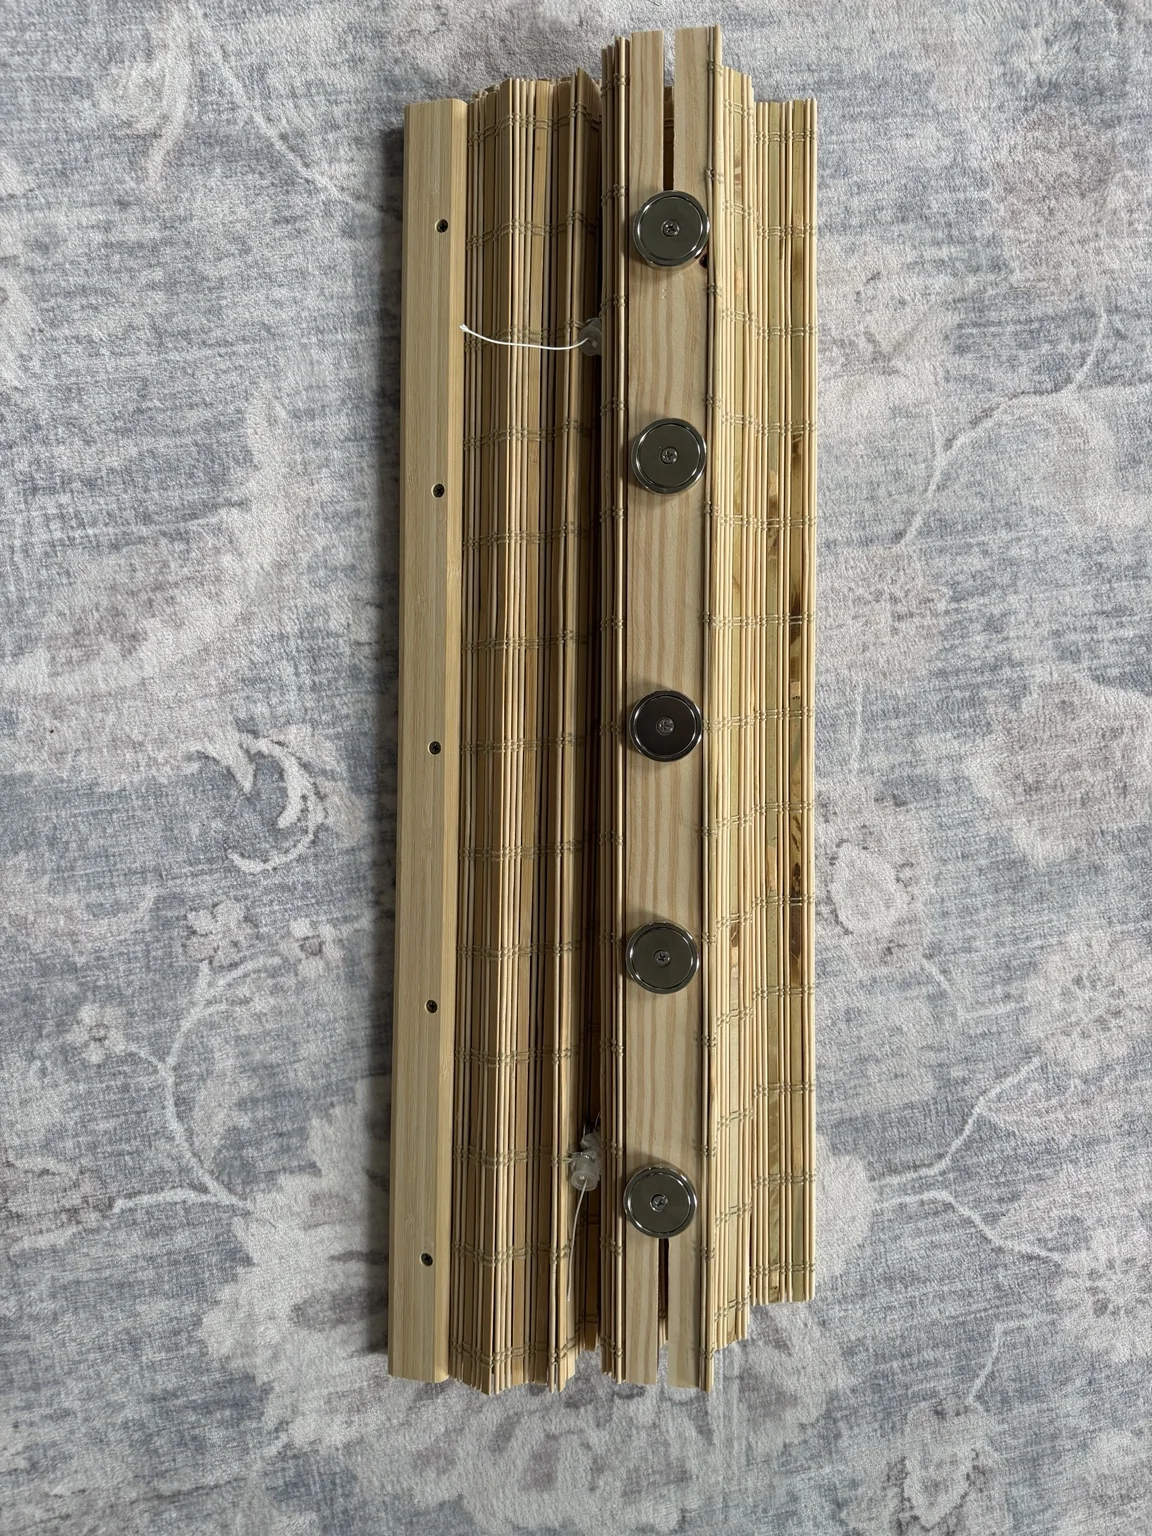
I attached industrial magnets to the back of the wooden header, spaced along its length. I used five magnets on each shade; the number you need will depend on the weight of your shade and the magnets you choose. The goal was a secure hold with the hardware hidden from view.
If your header is narrow, position the magnets lower on the wood so you can't see them peeking over the top of the shade. Also make sure their placement lets the shade sit level.
STEP 03
Check screw length—before driving a single screw
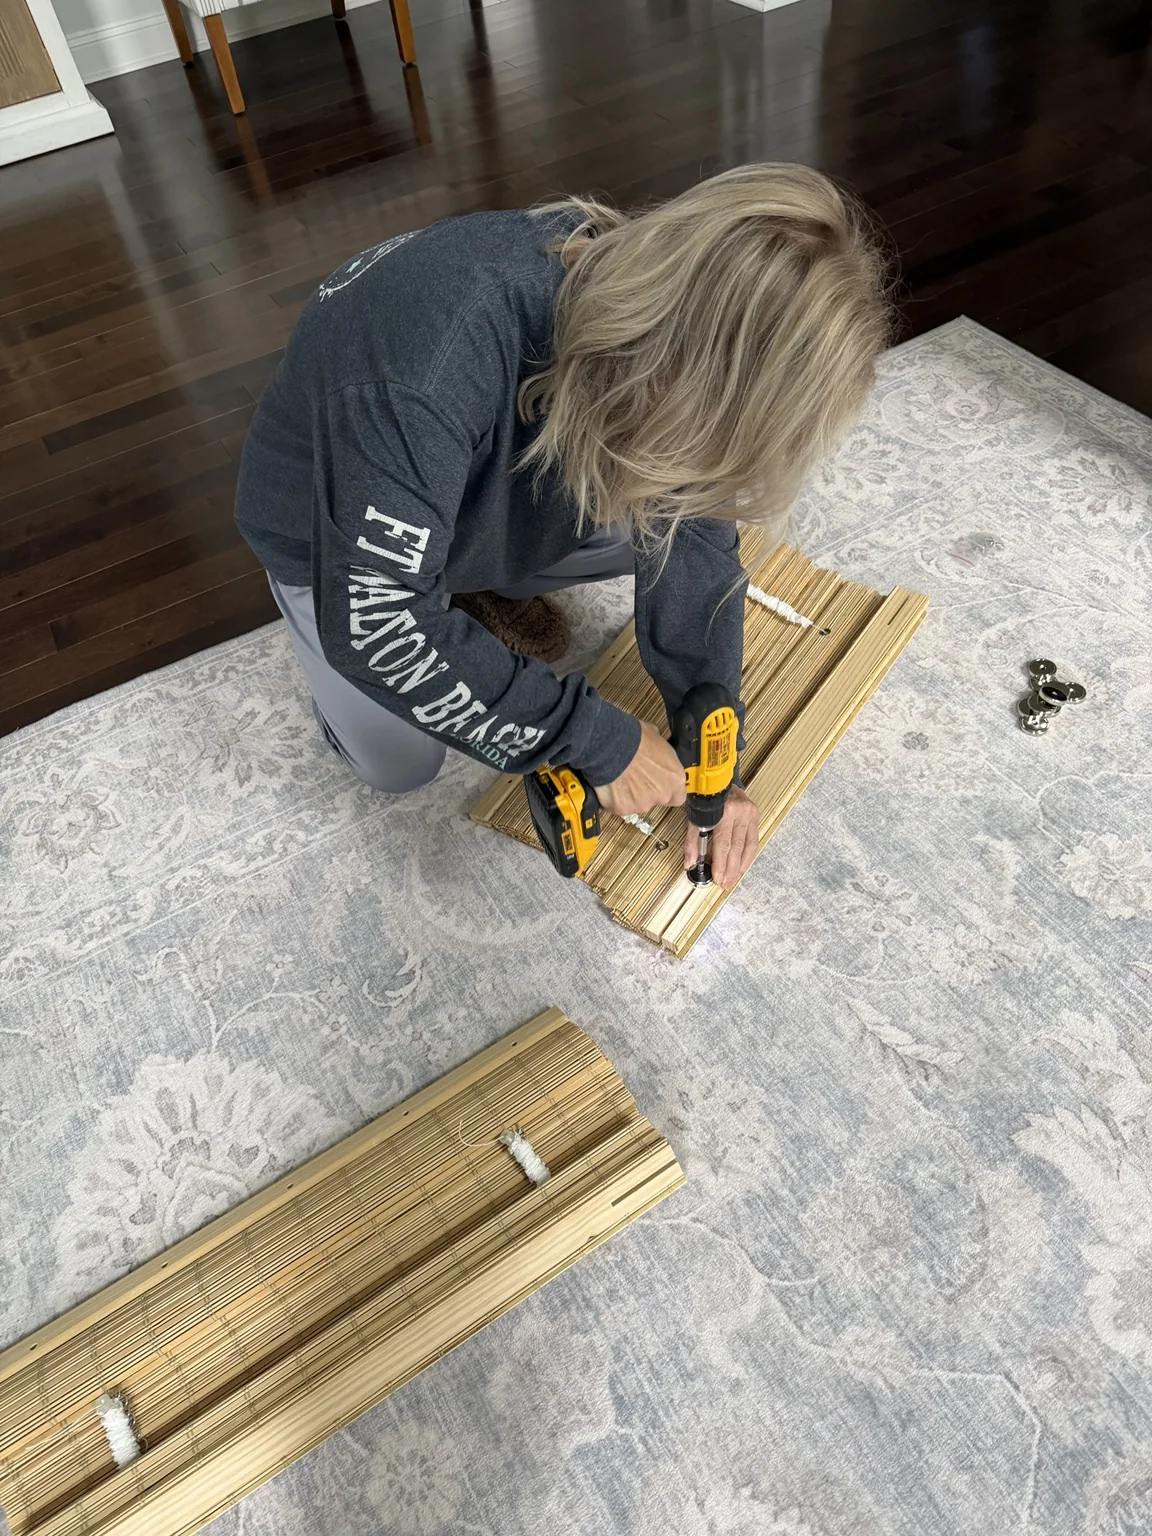
The magnets I bought came with screws, and thankfully they were short enough to attach securely without poking through the front of the wood. That's a detail worth checking before you start!
Use screws that are appropriate for your specific header's thickness, taking into account the magnet's mounting hole and how much screw will actually enter the wood. I used a drill/driver to secure the magnets to the header—not to the door.
STEP 04
Keep the screw heads flush
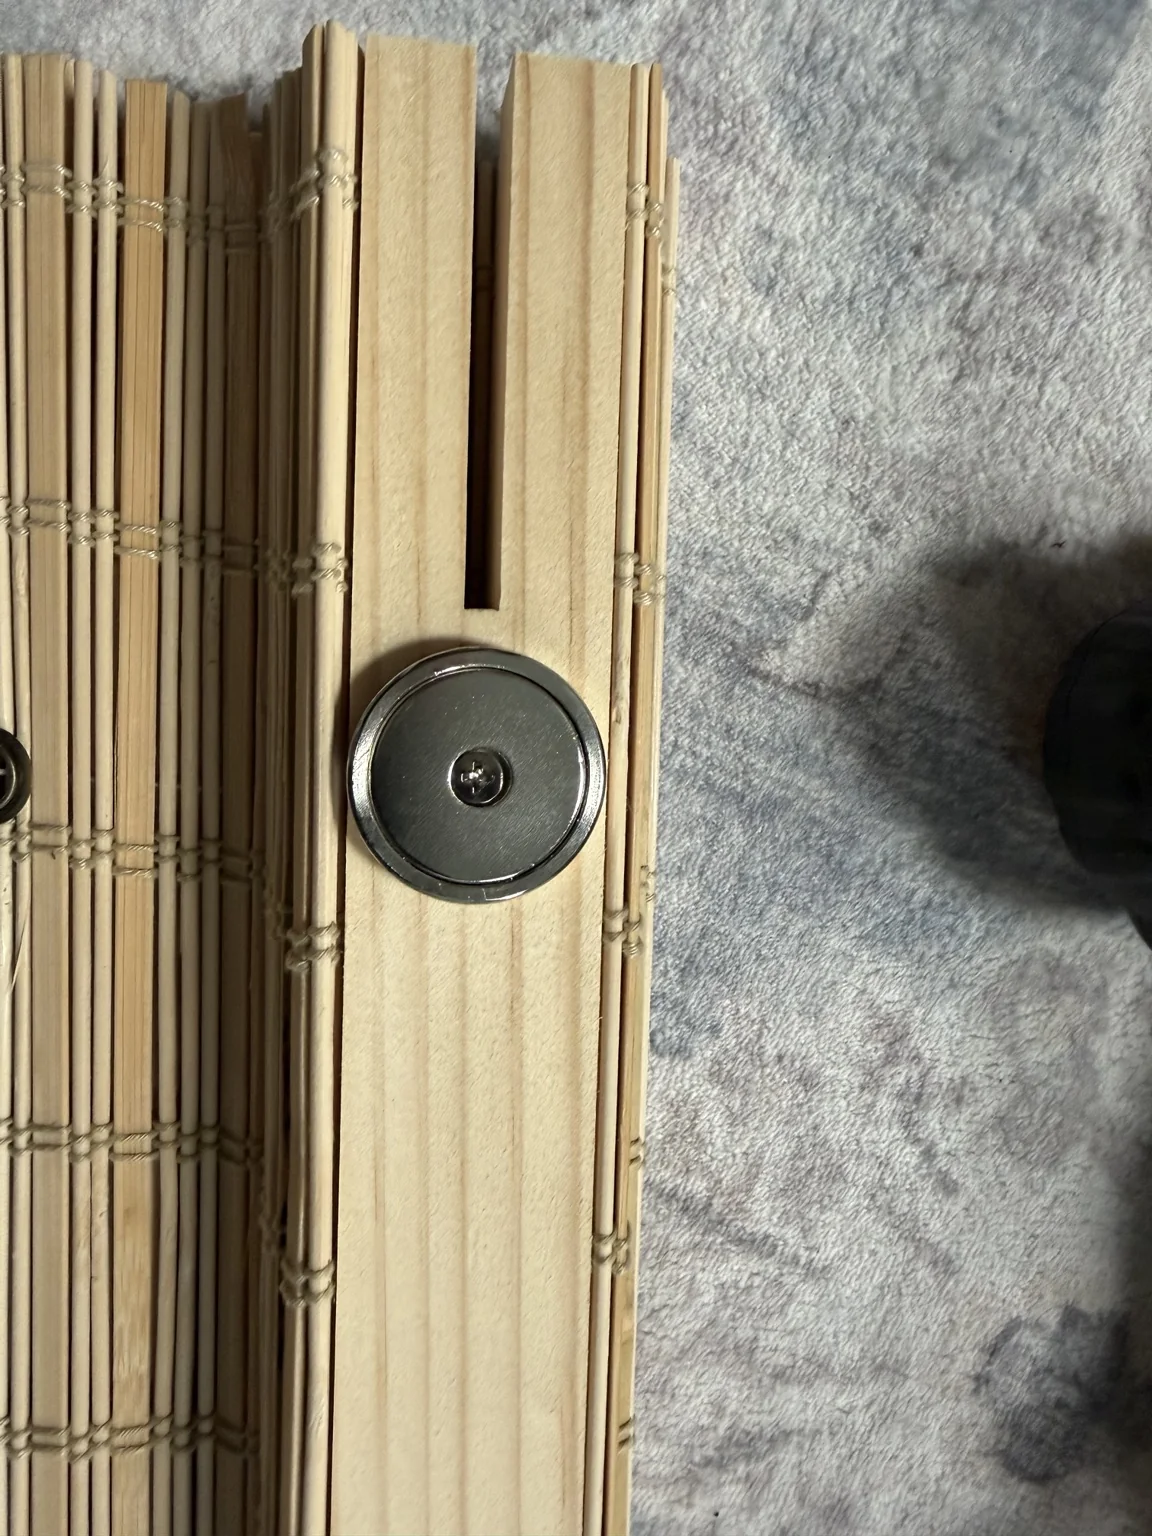
This is the tip I wouldn't skip: the magnets need to make good contact with the door. If a screw head sticks out farther than the magnet's contact face, the screw hits the door first and keeps the magnet from sitting flat.
Make sure the supplied screw head is properly seated in the magnet's recess, with no hardware protruding beyond the contact surface.
STEP 05
Set the shade in place and test the hold
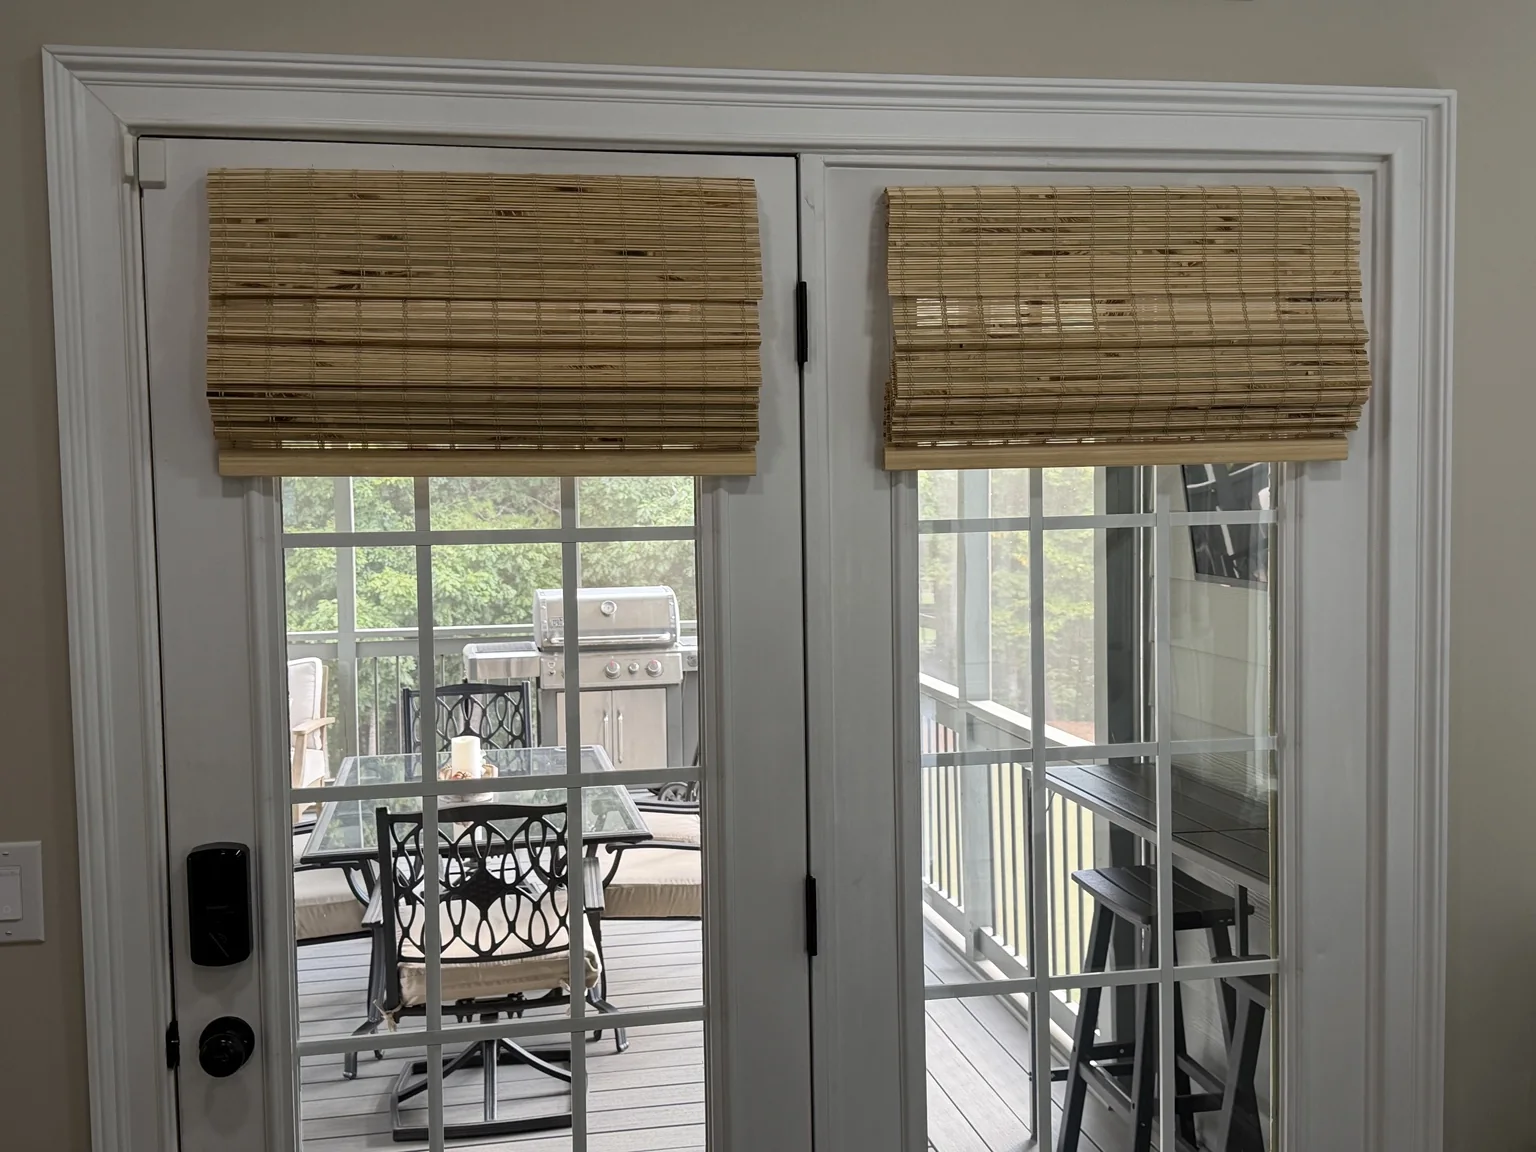
With the magnets attached, I placed the shade against the metal door and adjusted its position until it was centered and level. I checked that the magnets made full contact and that the shade stayed put before letting go completely.
Test the hold carefully, including opening and closing the door gently. The weight of your shade, strength of the magnets, and door surface all matter. Don't assume the same magnets will safely support every shade.
THE IVEY HOUSE TIPS
Three little details that matter
- Check screw length. Screws must be short enough not to come through the front of the wooden header.
- Keep screw heads flush. Anything protruding can prevent full magnetic contact.
- Hide the magnets. On a narrow header, move them lower so they don't show from above.
WHAT I CONSIDERED
Liquid Nails? Shorter shades? Maybe someday.
I originally considered using Liquid Nails to attach the magnets. In the end, the supplied screws worked with my wooden header, so that's what I used. I haven't tested an adhesive-only installation; if you choose that route, check that the adhesive is rated for the materials and weight involved and follow its cure instructions.
I also considered shortening these 62-inch cordless shades to reduce weight and create a smaller, more tailored stack. I haven't shortened them, though, and I may not. For now, I like how they look raised at the top of the doors.
And if I change my mind later? Well, apparently even the finished projects around here have a sequel.
THE RESULT
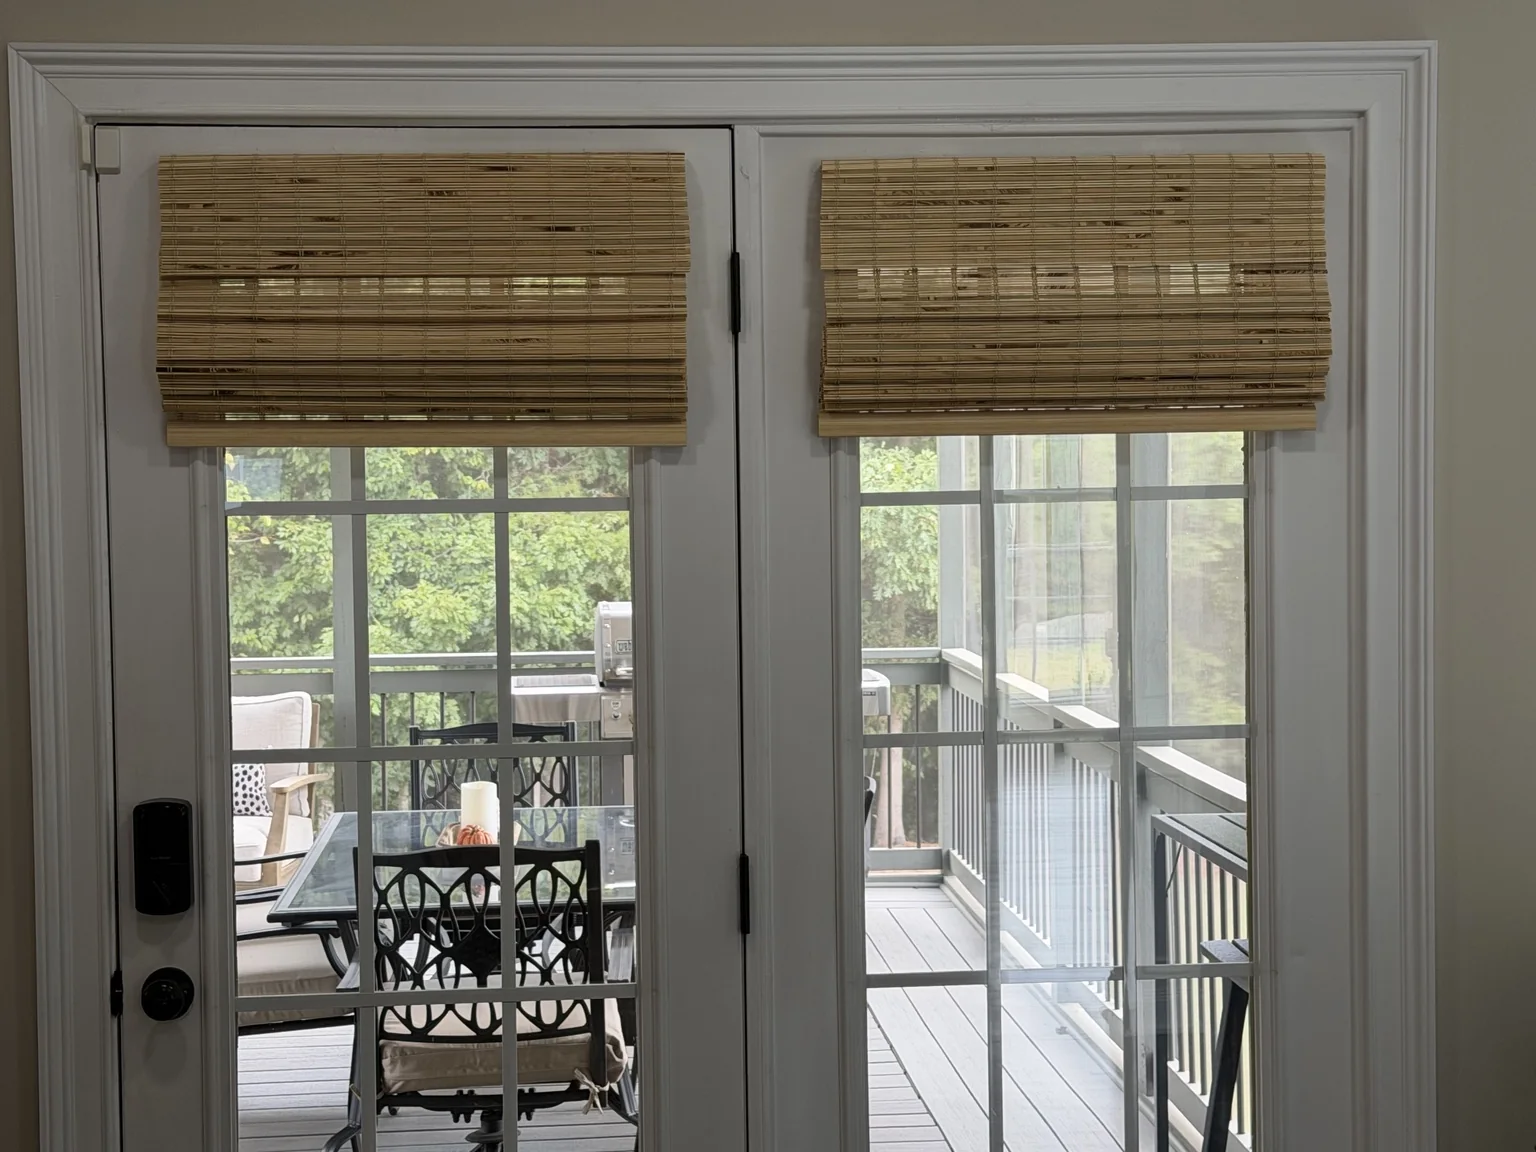
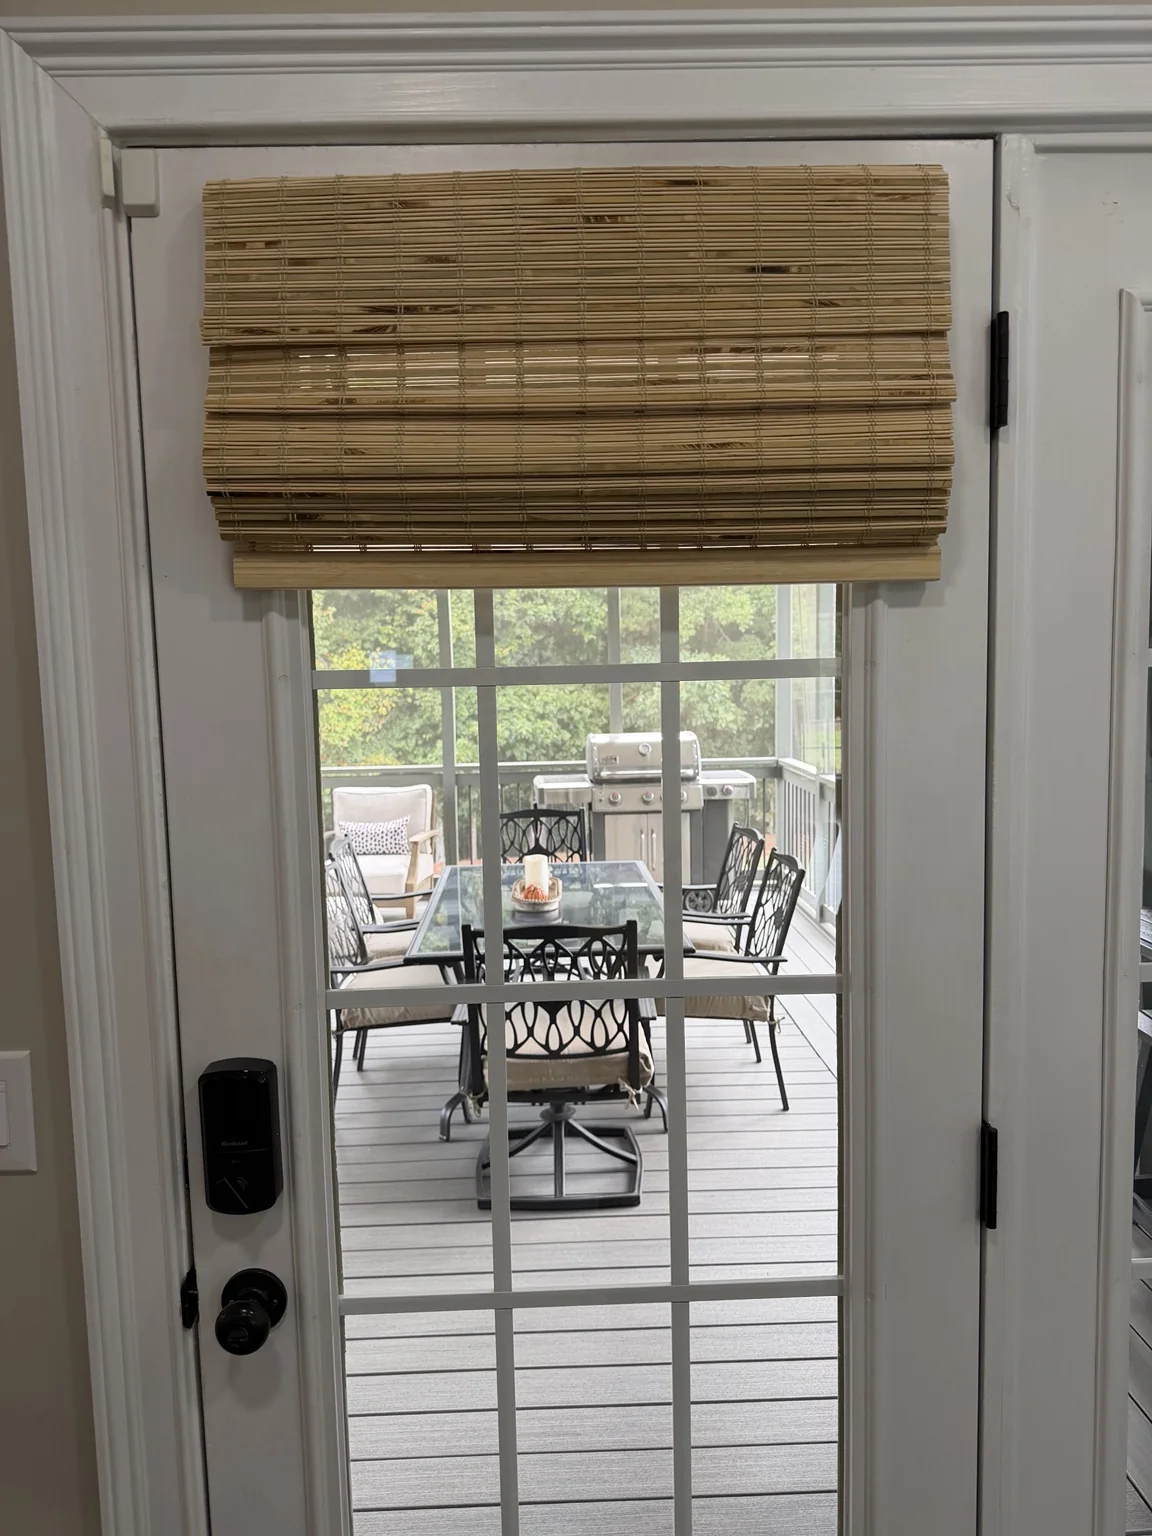
More warmth. No holes in the doors.
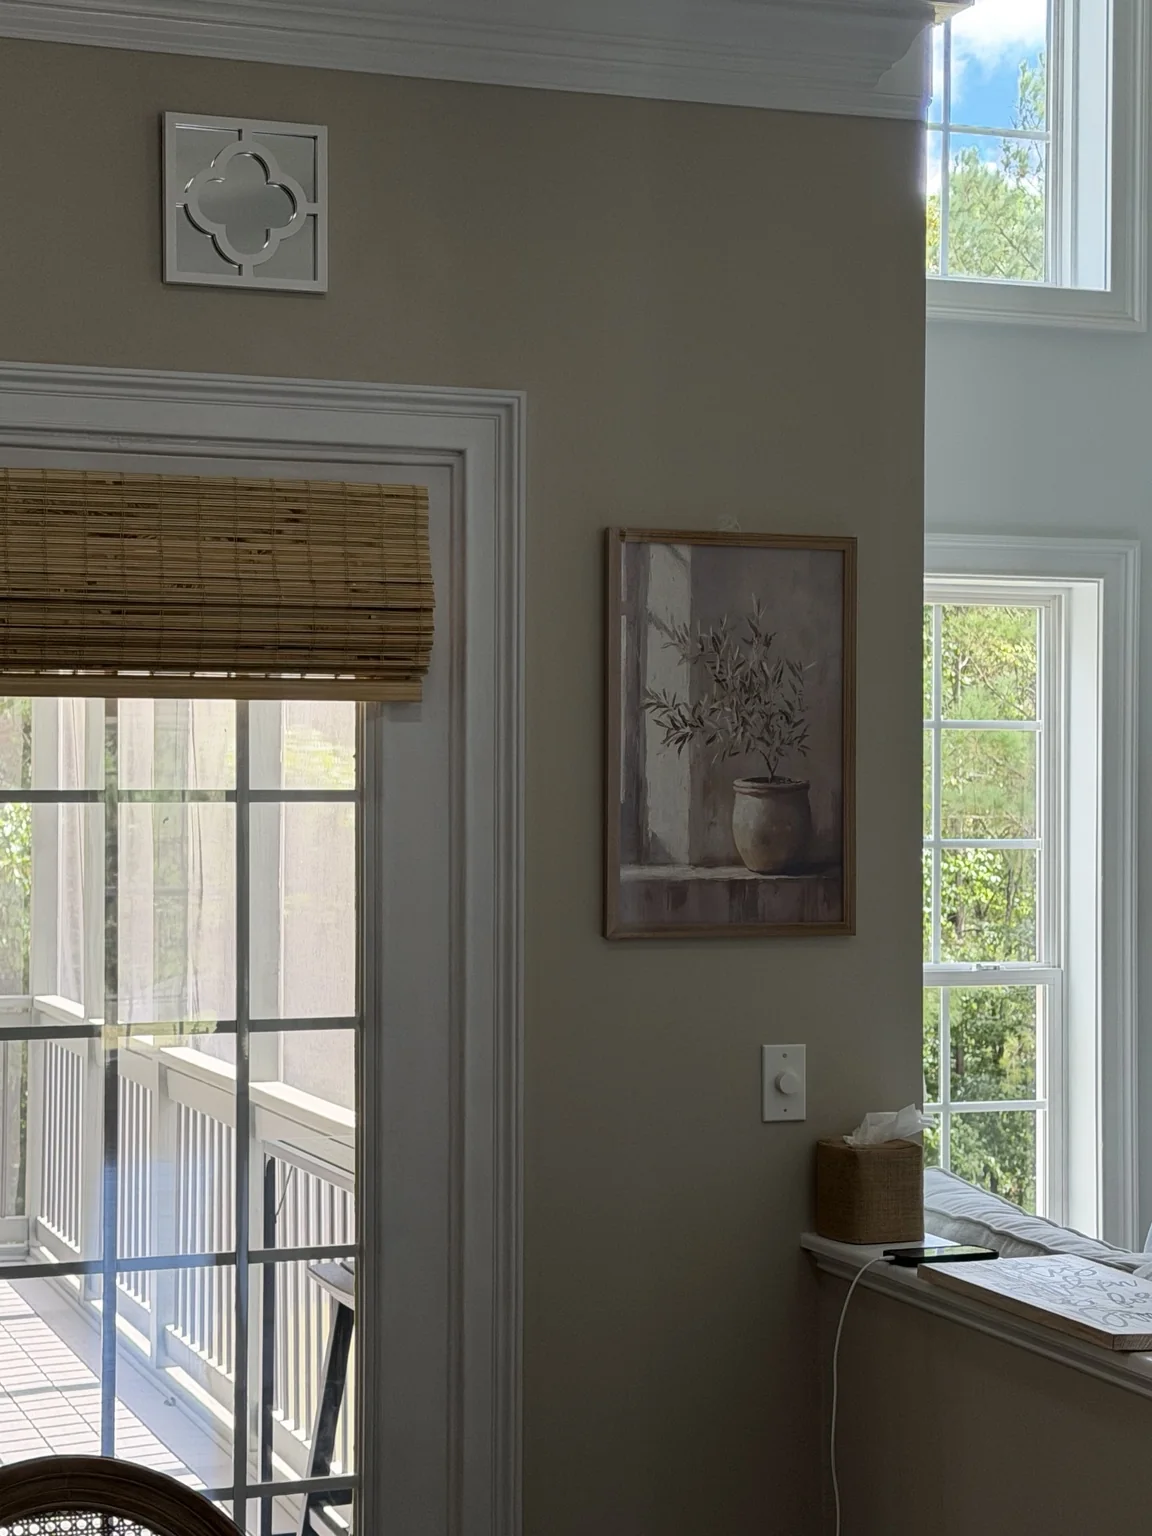
I love a project that makes a noticeable difference without becoming a huge undertaking. These shades softened the look of the doors, added texture, and gave me exactly the decorative effect I was after—without permanently changing the doors.